Marcos Rogelio De la Hoz
Hello Traveller, welcome to Pancar, this is where I live and where I make my art.
Come, I will show you what I have done so far.

A0 - Adrift in the Cosmos
This was my first task and the introduction to the world of computer graphics.
First, I had to introduce my human student self, explaining what I like about
this world and what I expect to learn in this journey.
After that, I shared two images of my real face and then completed a tricky
mathematical quest to warm up my graphical cores.
Finally, I introduced who I am, I am Marcos Rogelio De la Hoz, by the way,
I talked about my home and my powers, and begin this well-trodden path.
Laboratory 0
Our first time in the laboratory we learned how to create the most basic images
with OpenGL in C++. We had to install some libraries (glm, openGL, glad, GLFW)
and then start working on the vertices and colors, moving the data from the CPU
to the GPU and then drawing the figure on the screen.
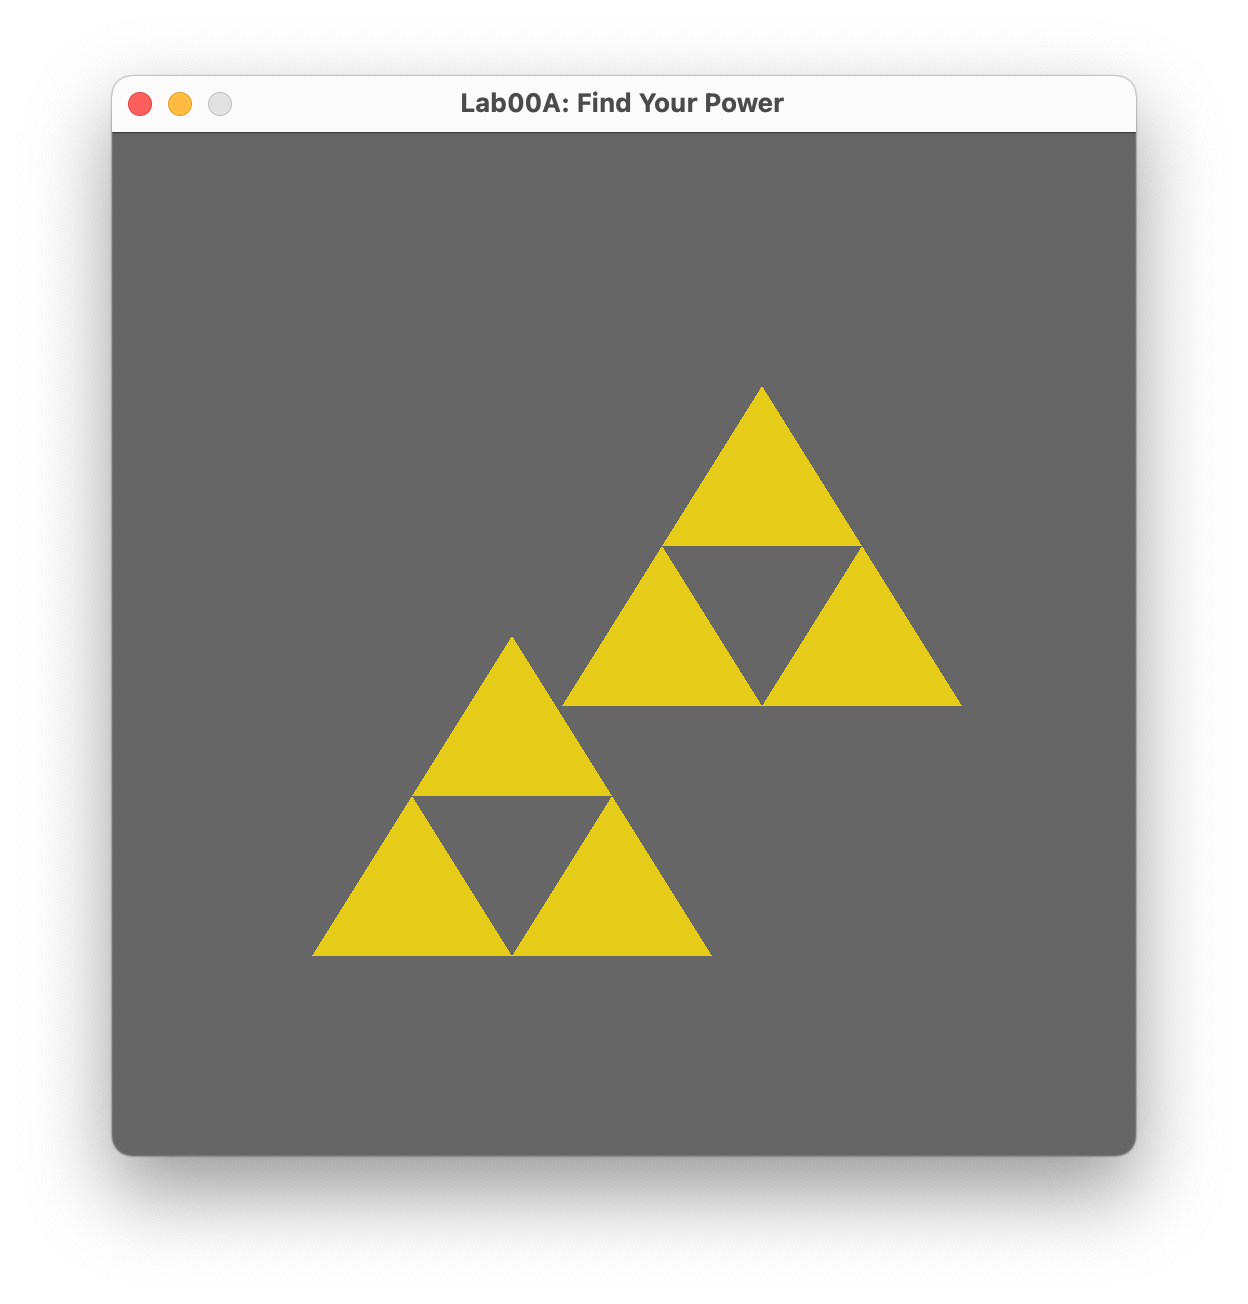
First part:
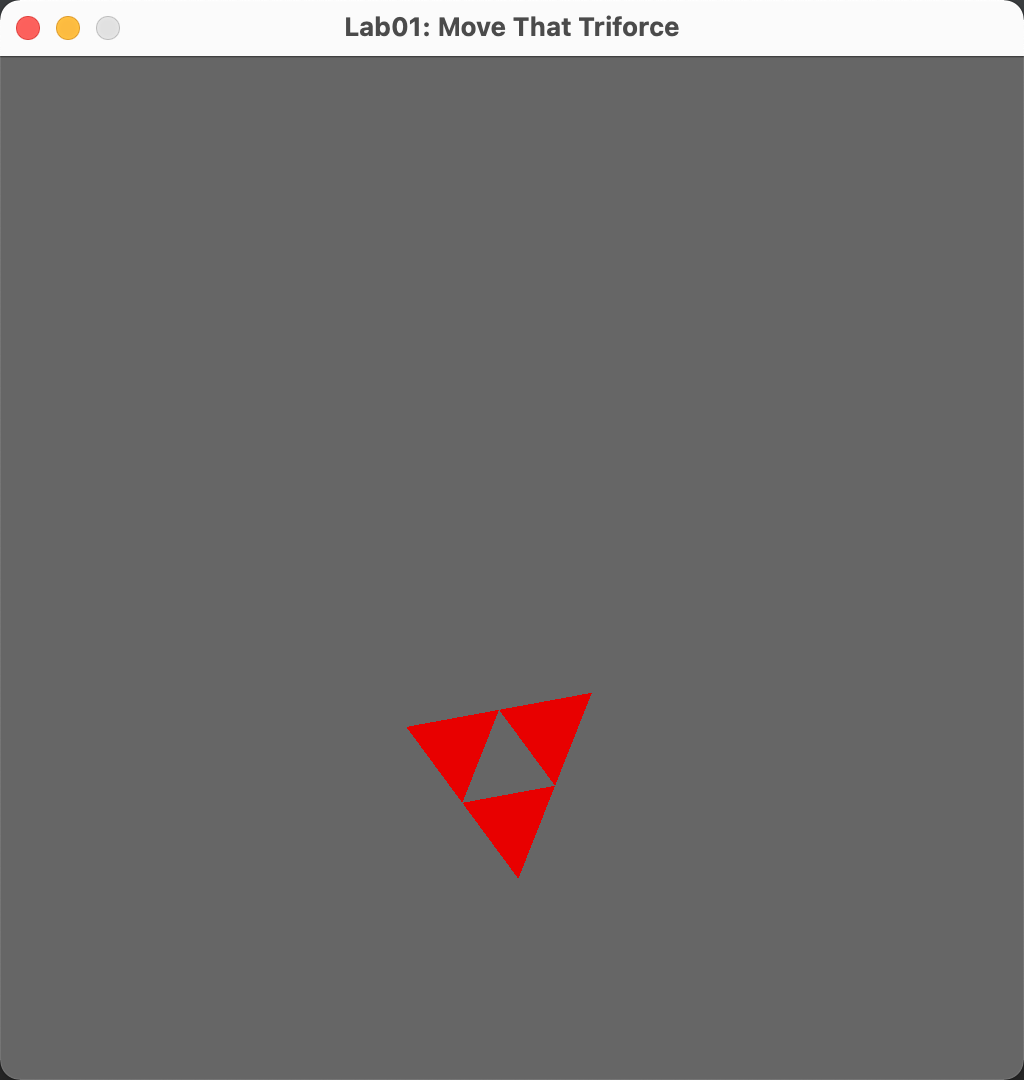
We created a triforce using golden triangles and then we experimented with our
first transformations, in this case tranlation. We moved the triforce and created
a duplicate on the screen.
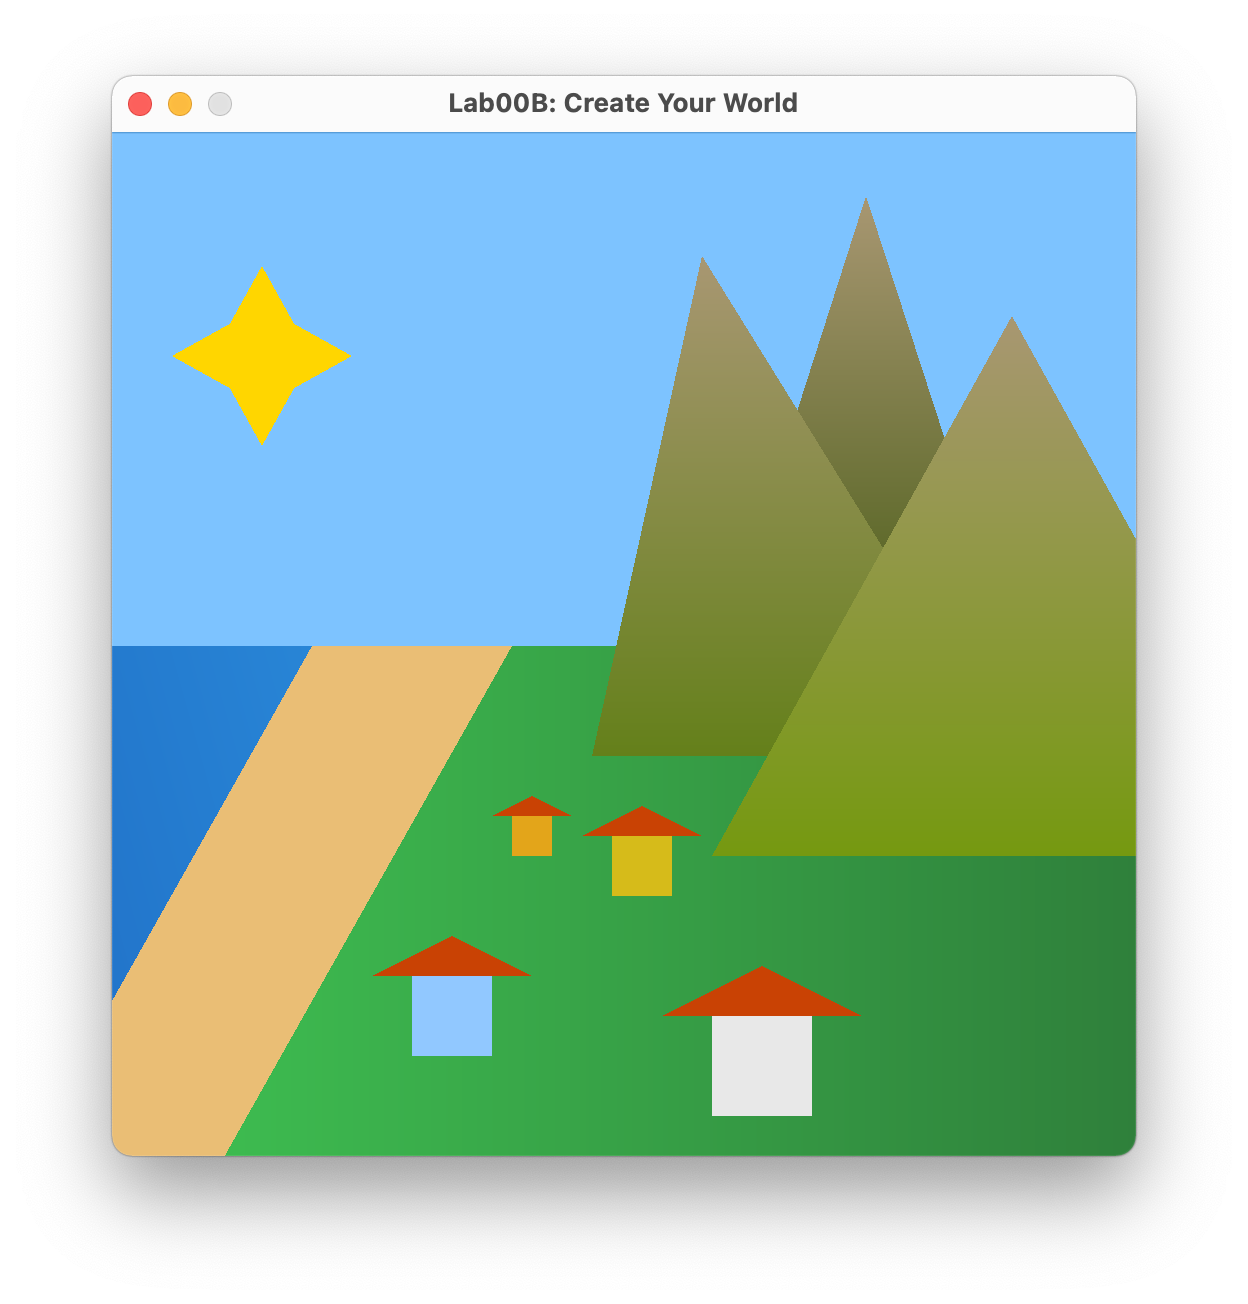
Second part:
This part was more artistic, it was called Bob Ross section. We had the chance to
create a painting of our world, in my case, the wonderful land of Pancar. This task
was not dificult but time consuming, it took me a while to create all those figures
and colors to represent just an idea of how beautiful my home is.
Assignment 1 - The Metal Shop
This new task began with some more challenging obstacles. We were presented with
a 2D space to start creating figures, using vertices and colors, we were able to create
triangles, squares, rectangles and other sorts of geometric figures.
We applied very simple functions from glm, openGL and the CSCI441 library, but the
work was tedious and creating those figures one by one took a long time.
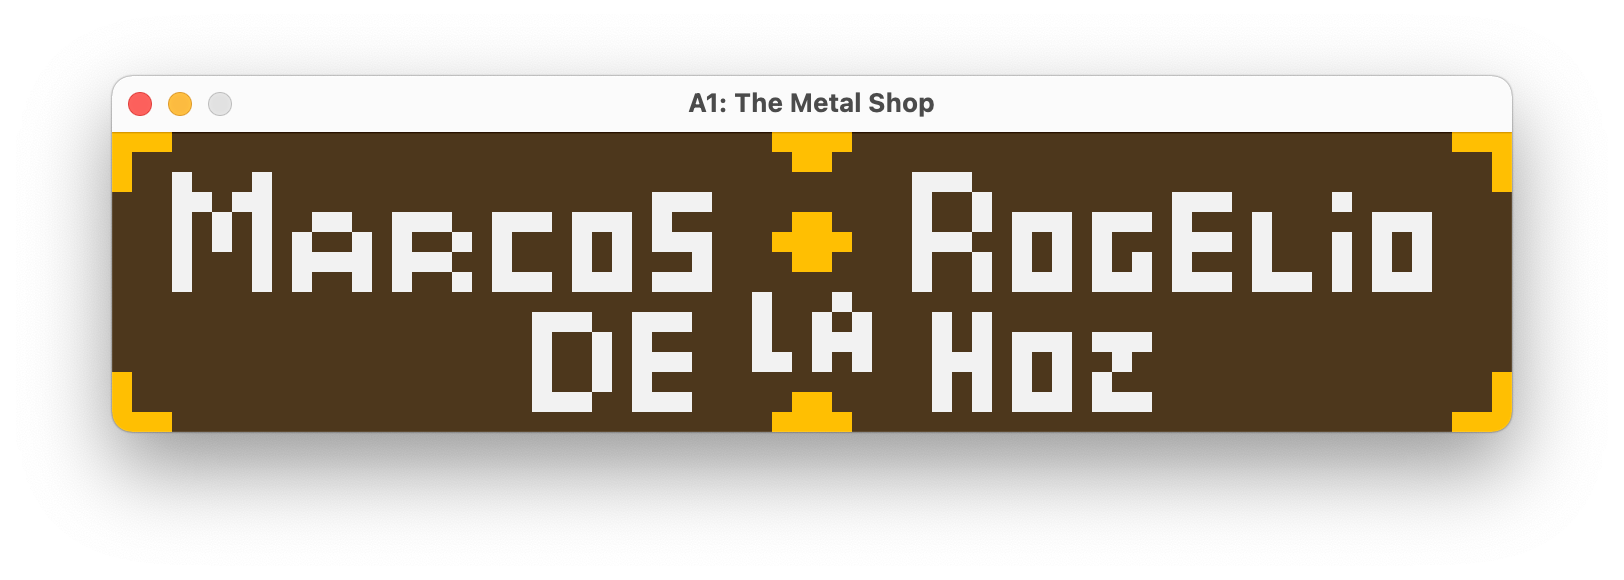
We were assigned two major missions:
- Creating our own banner that could show our name to other travellers.
- Creating this space you are seeing right know, which is still in development,
I know it is not very cozy in here.
Laboratory 1
In this laboratory we started experimenting with animation and interaction inside our program.
We learned the concept of callback and how we could program an action triggered by a user event,
like pressing and realeasing keys, clicking the mouse or moving the cursor.
- We made the ECS key functional by closing the window and stoping the program when pressed.
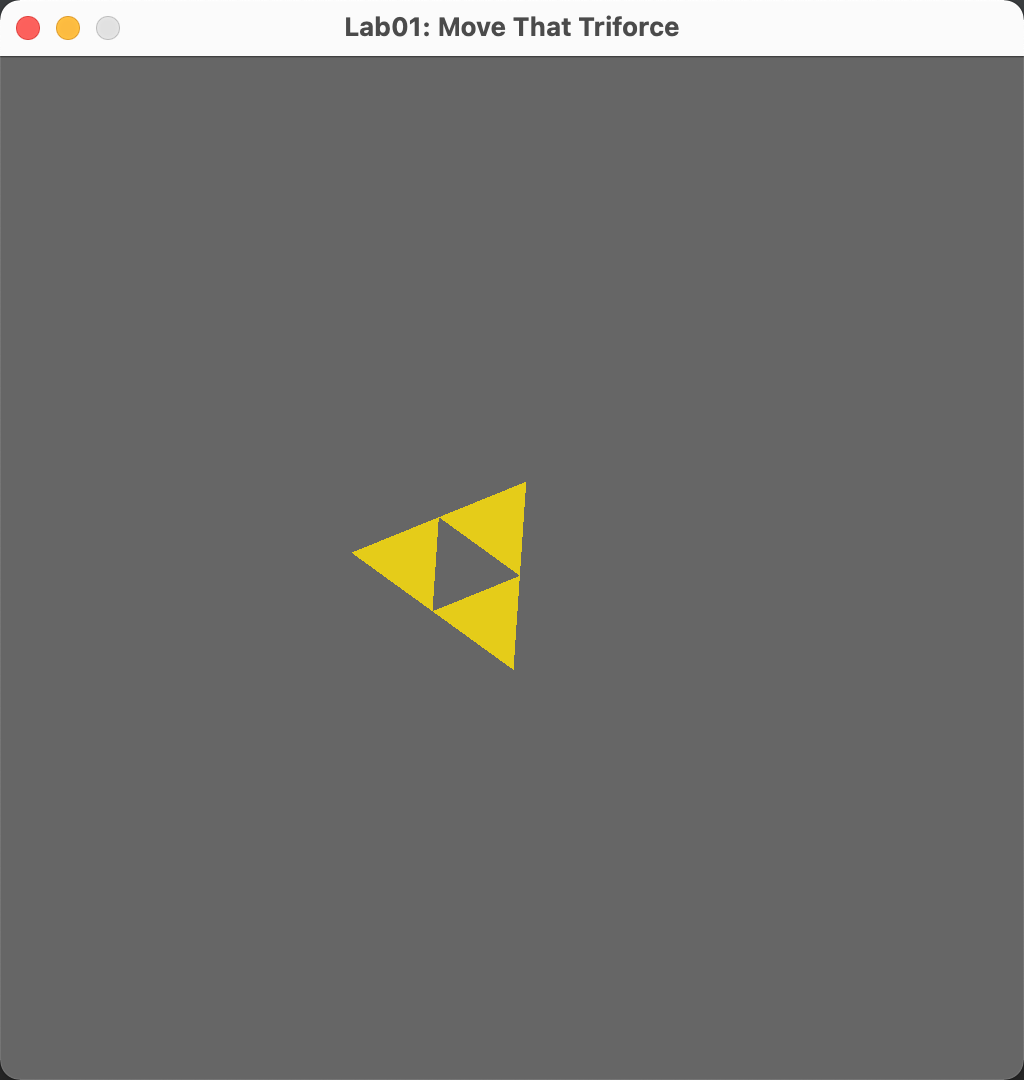
- With the same triforce we had on the previous lab, we learned how to make it rotate,
creating an animation.
- Pressing the letter C and clicking with the mouse we changed the color of the triforce from
gold to red and viceversa.
- Finally, moving the cursor we made the triforce follow it so we could move it all over
the screen, allowing for a very interesting interaction.
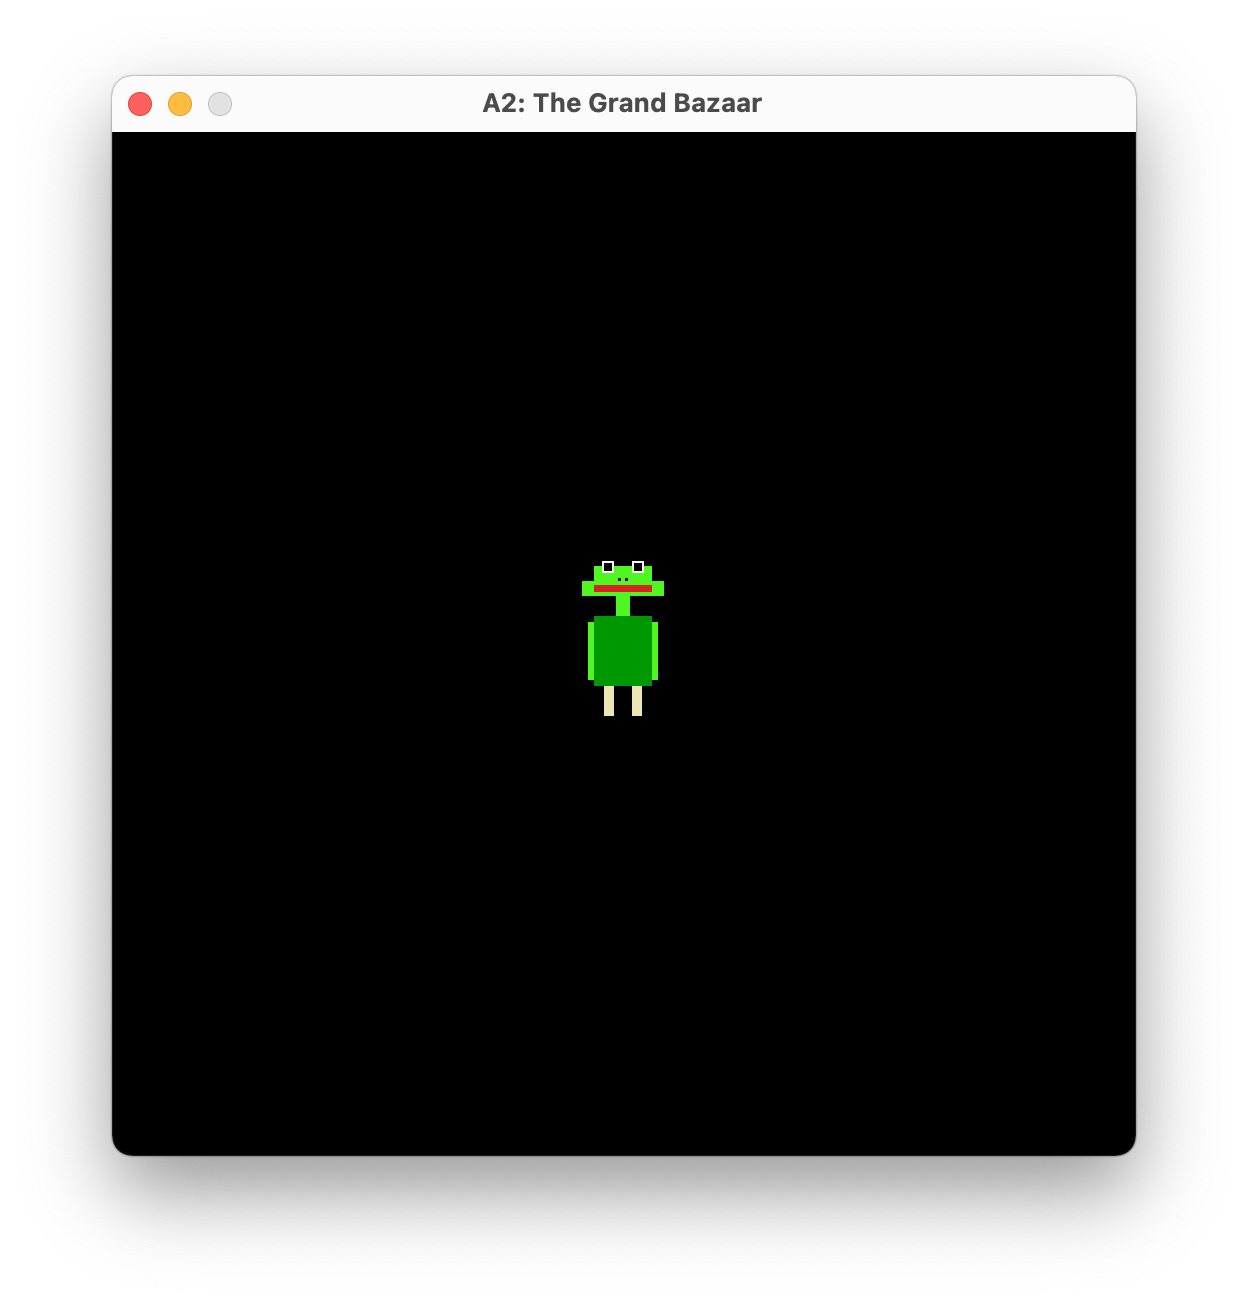
Assignment 2 - The Grand Bazaar
This assignment explored animation and interaction in OpenGL.
We created our character using openGL primitives, which took a long time. Then we had to establish a constant animation
that would would be executing in each drawing loop iteration, like blinking eyes.
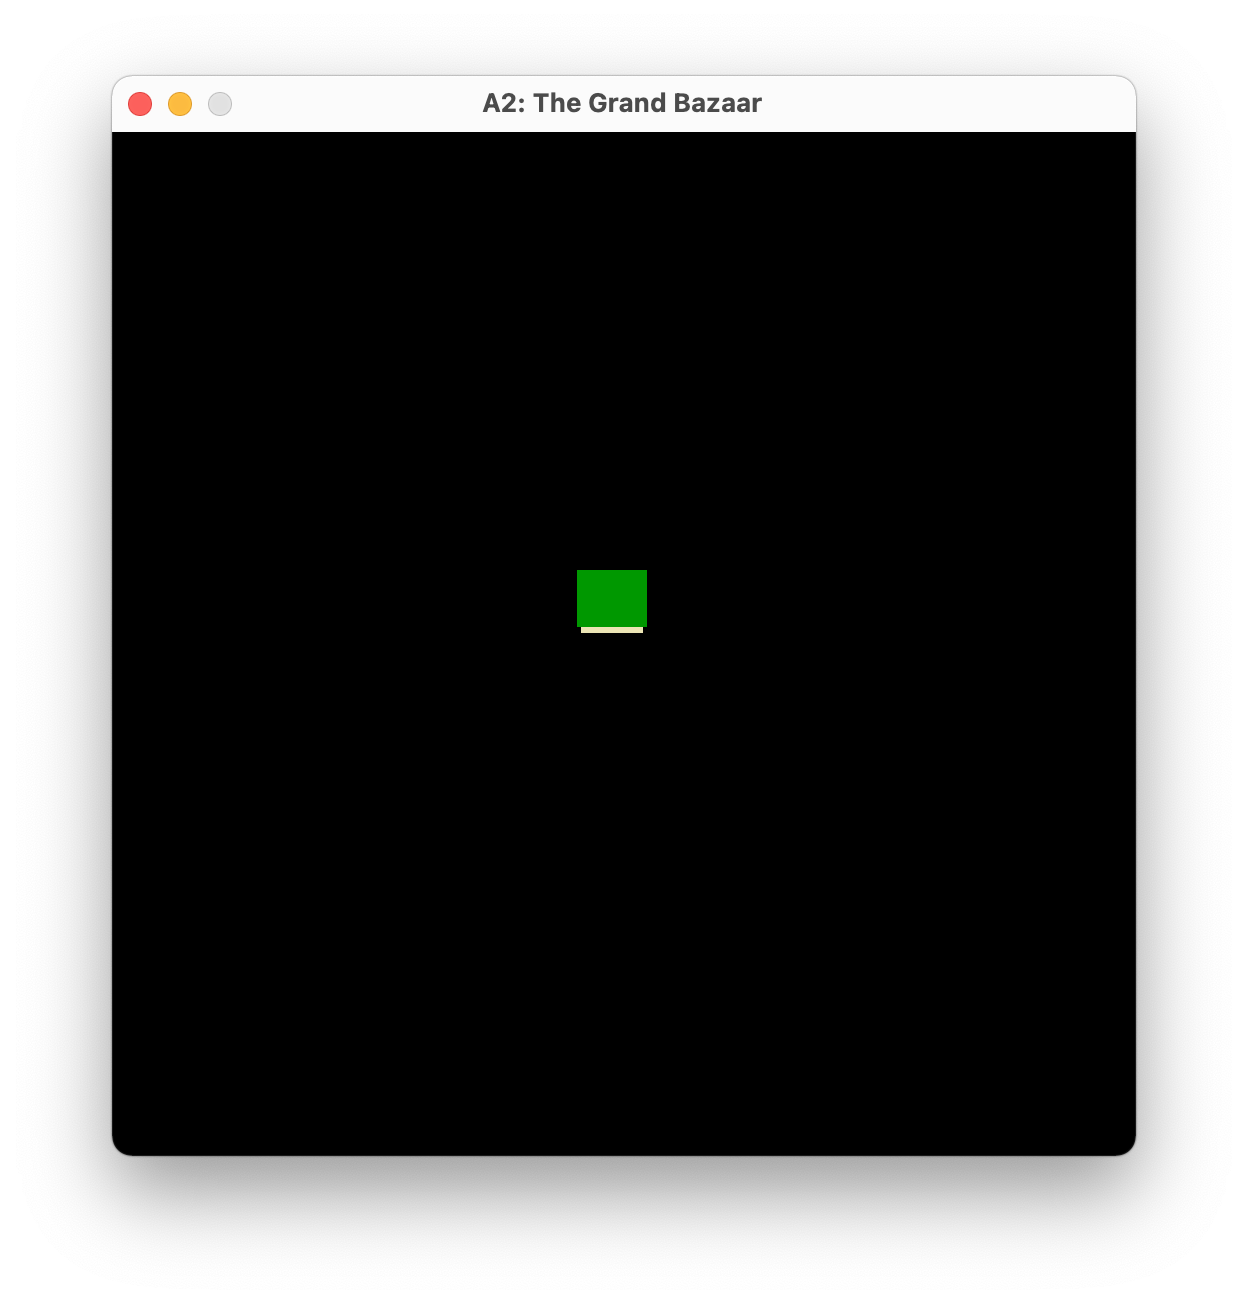
A keyboard callback to allow the user to move the character using WASD across the screen,
bounding the position in X and Y so that the character did not disappear.
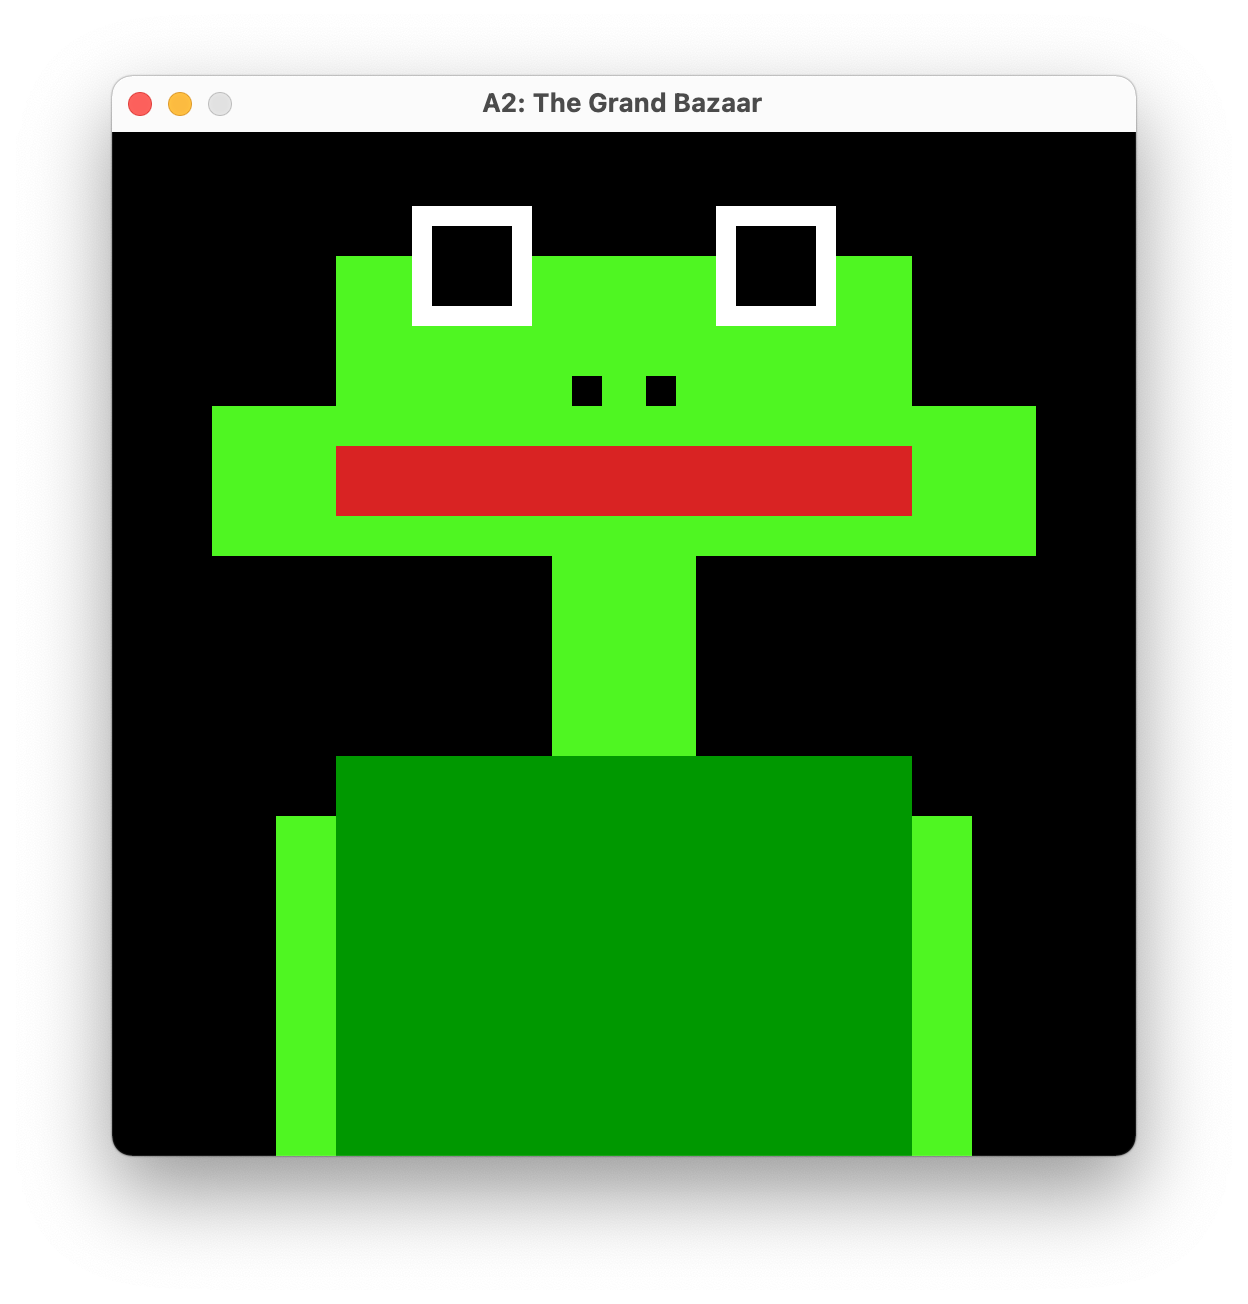
A mouse callback creating a cool interaction depending on the mouse cursor position. As well
as combinations of both keyboard and mouse.
This was about getting creative, and that is what I did with my time, I had a lot of fun
creating it.
Although the process of drawing in 2D and creating each vertex and color is quite tedious,
creating animations and making them interact with the peripherals is very interesting and
fun to experiment.
Laboratory 2
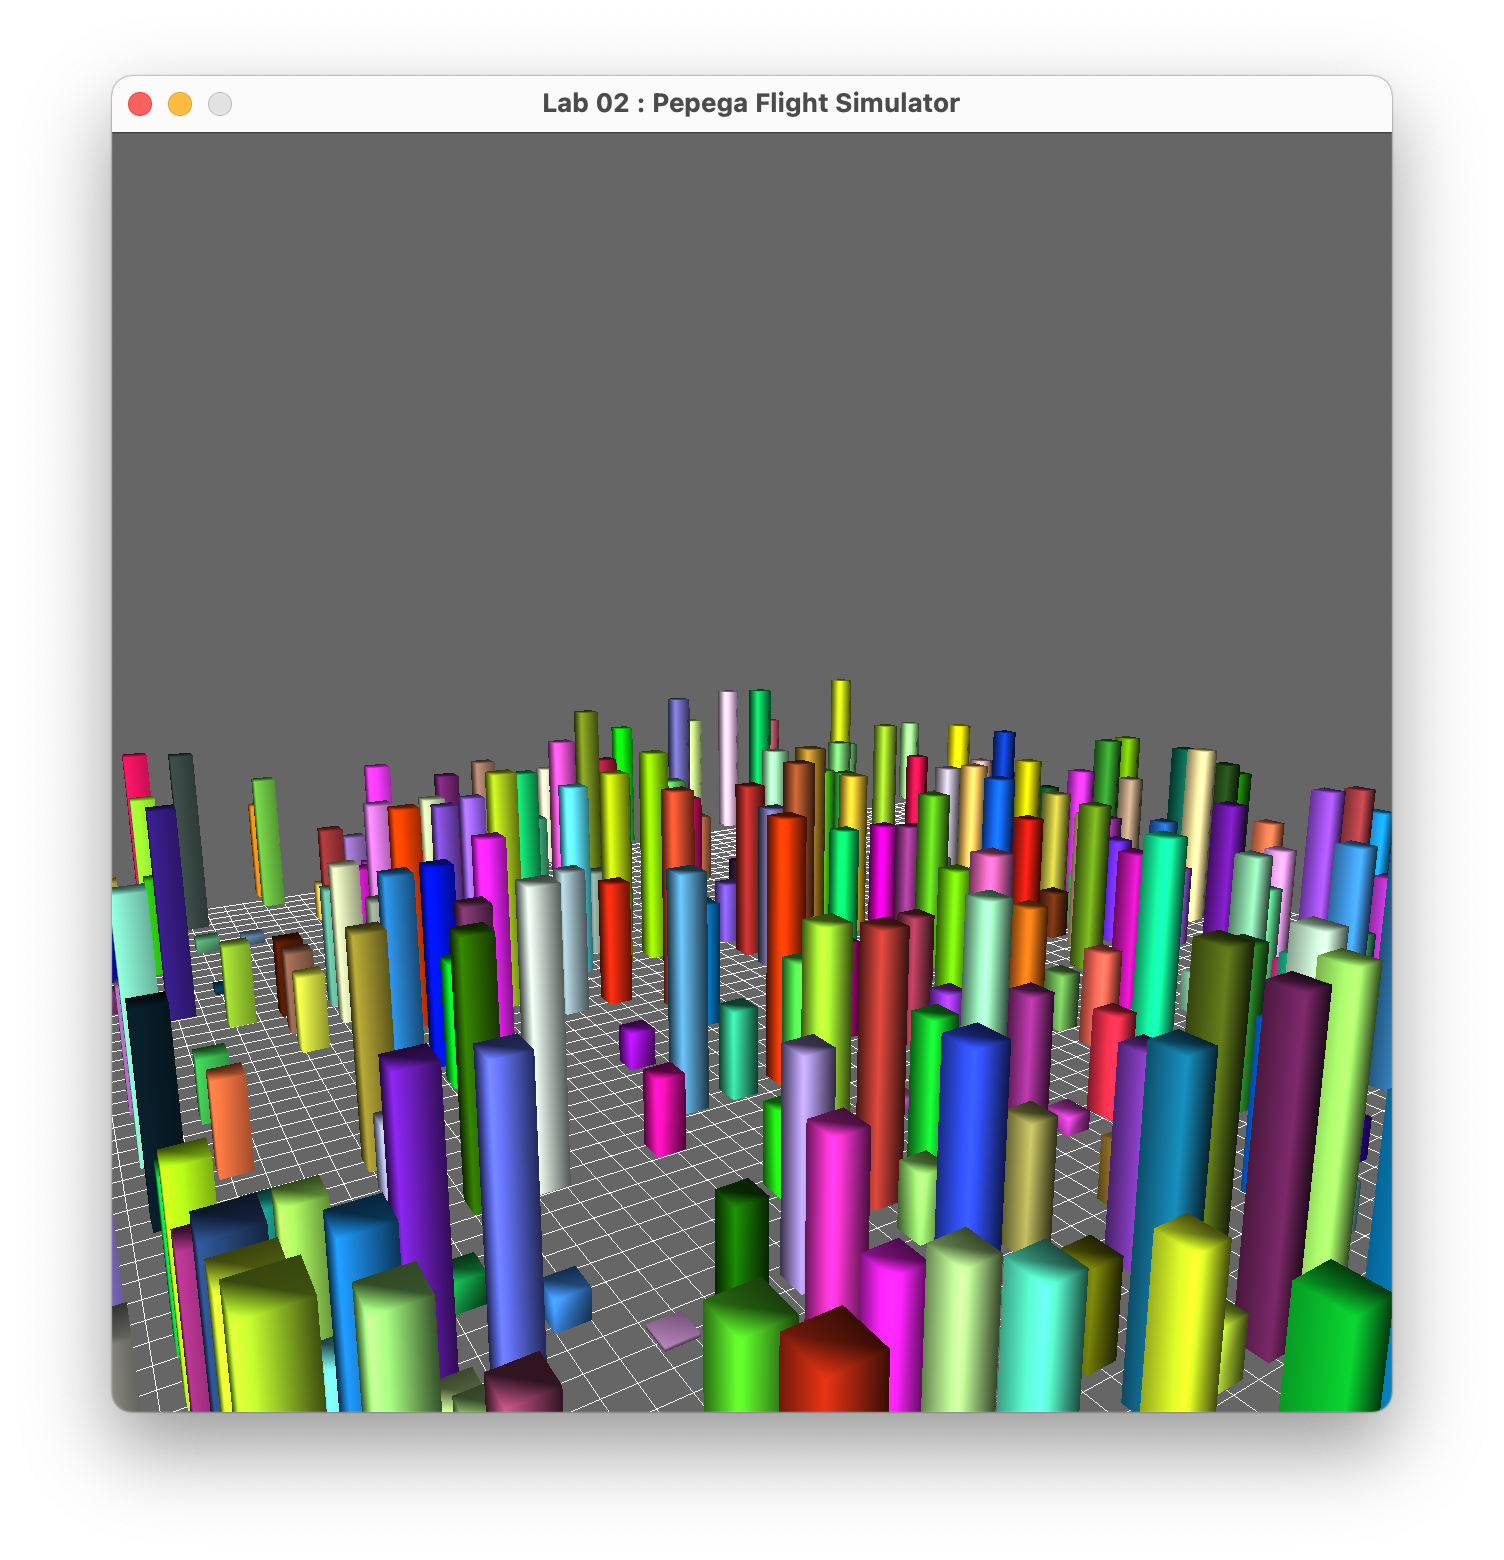
The main purpose of this lab was creating a free cam implementation in OpenGL.
First we created a grid with a bunch of random colored buildings (prims of different heights)
using some loops and matrices. And then after figuring out the conversion from Spherical to
Cartesian coordinates, we created methods to manipulate the direction, position and orientation
of our camera.
- We created forward and backward methods changing both the camera position and look-at point.
- A mouse callback to change theta to turn the camera left and right, and phi to turn the camera
up and down.
With those apparently easy methods (not easy at all) we could fly around the city with our free camera.
We really became pilots, pilots of aeroplano.
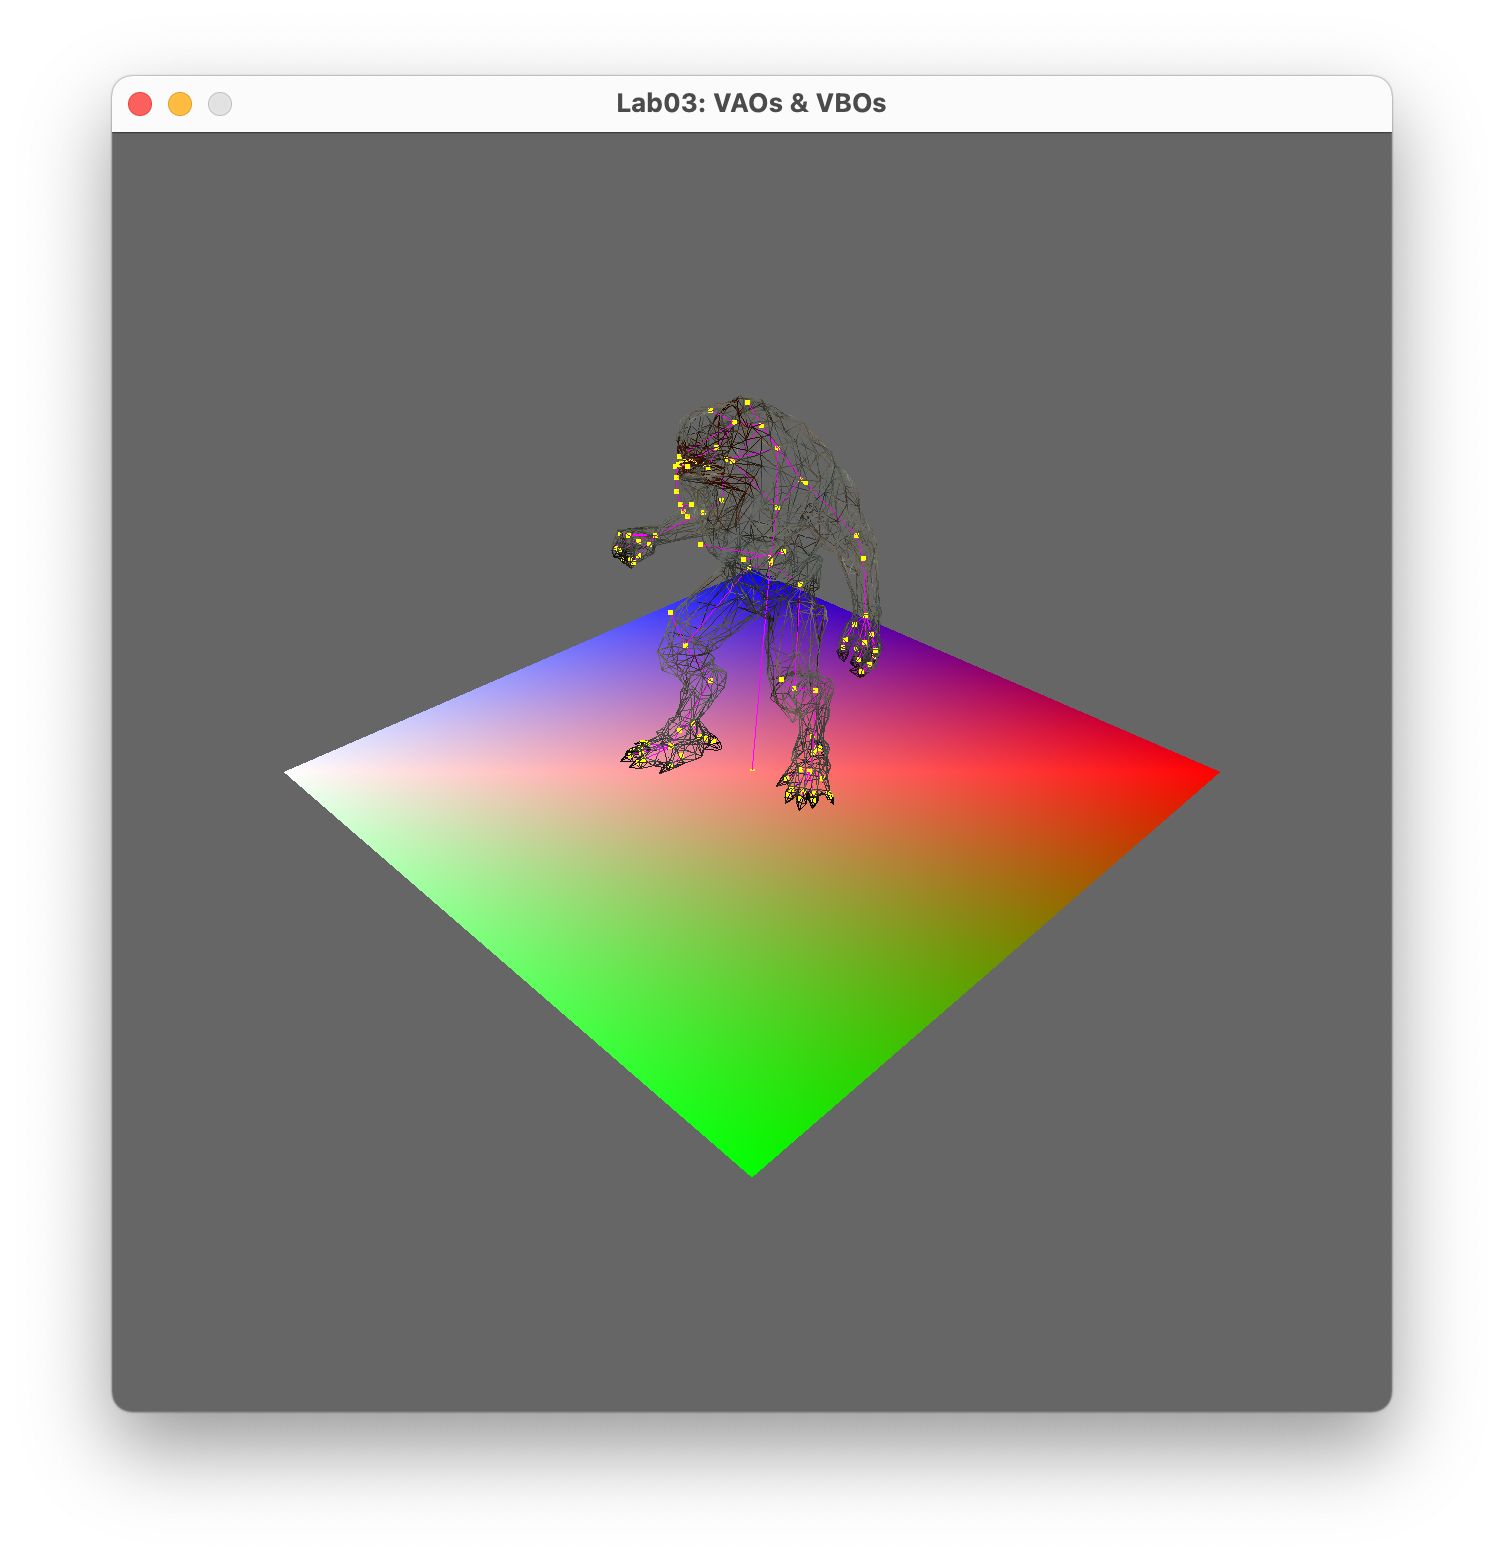
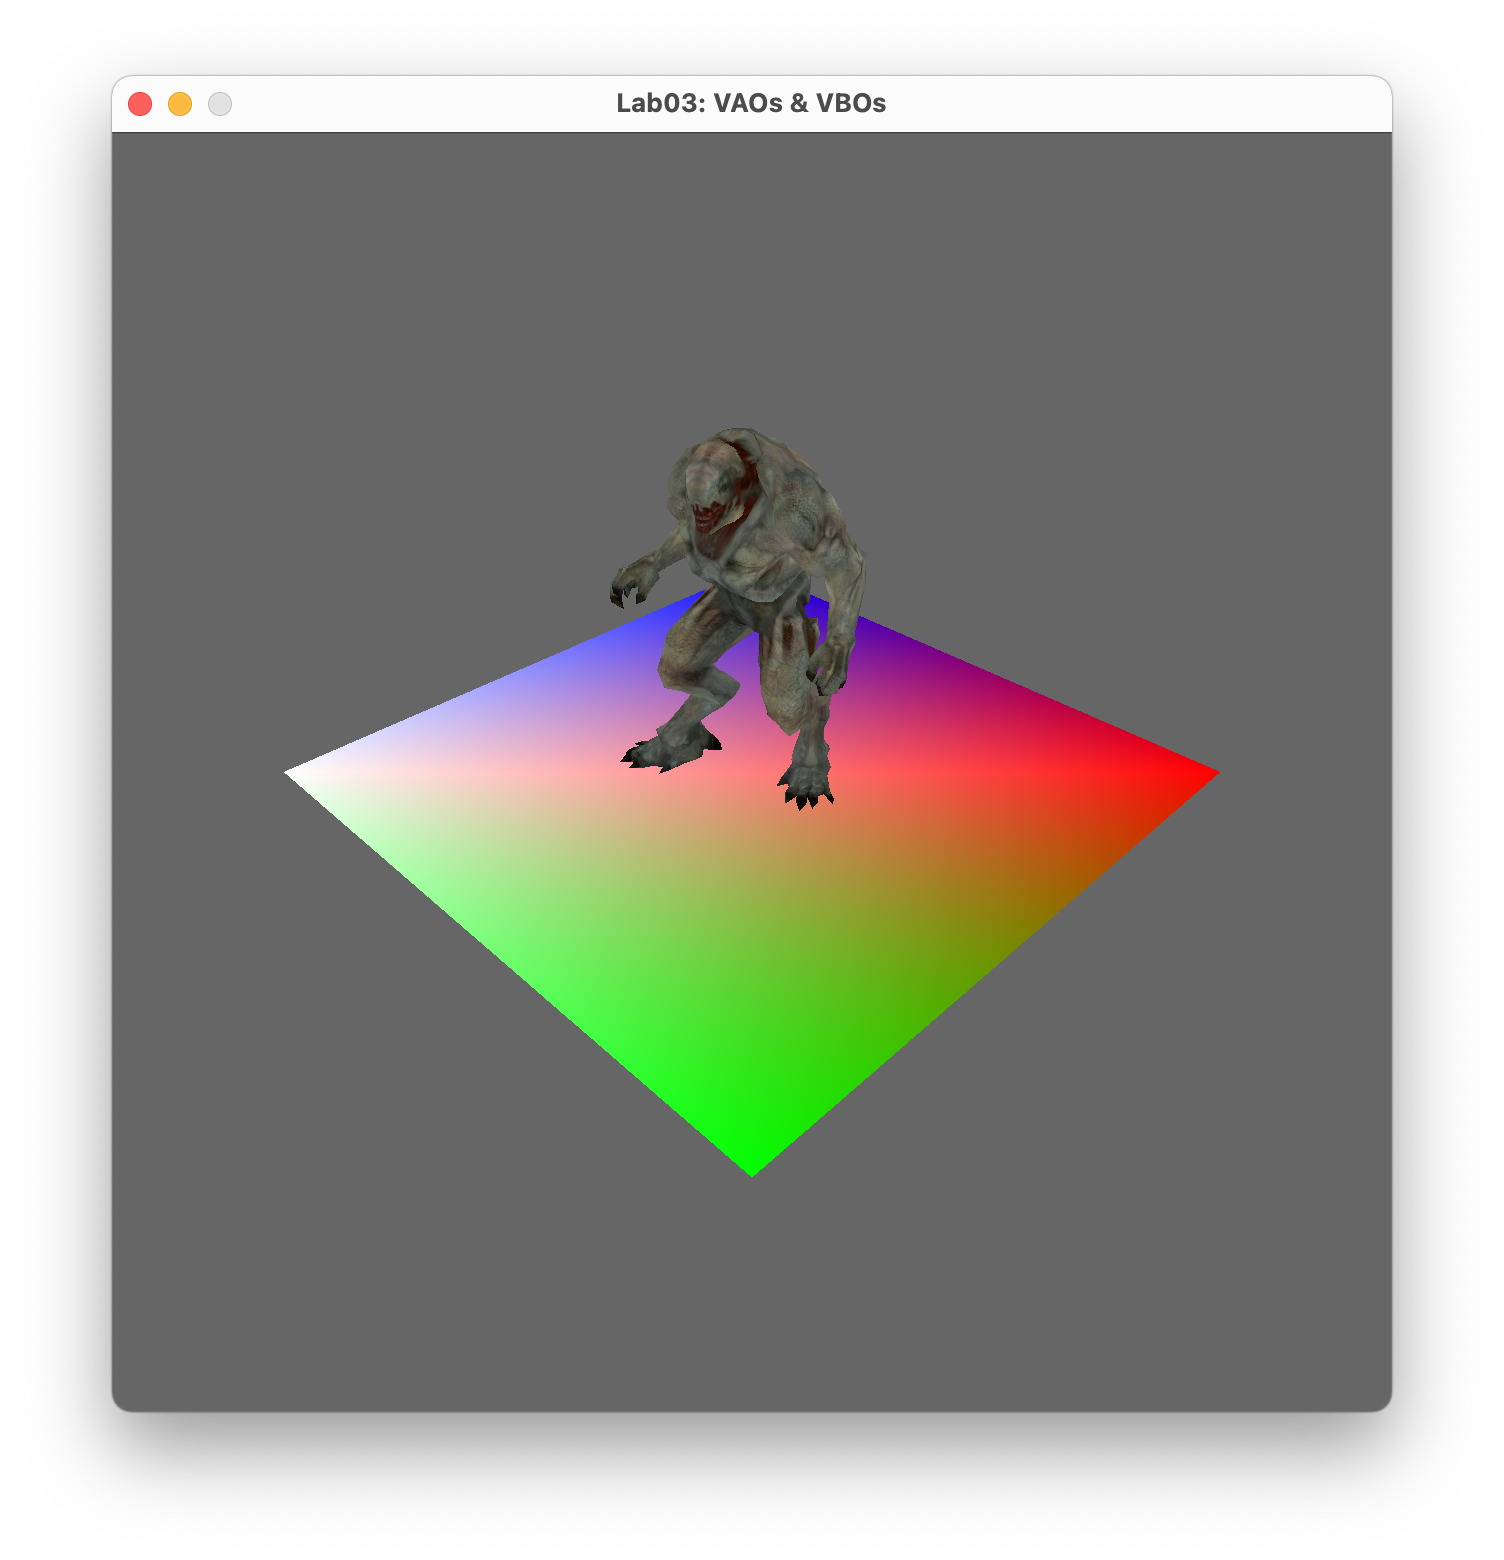
Laboratory 3
In this laboratory we mainly focused and the more complex and core logic of the 3D rendering.
We used vertex array objects (VAOs), vertex buffer objects (VBOs) and index buffer objects (IBOs)
to render a model, a grid and some textures.
For this program we had a hellknight model with all its wireframe, skeleton and mesh. We were able to toggle
this layers, and also get to see the model animated. We used the MD5 model for the character and animations,
but we did not implement that part, it was given with this lab. Most of the work consisted in following all
the steps required to make that model render in our 3D world.
The process of creating 3D objects this way is somehow tedious, because it takes a lot a different and
specific steps that you cannot skip, and if you do, it will not work. Despite the complexity of the technique,
I think it was a great way to appreciate all the work that is behind many things we have been using for
years.

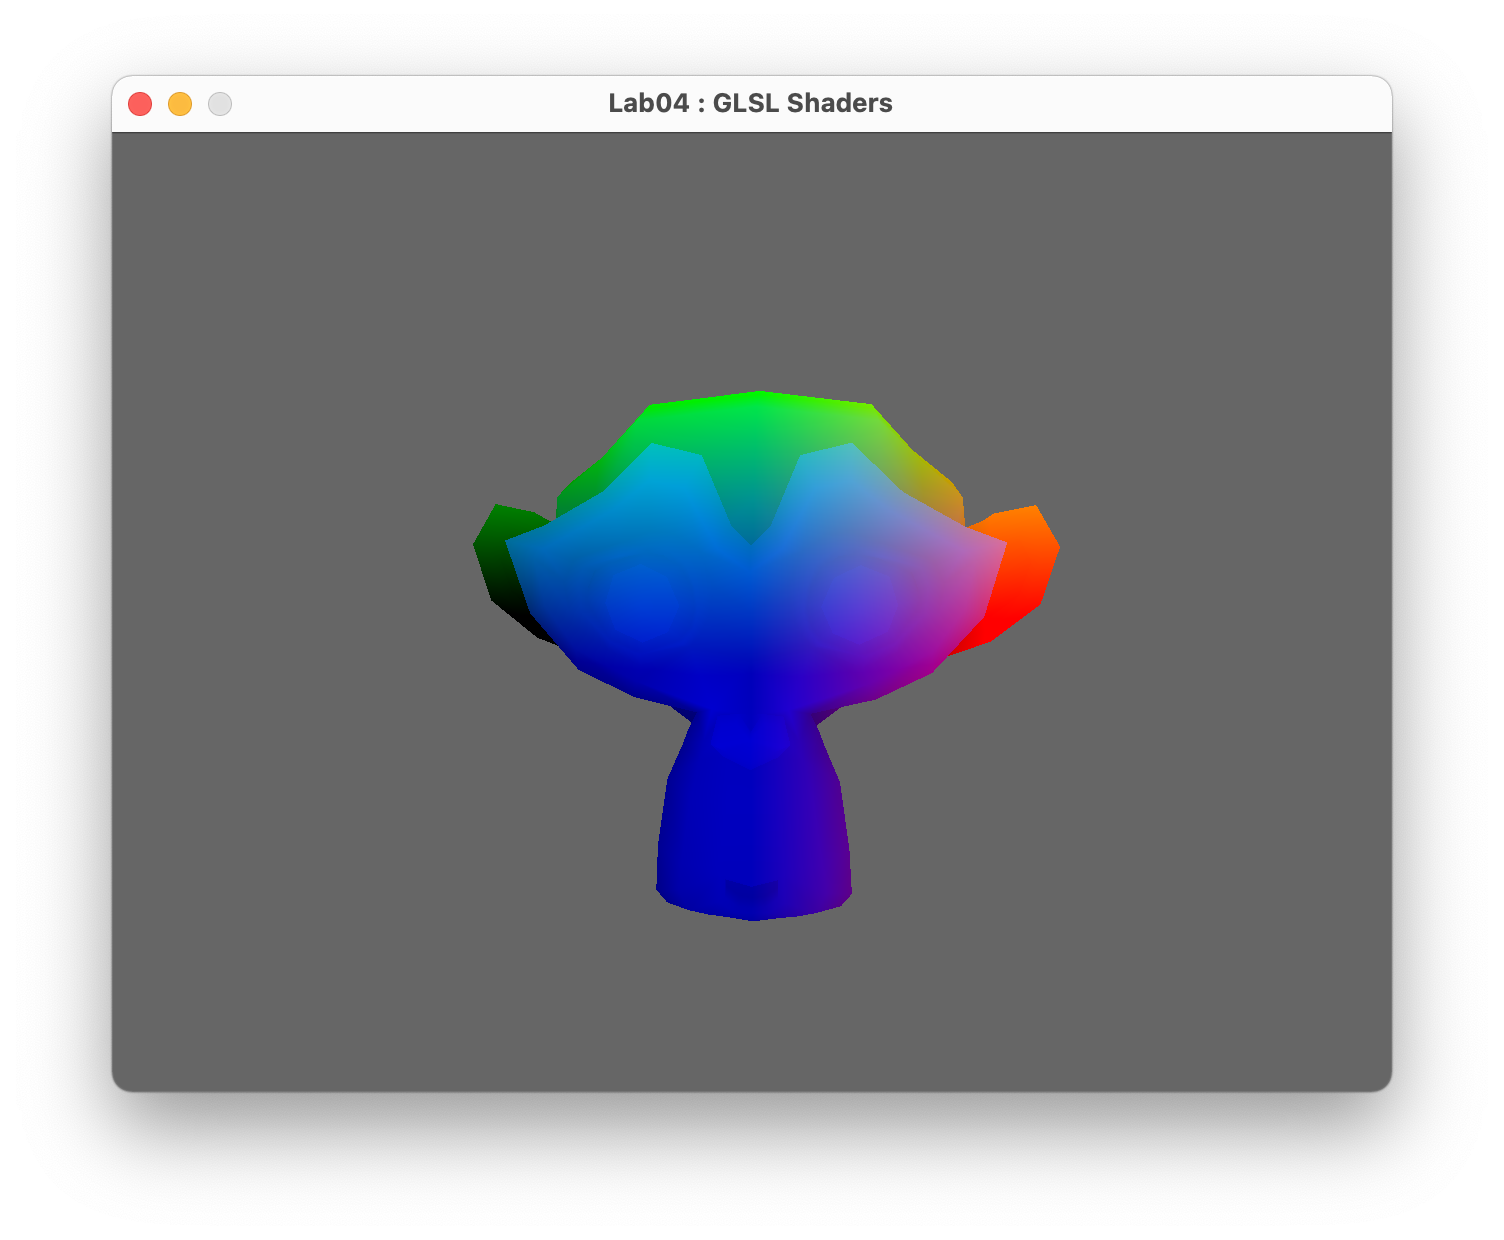
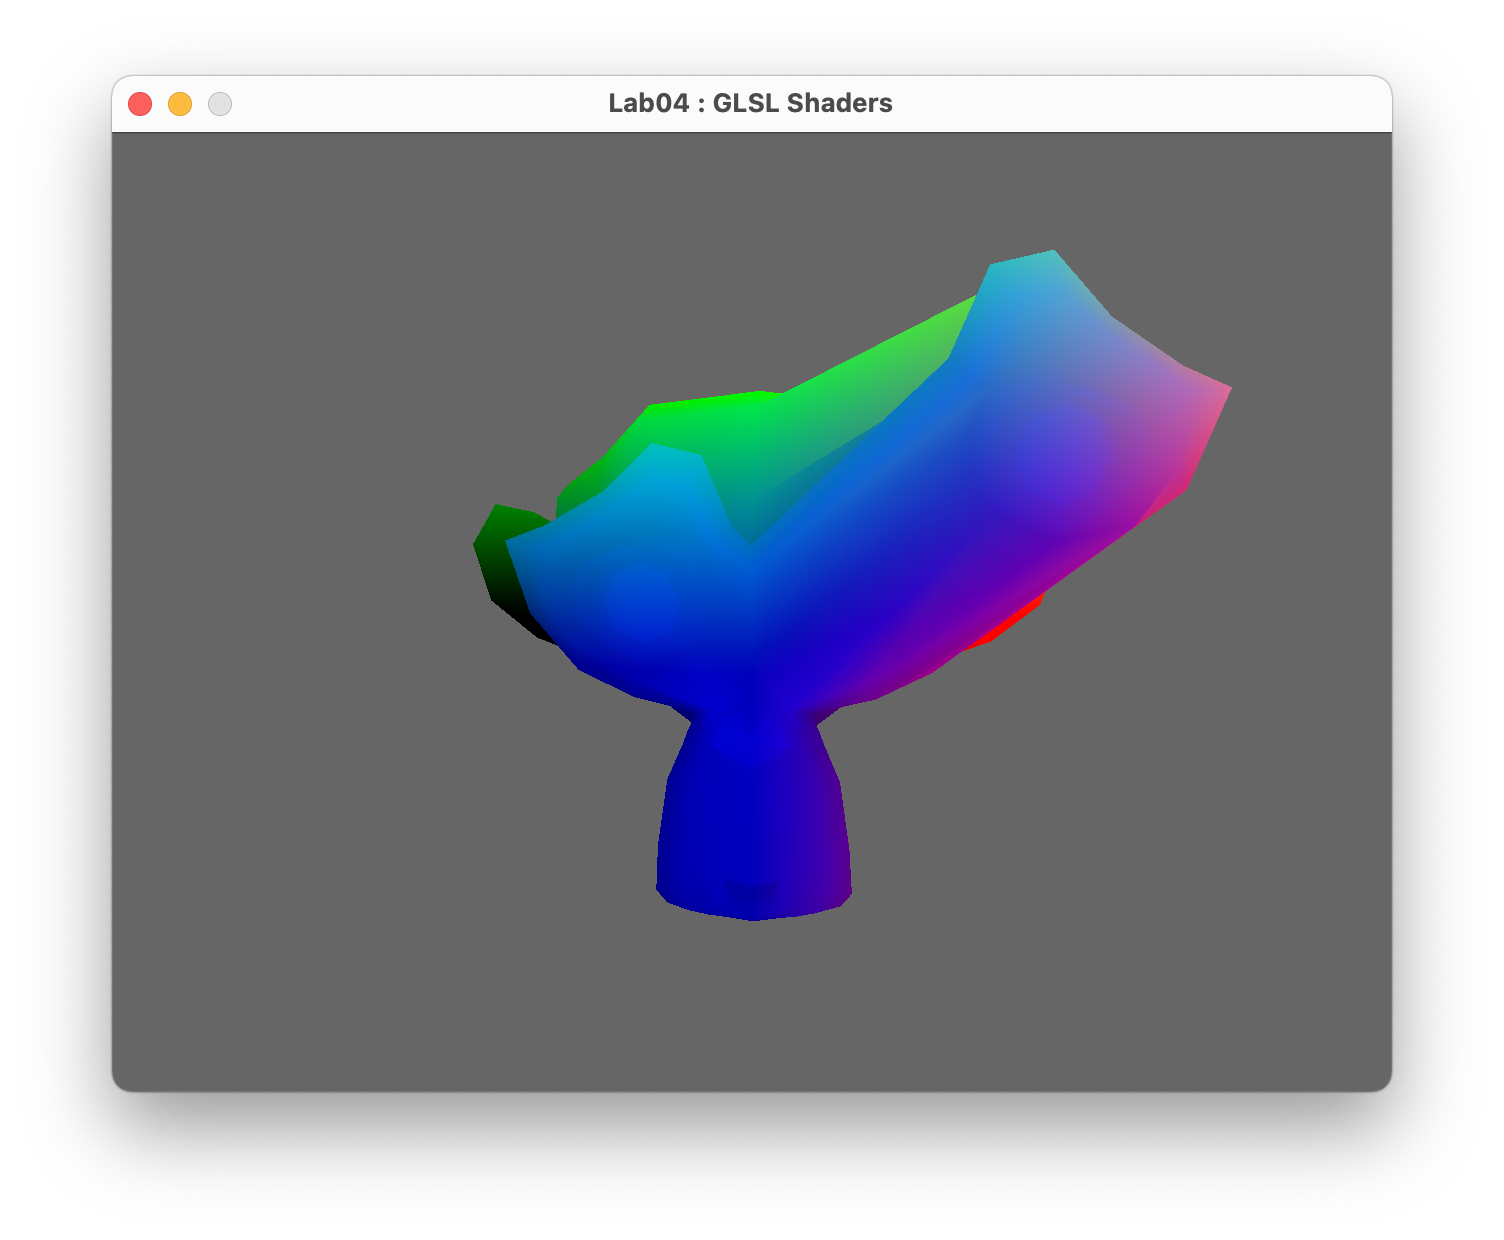
Laboratory 4
Shaders are a whole other world inside the graphical universe, and in this lab we learned how to set up
basic shaders for a couple of 3D models. Using openGL and GLSL in conjuction we used uniforms, attributes
and varying to move data from the engine to the shader, and from the vertex shader to the fragment shader.
Apart from the classic teapot, a cube, sphere and some other shapes, we rendered Suzanne, a cool monkey model
and we see using a free cam around the 3D space. After setting up the uniforms with locations, the attributes
and moving the data correctly from one shader to the other, we could see the models all in a white shade.
After that we added colors to all models, inclusing Suzanne, and finally we animated the models by making a
small region of the mesh to pulse in and out.
We learned some important things thanks to the questions and requirements of this lab. We used GLSL for the first
time, learned how uniforms, attributes and varyings work, and how they move the information. This lab stablished the
foundation of our shader development, so now we can improve, extend and create better looking and more complex shaders
in the future.
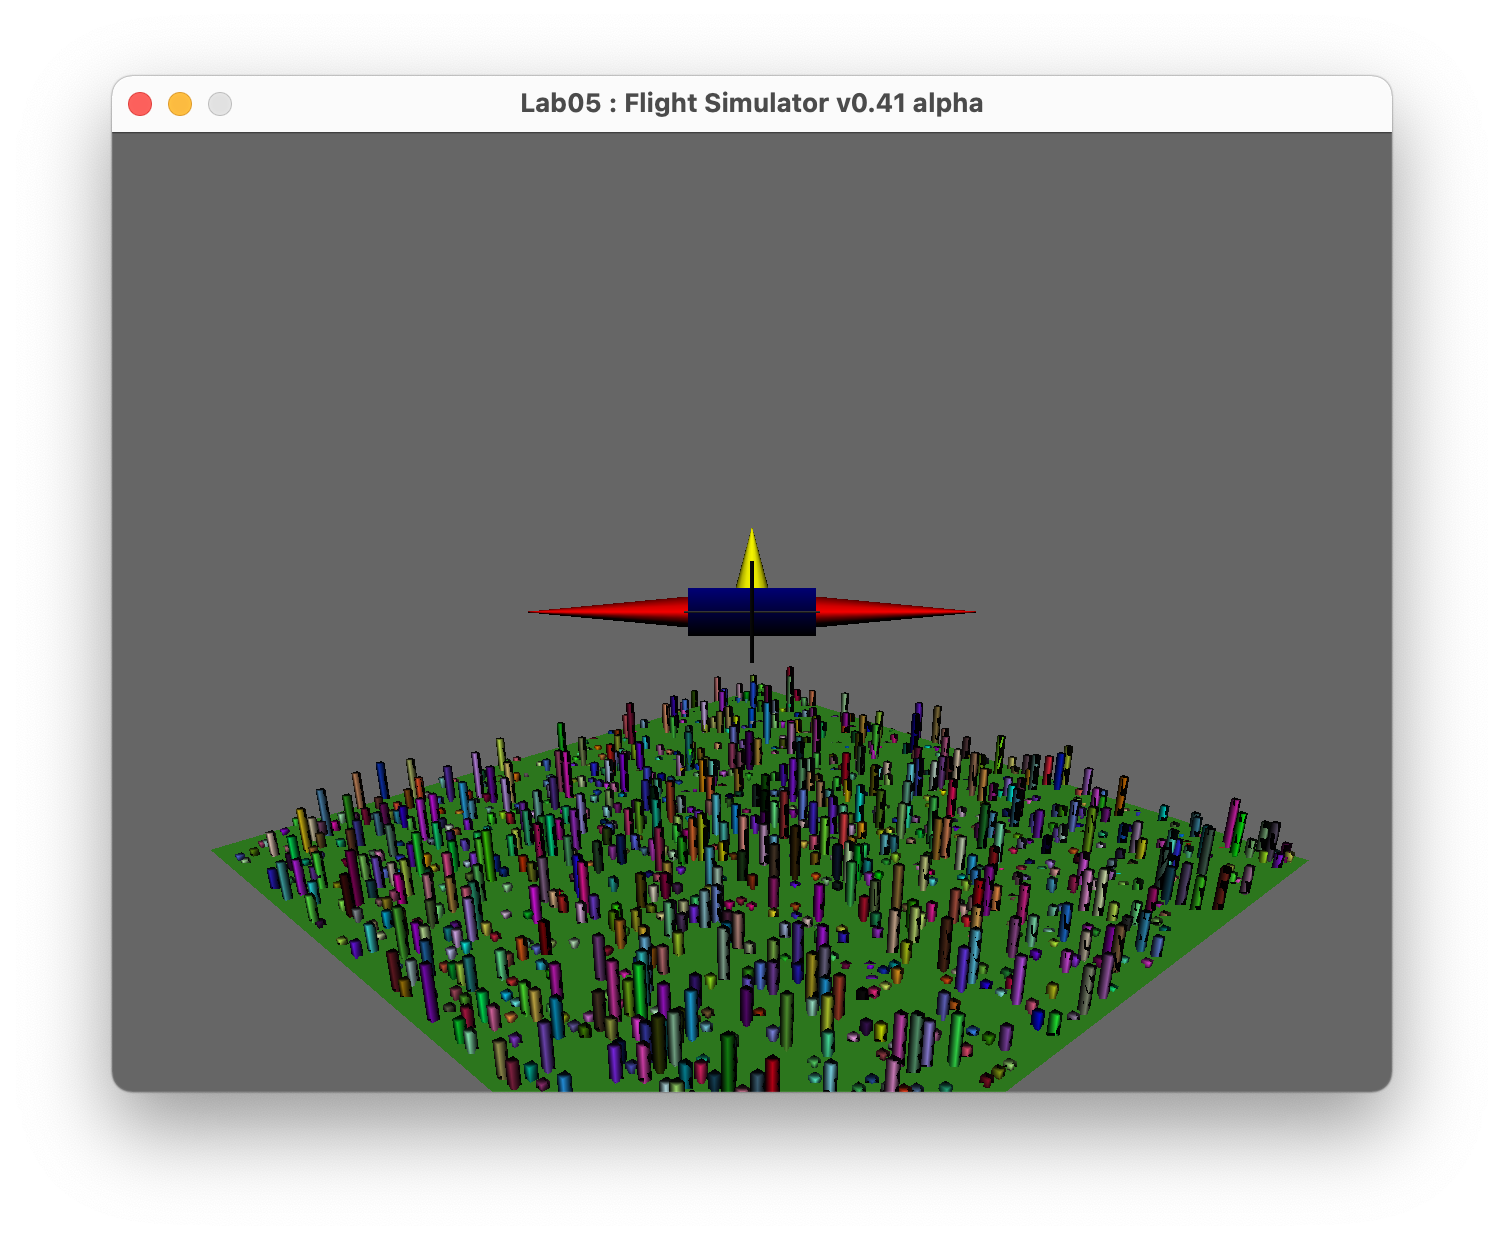
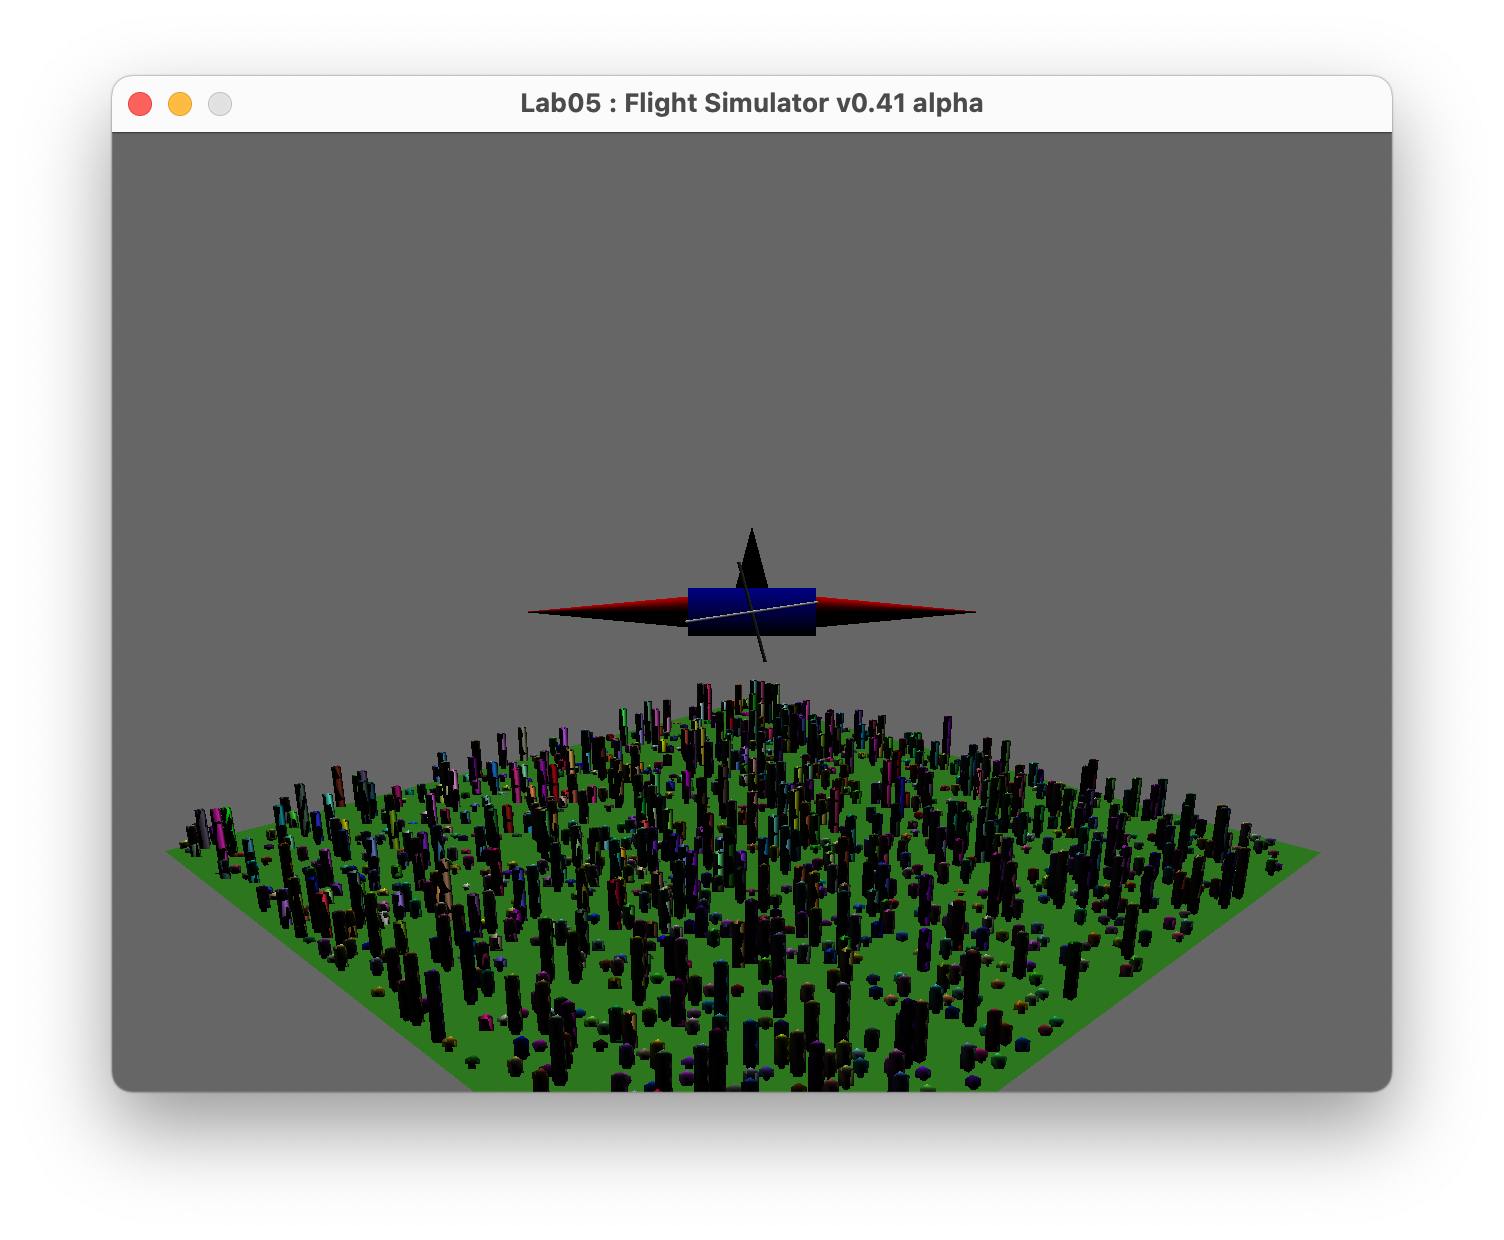
Laboratory 5
Light is able to change how we see things, and that makes it very important. In this laboratory we implemented
illumination into the GLSL shaders so colors don't look plain, sad and boring.
In our city of random buildings a using a plane model with a free camera to fly around we set up the shaders.
As part of the Phong Illumination model, we only implemented the lambertian diffuse ilumination in the vertex shader,
so we had a directional light which lid up one face of the city, and the other side was darker.
The math behind this lighting is very intersting, but also enough complex to make it long to implement, specially
if you wanted to create the full illumination model.
I think with this lab we are now able to setup our own lights for our world, and using more techniques, we can even
use different styles to create awesome and detailed projects.
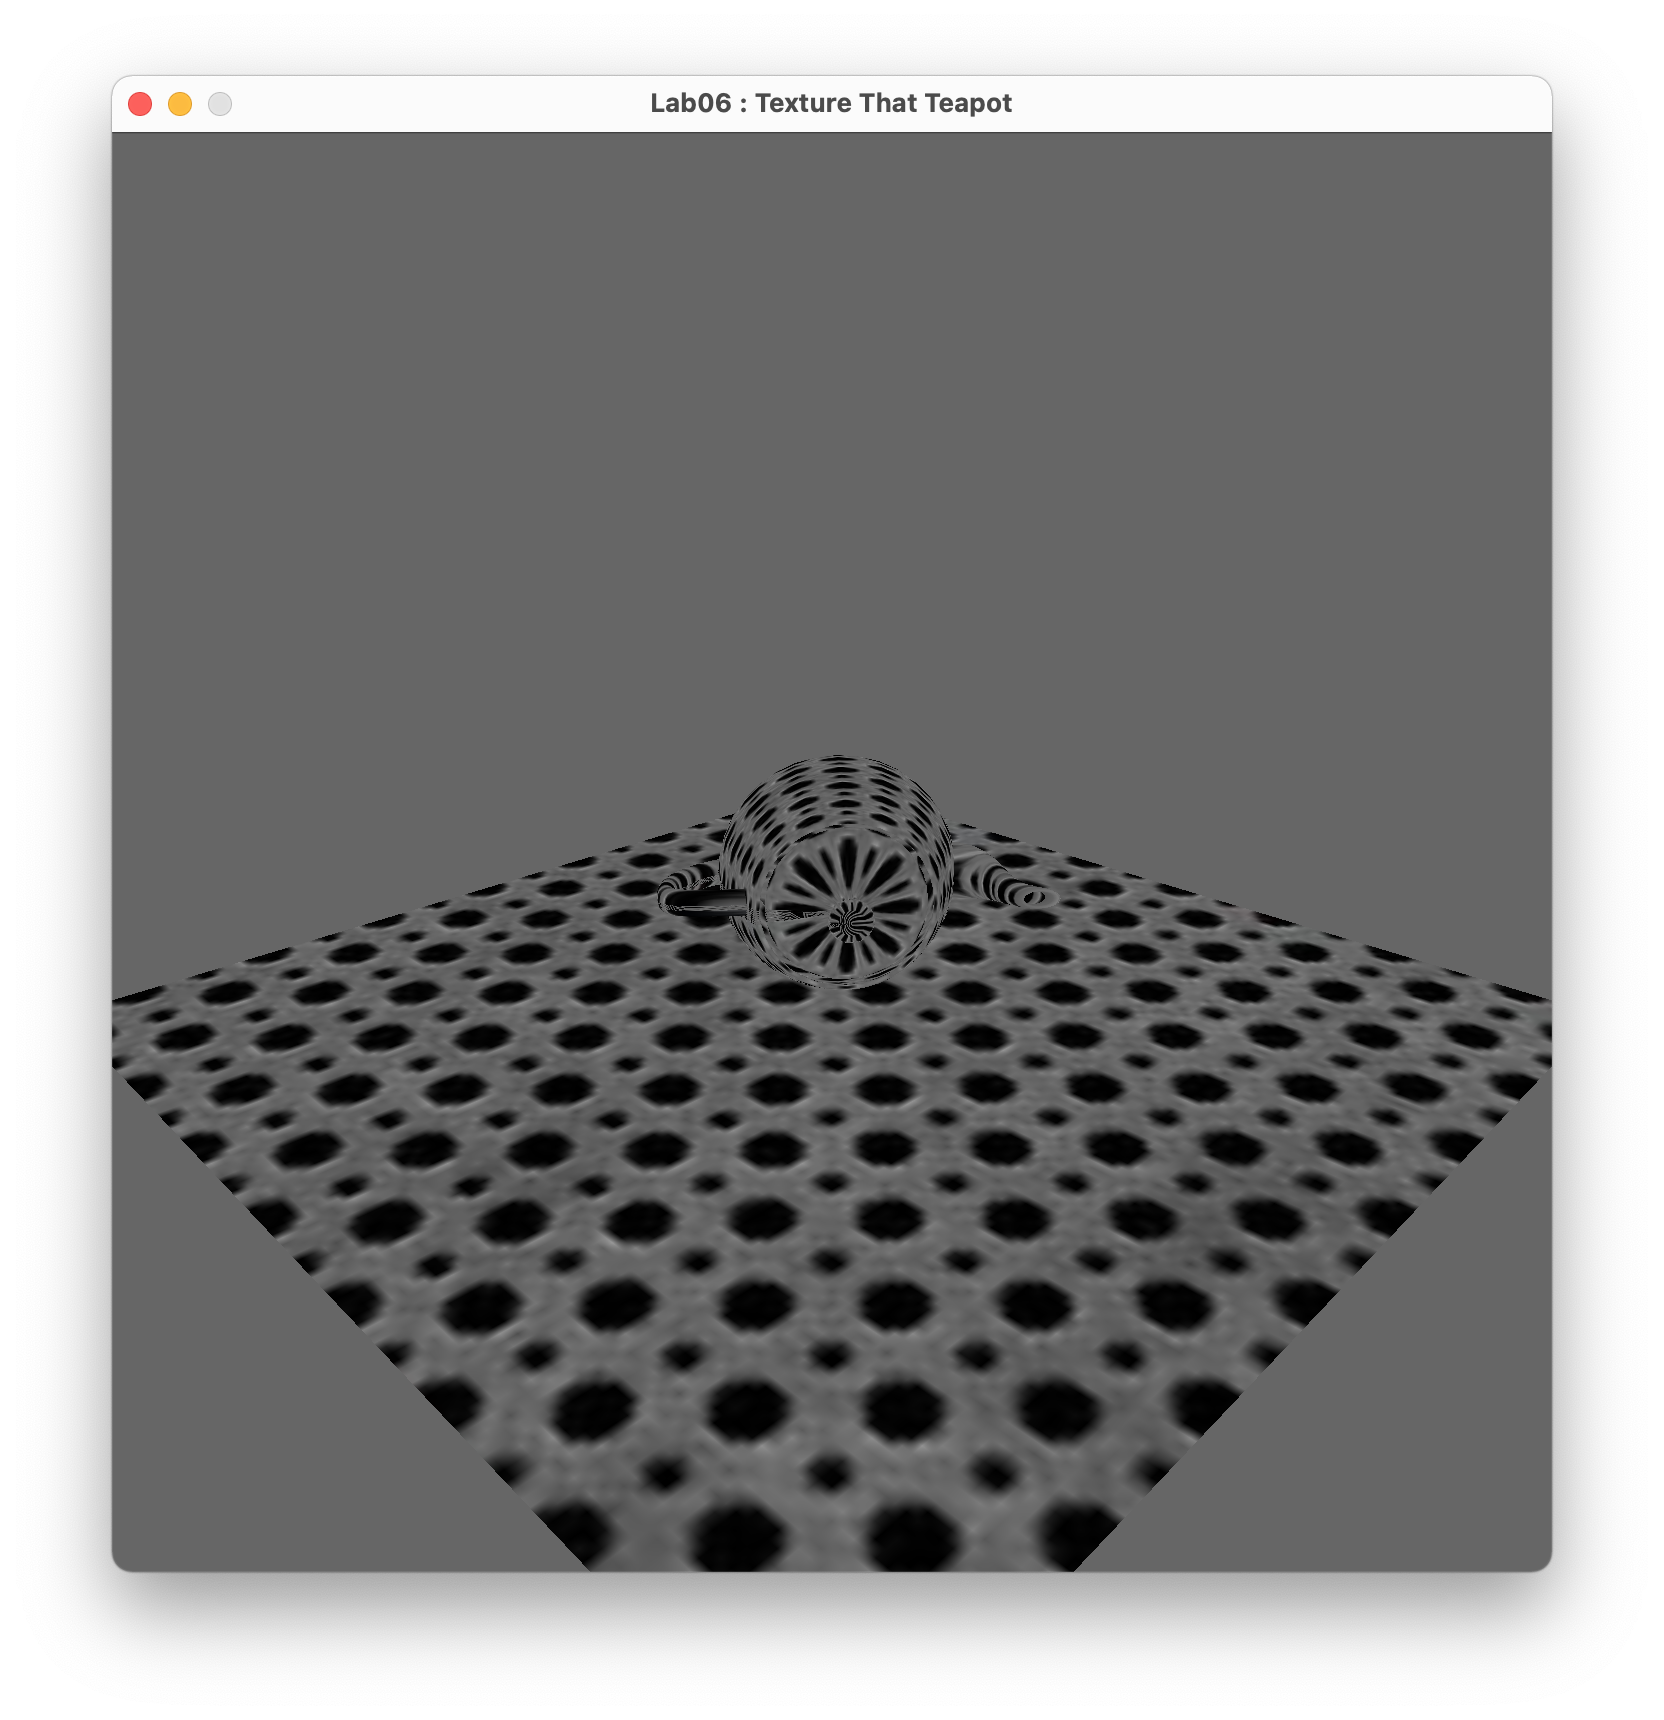
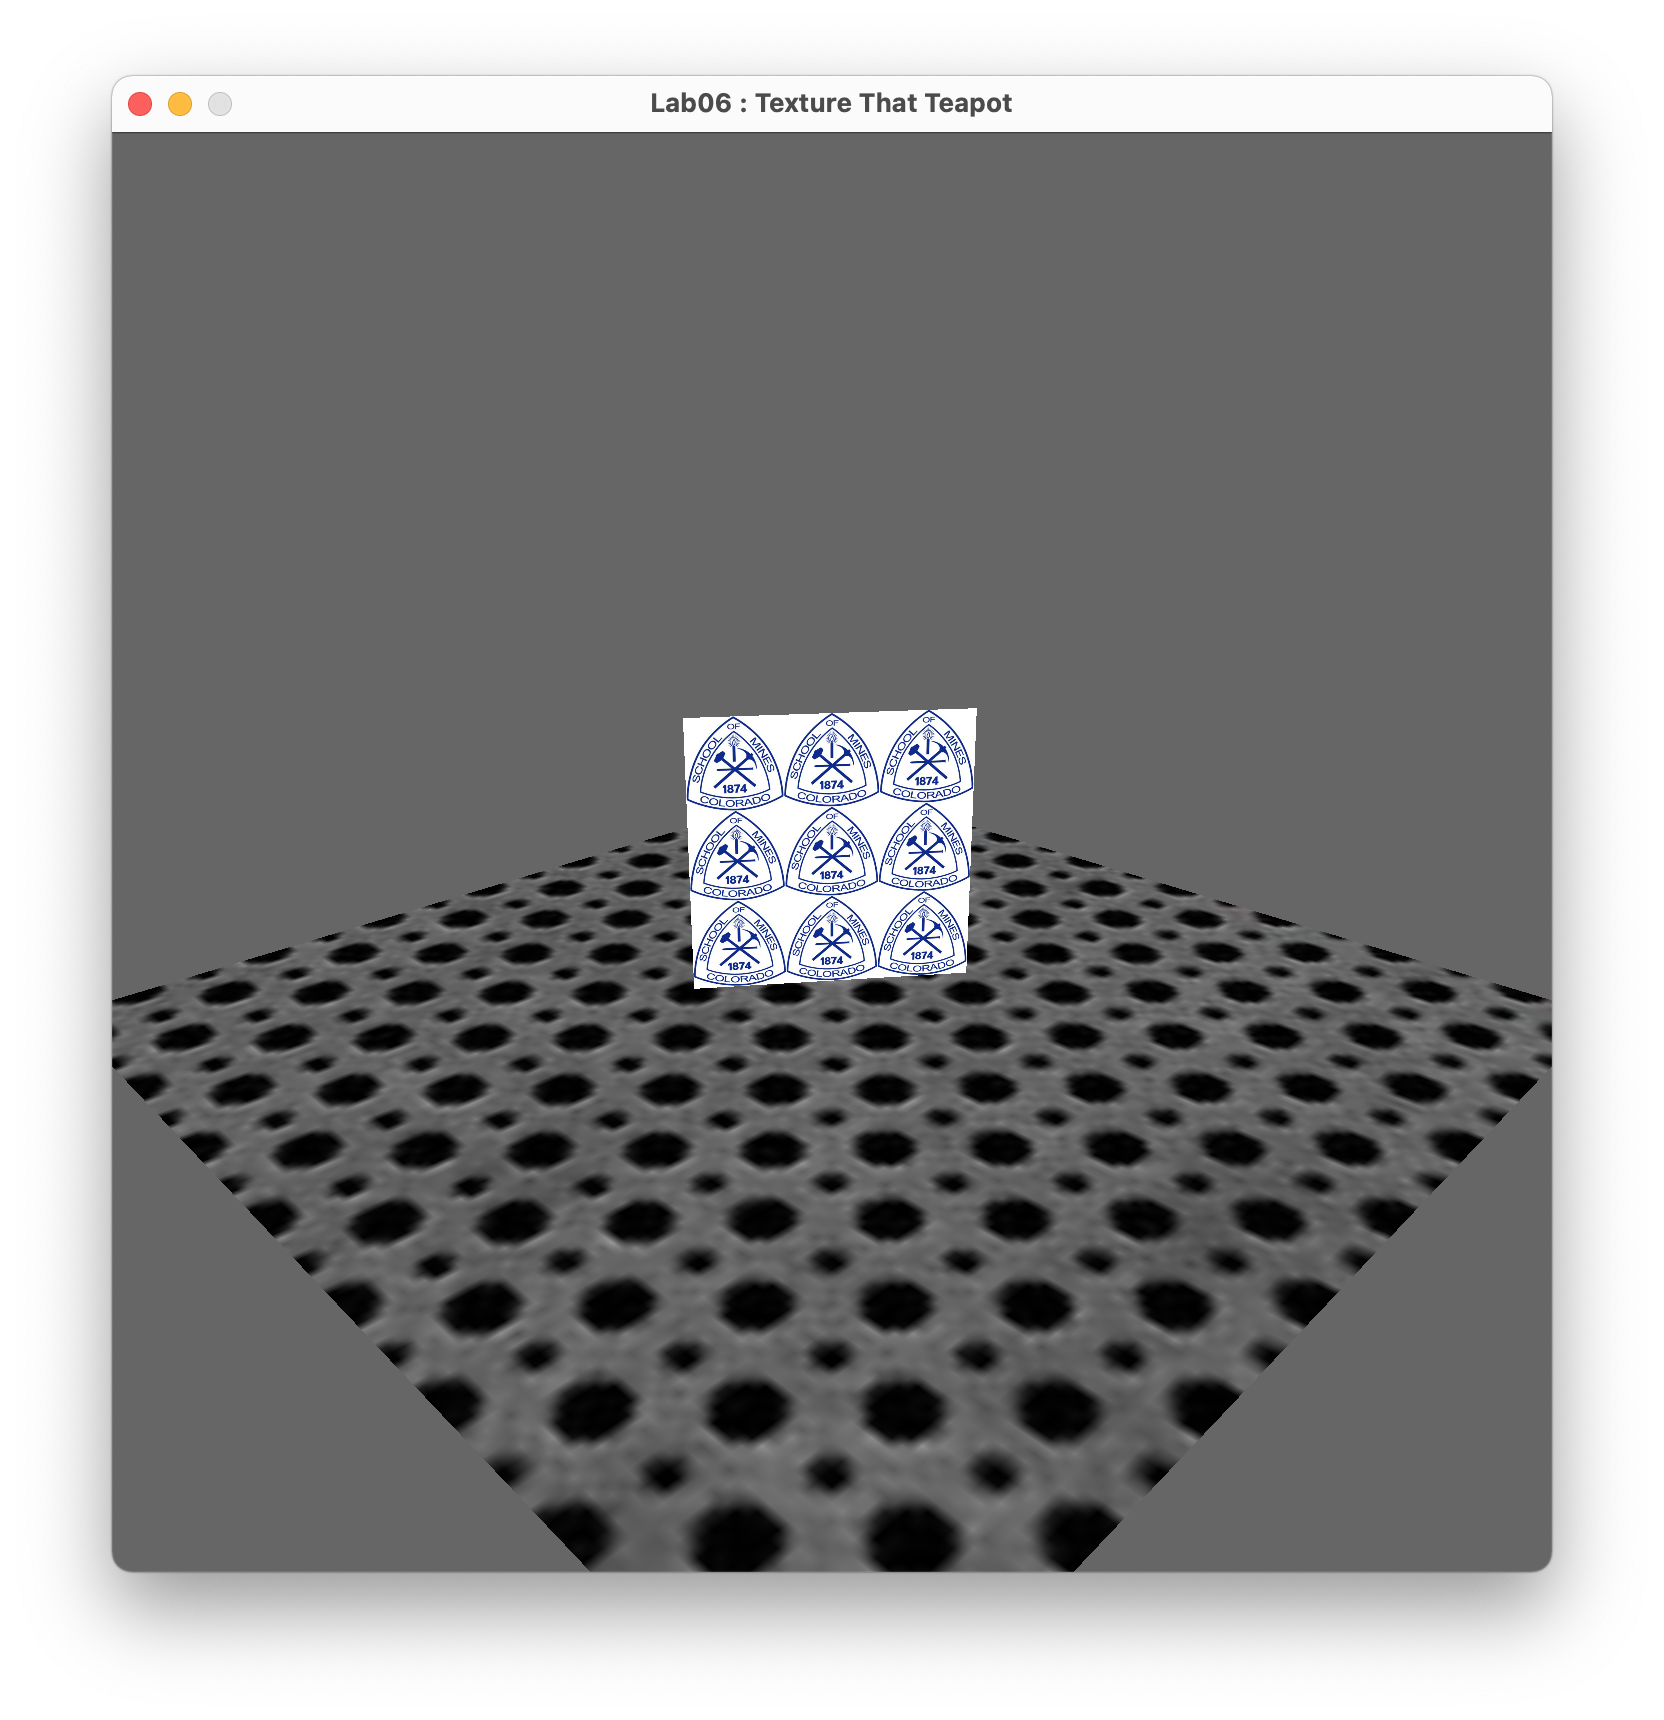
Laboratory 6
Sometimes colors are not enough to create graphics, we need textures. In this lab we started using
simple texture for some objects and models in a 3D grid.
First we setted up the vertex and fragment shaders, to map the texture coordinate and color. We connected with
the shader from the engine, and loaded the textures from image files. Generated a texture handle, binding it, setting
the mag and min filters, setting the S and T coordinate wrapping and sending the data to the GPU.
We used more technical skills to apply actual textures in a form of images to 3D models and figures, such as the cube,
teapot and the hellknight. We textured the grid with a metal material image, and also added the Mines logo to some of
the figures. Maping and coordinates are key here for textures, otherwise your models end up looking like very ugly
wrapped presents.
Definitely something very useful and fun to implement in a 3D world to give more detail and realism to what we
want to create.
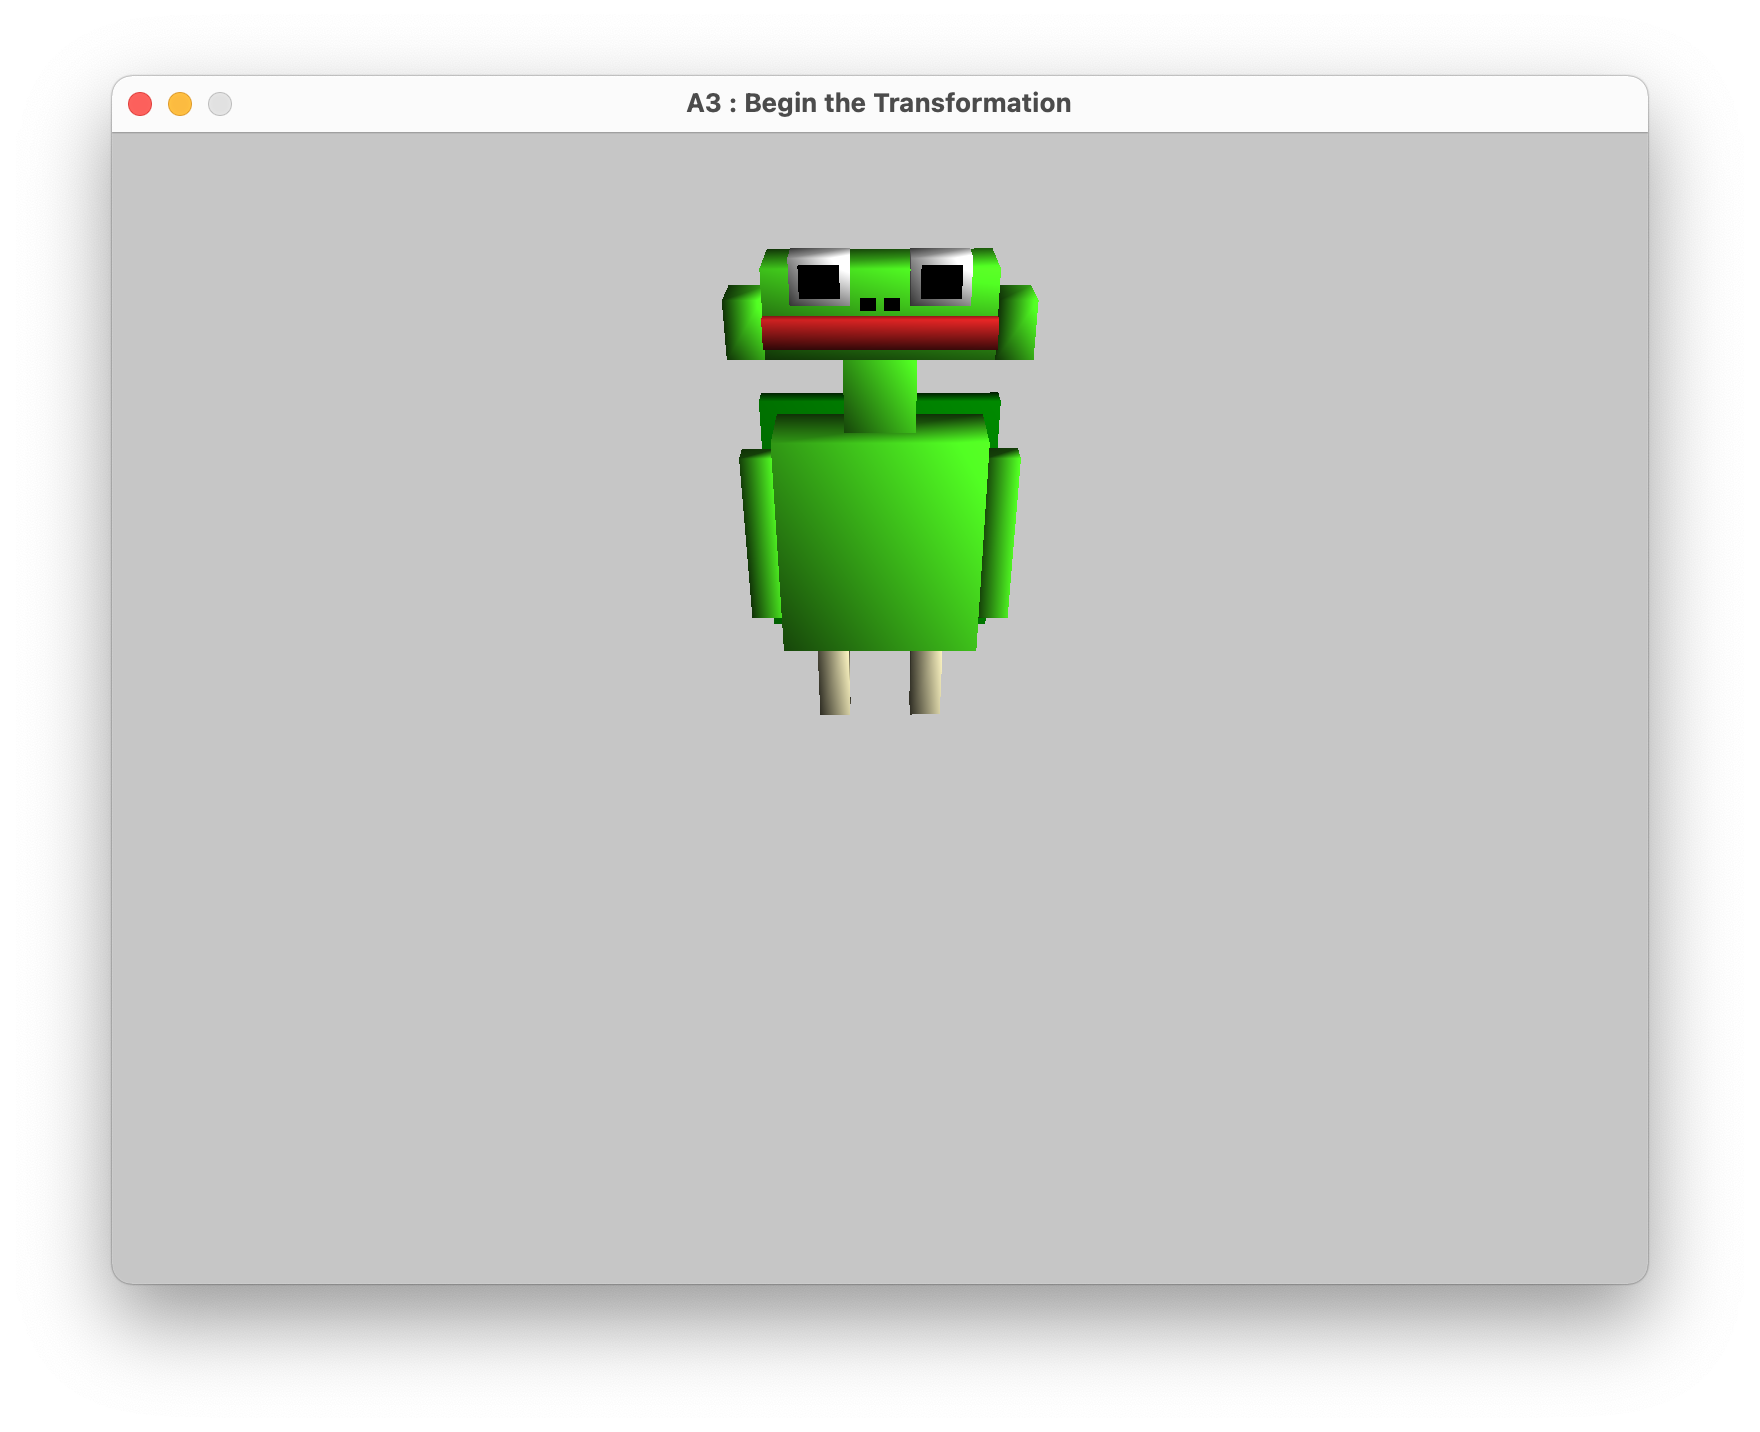
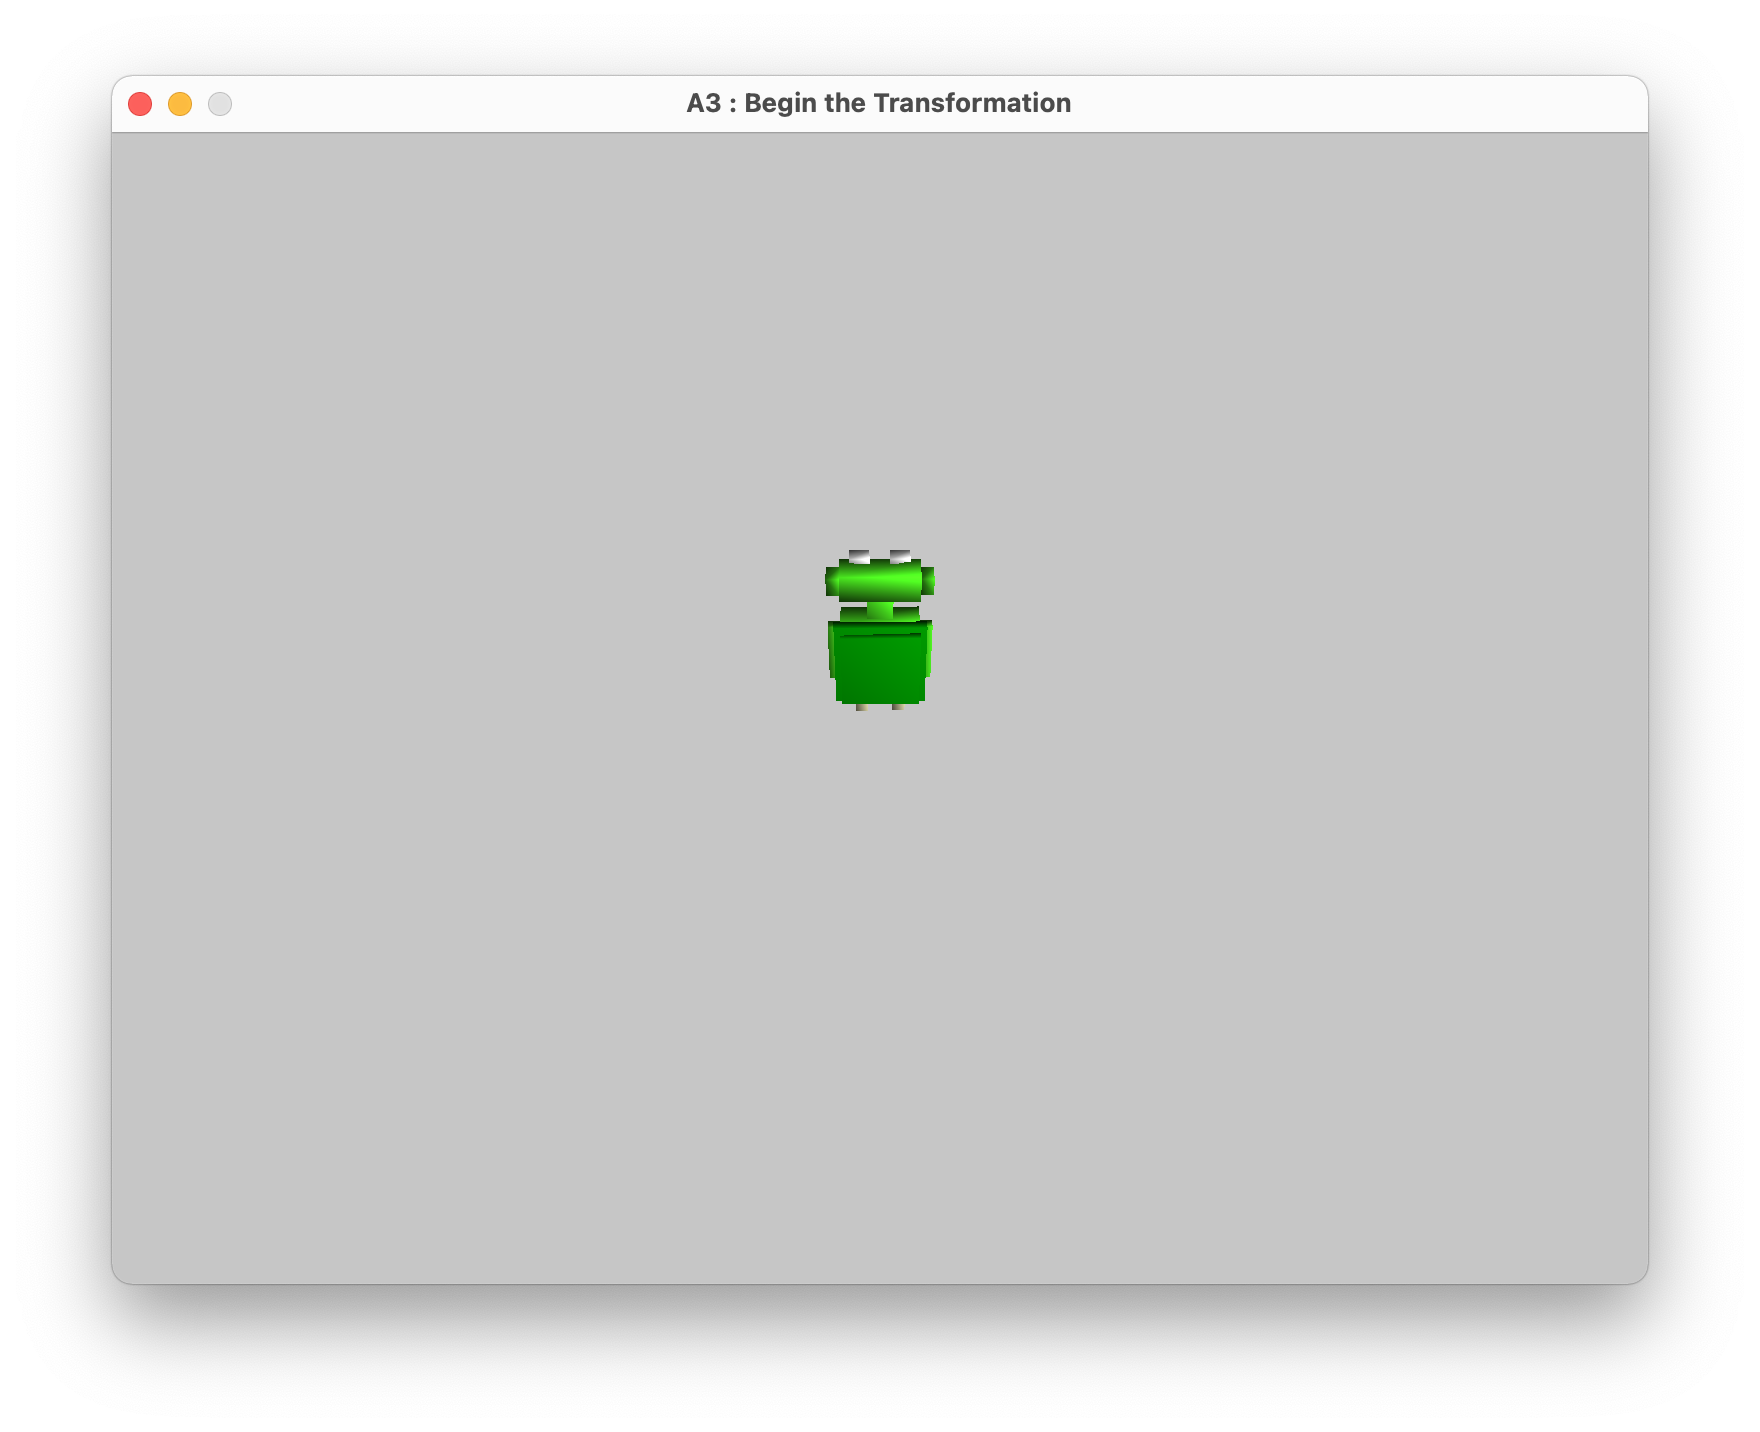
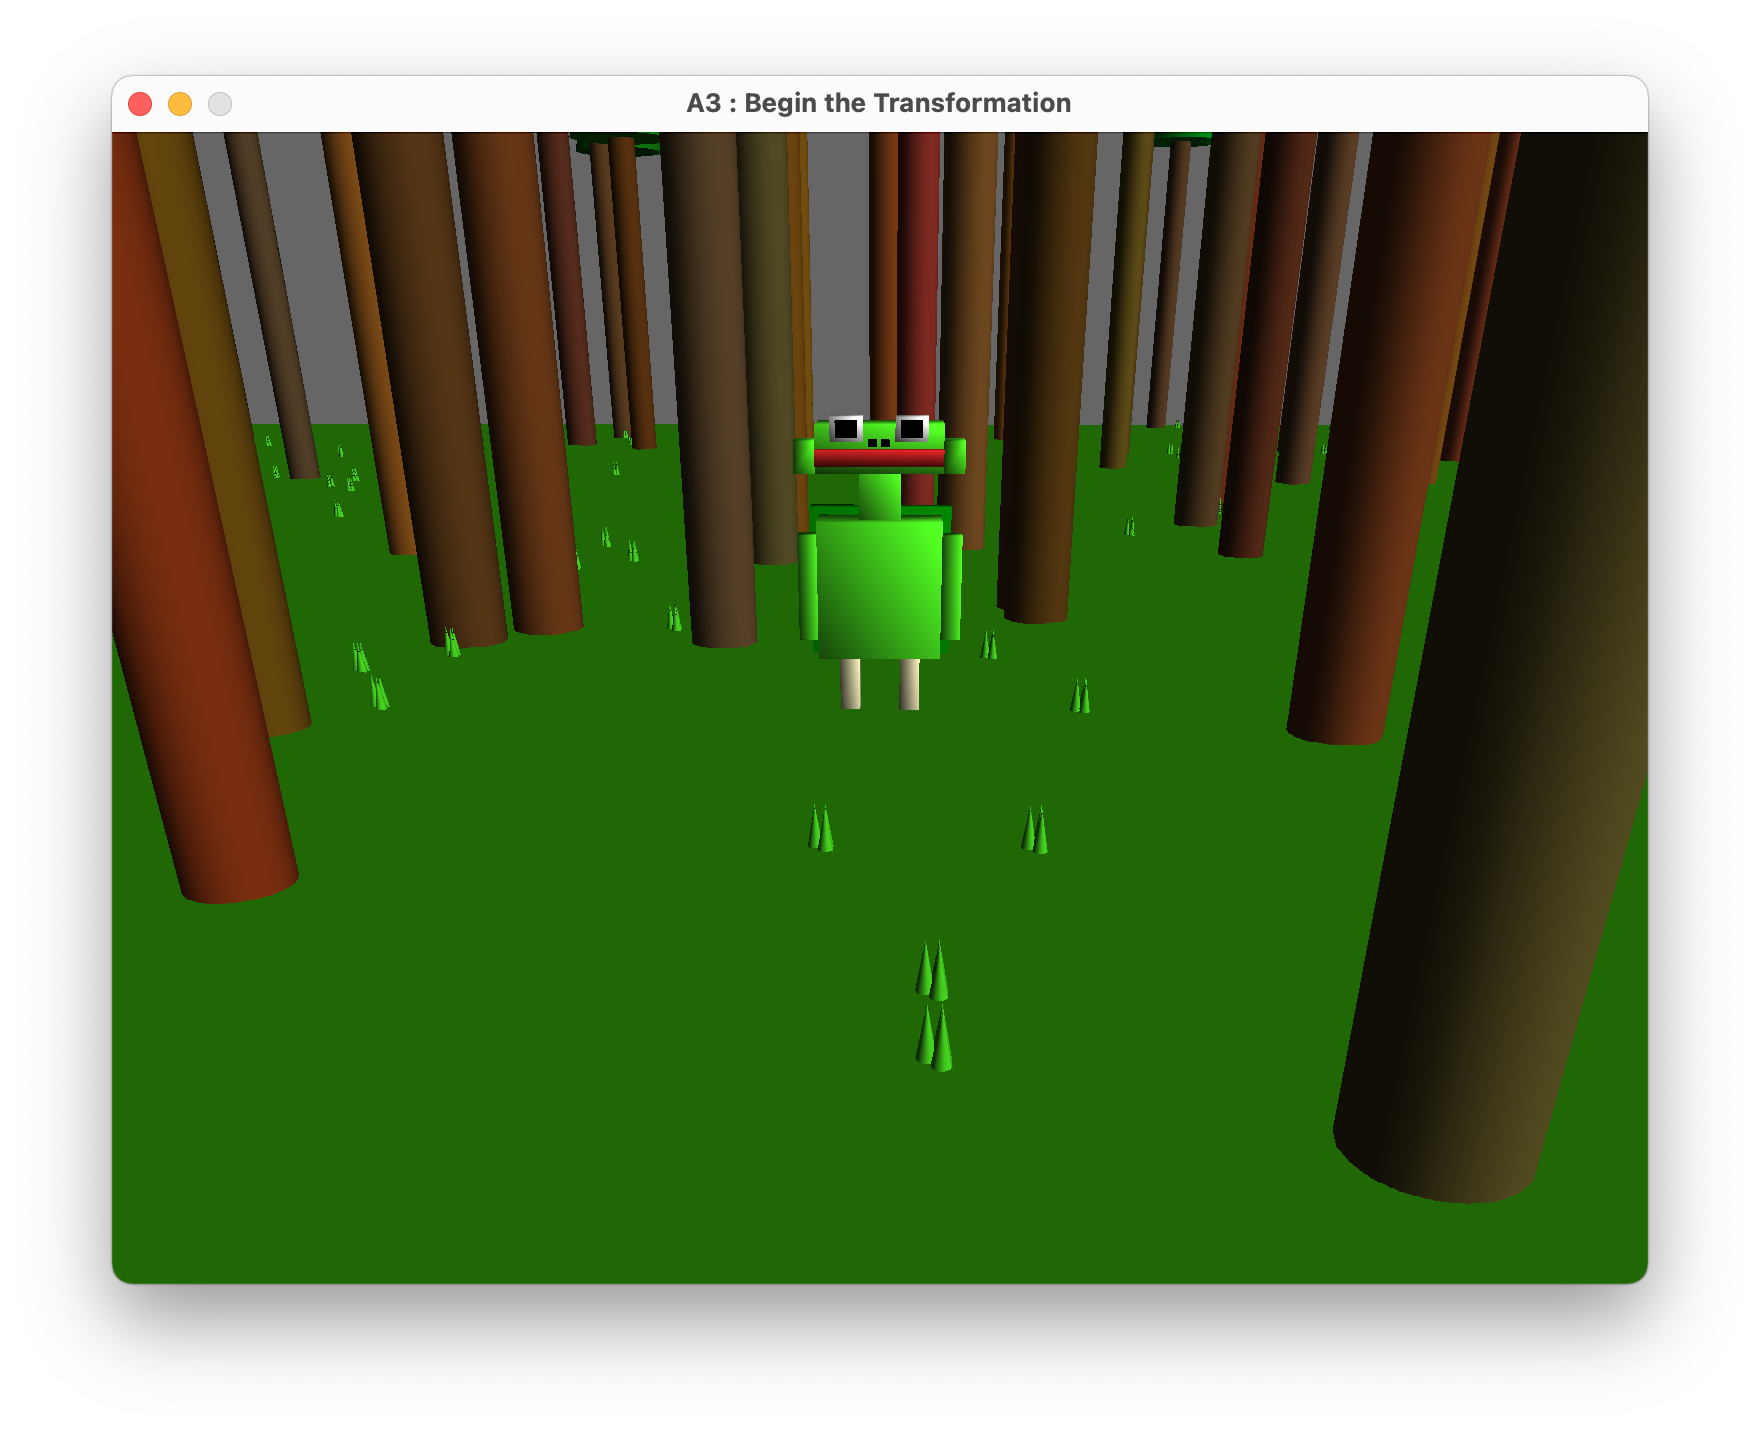
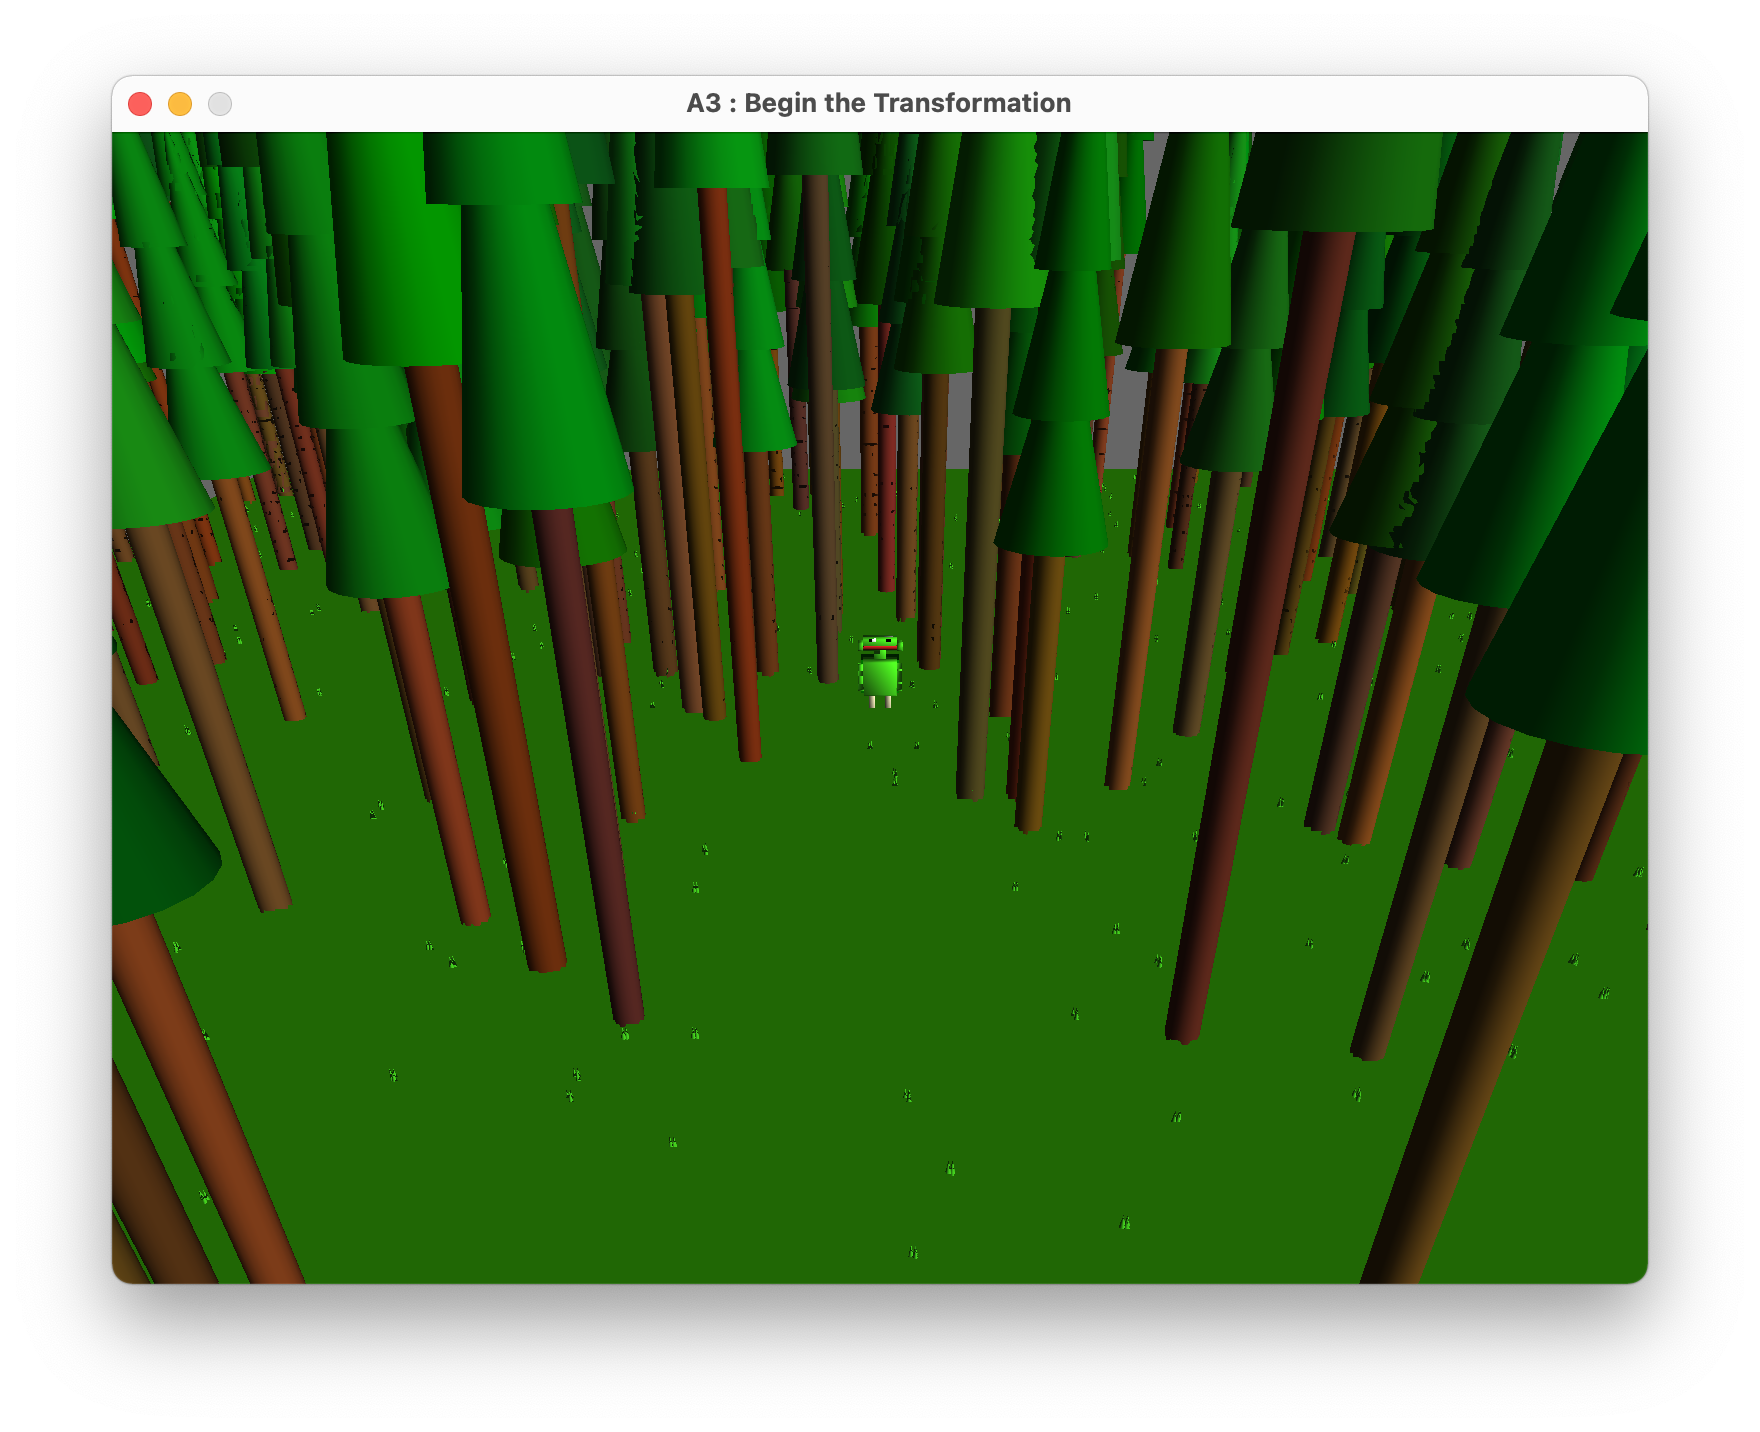
Assignment 3 - Begin the Transformation
We created our first 3D model and world in openGL
After many labs learning all the necessary skills we finally were able to create our own piece of art.
The things we created are the following :
- A 3D model using the course library with colors, shaders and illumination.
- An arc-ball camera to move around our hero, zooming in and out and using the mouse.
- The full Phong Illlumination model including diffuse, specular and ambient.
- Animation of our choice for our hero.
- Interaction with the user, keyboard, cursor and mouse.
- Finally, our world, flat and lonely, but it is our lovely world.
Apart from the skills we had to demonstrate for this assigment, I think we also had the opportunity to show our
creative side as programmers and create fun, intereting and cool features.
From now on, I really feel like I could implement and create many other things with what I have learned,
things that I had no idea I could be doing now.
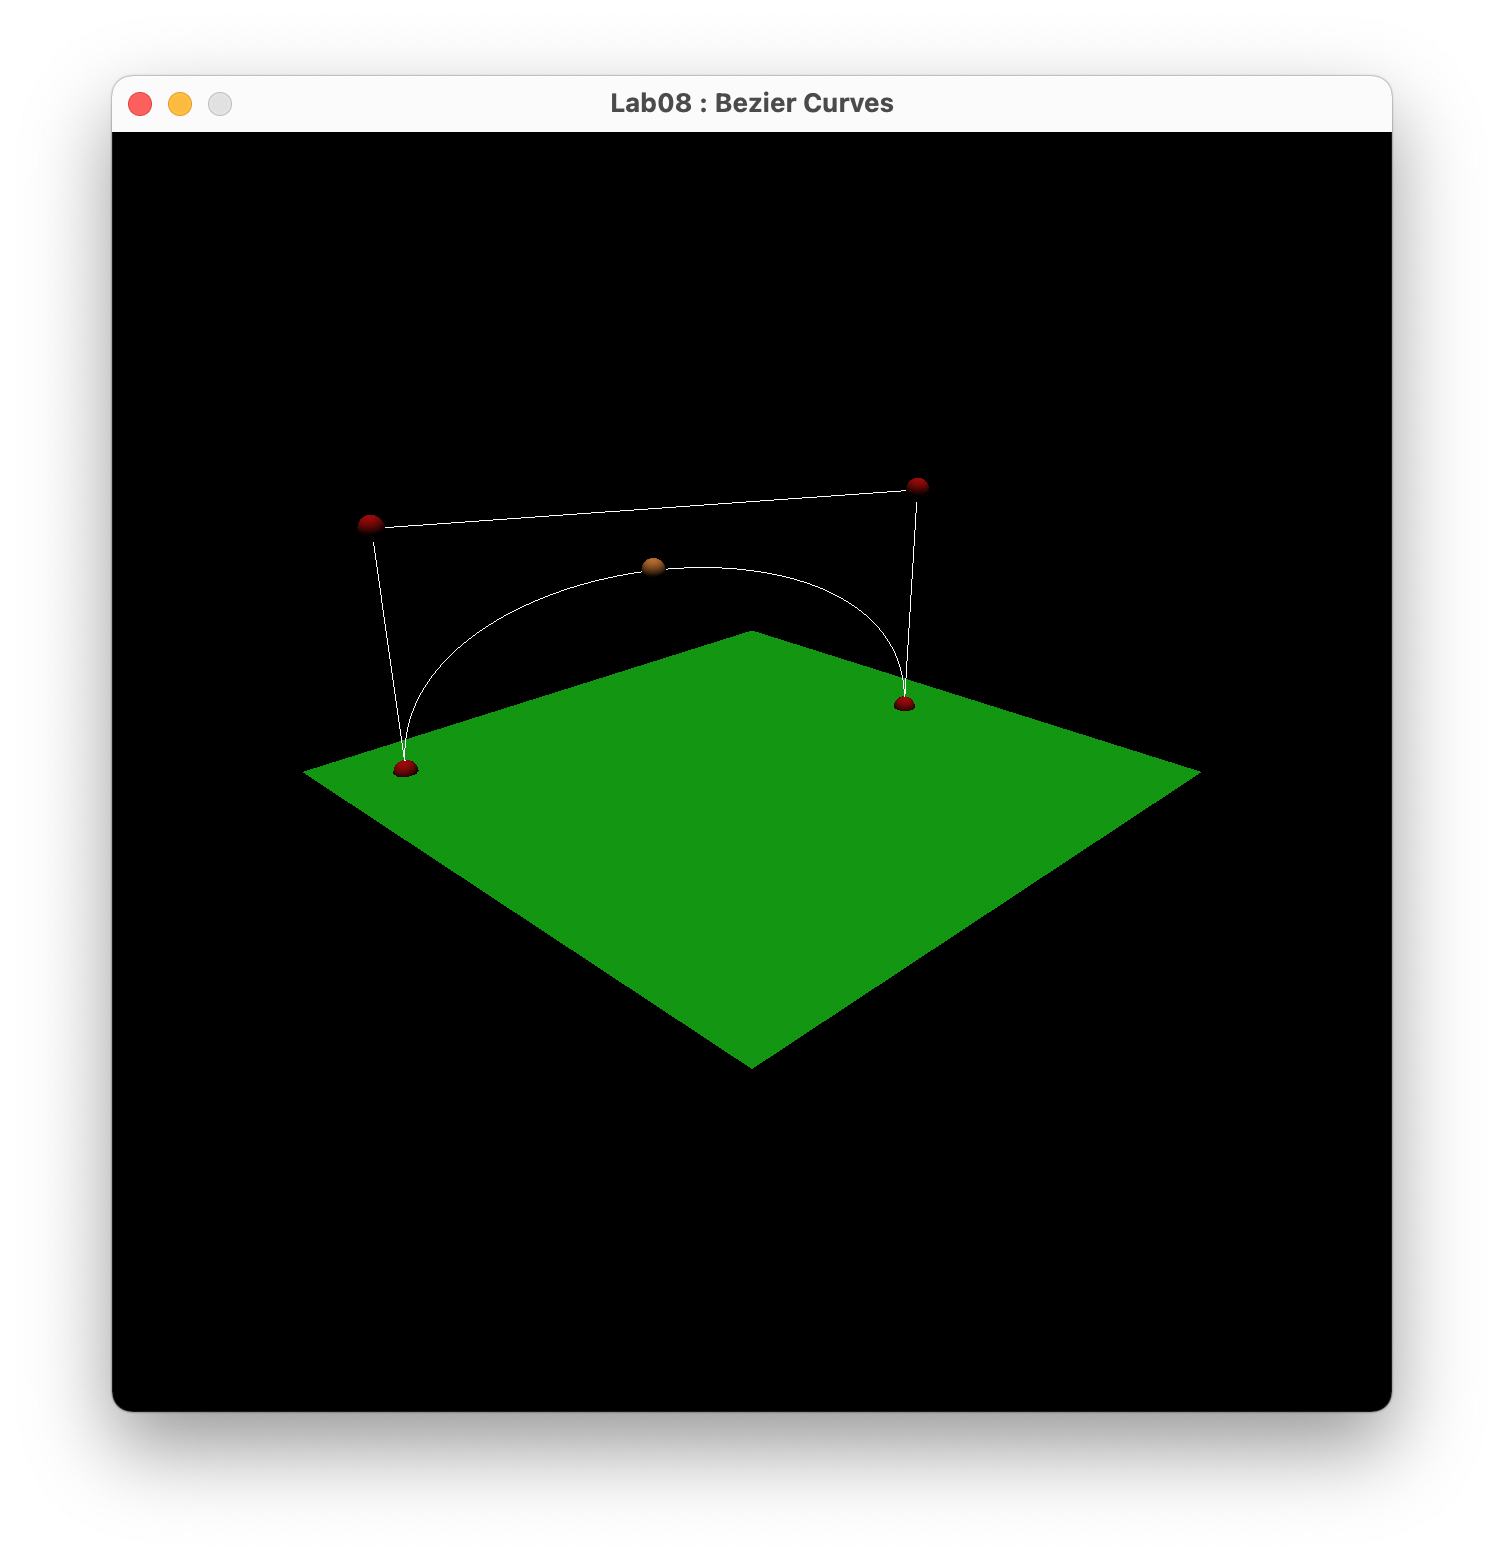
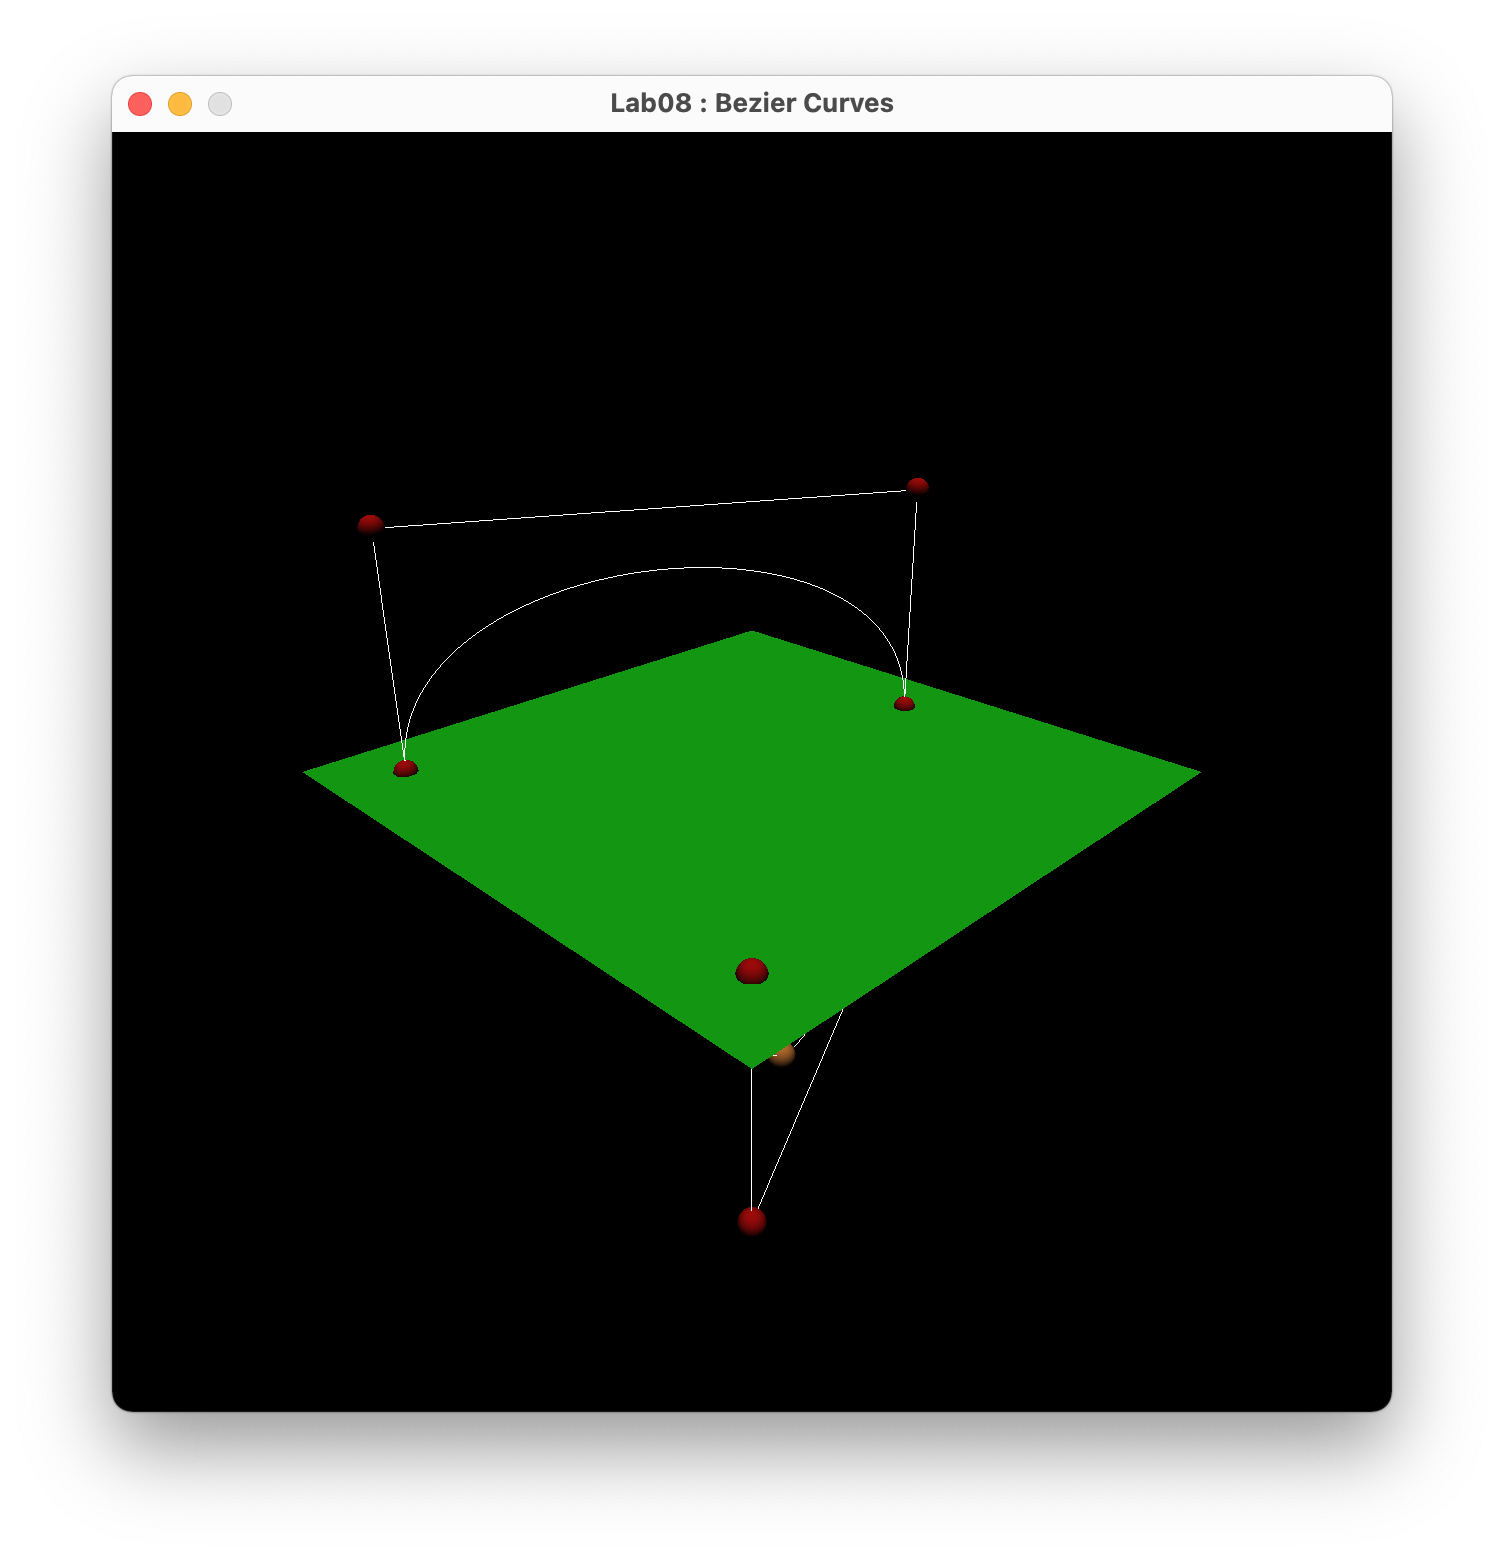
Laboratory 8
Polygons and cubic objects are not the only thing you can draw in openGL. We can definitely import very cool models, but we
can also create our own curves and design our own models.
In this lab we began rendering some curves, specifically Bézier curves. First we designed the function that calculates
the curve using the formulas by Paul de Casteljau. Asking the user for the curve resolution, we created an algorithm
that iterated over the number of curves and setting the control points of each piece of the curve, generated the
entire Bézier curve, based on the resolution.
The pieces of the curve would then be inserted in a vector and drawn interating over it to represent the curve between
the points on the 3D scene. After that, we set a small value to be updated every frame, and drew a sphere that would
be animated to move along the curve over and over. We did this for four and seven points on the grid.
Although it might not sound as fun and interesting as other labs and projects, this makes a different in the process of
drawing in 3D. It is definitely not easy, but it opens up infinite possibilities to create graphics.
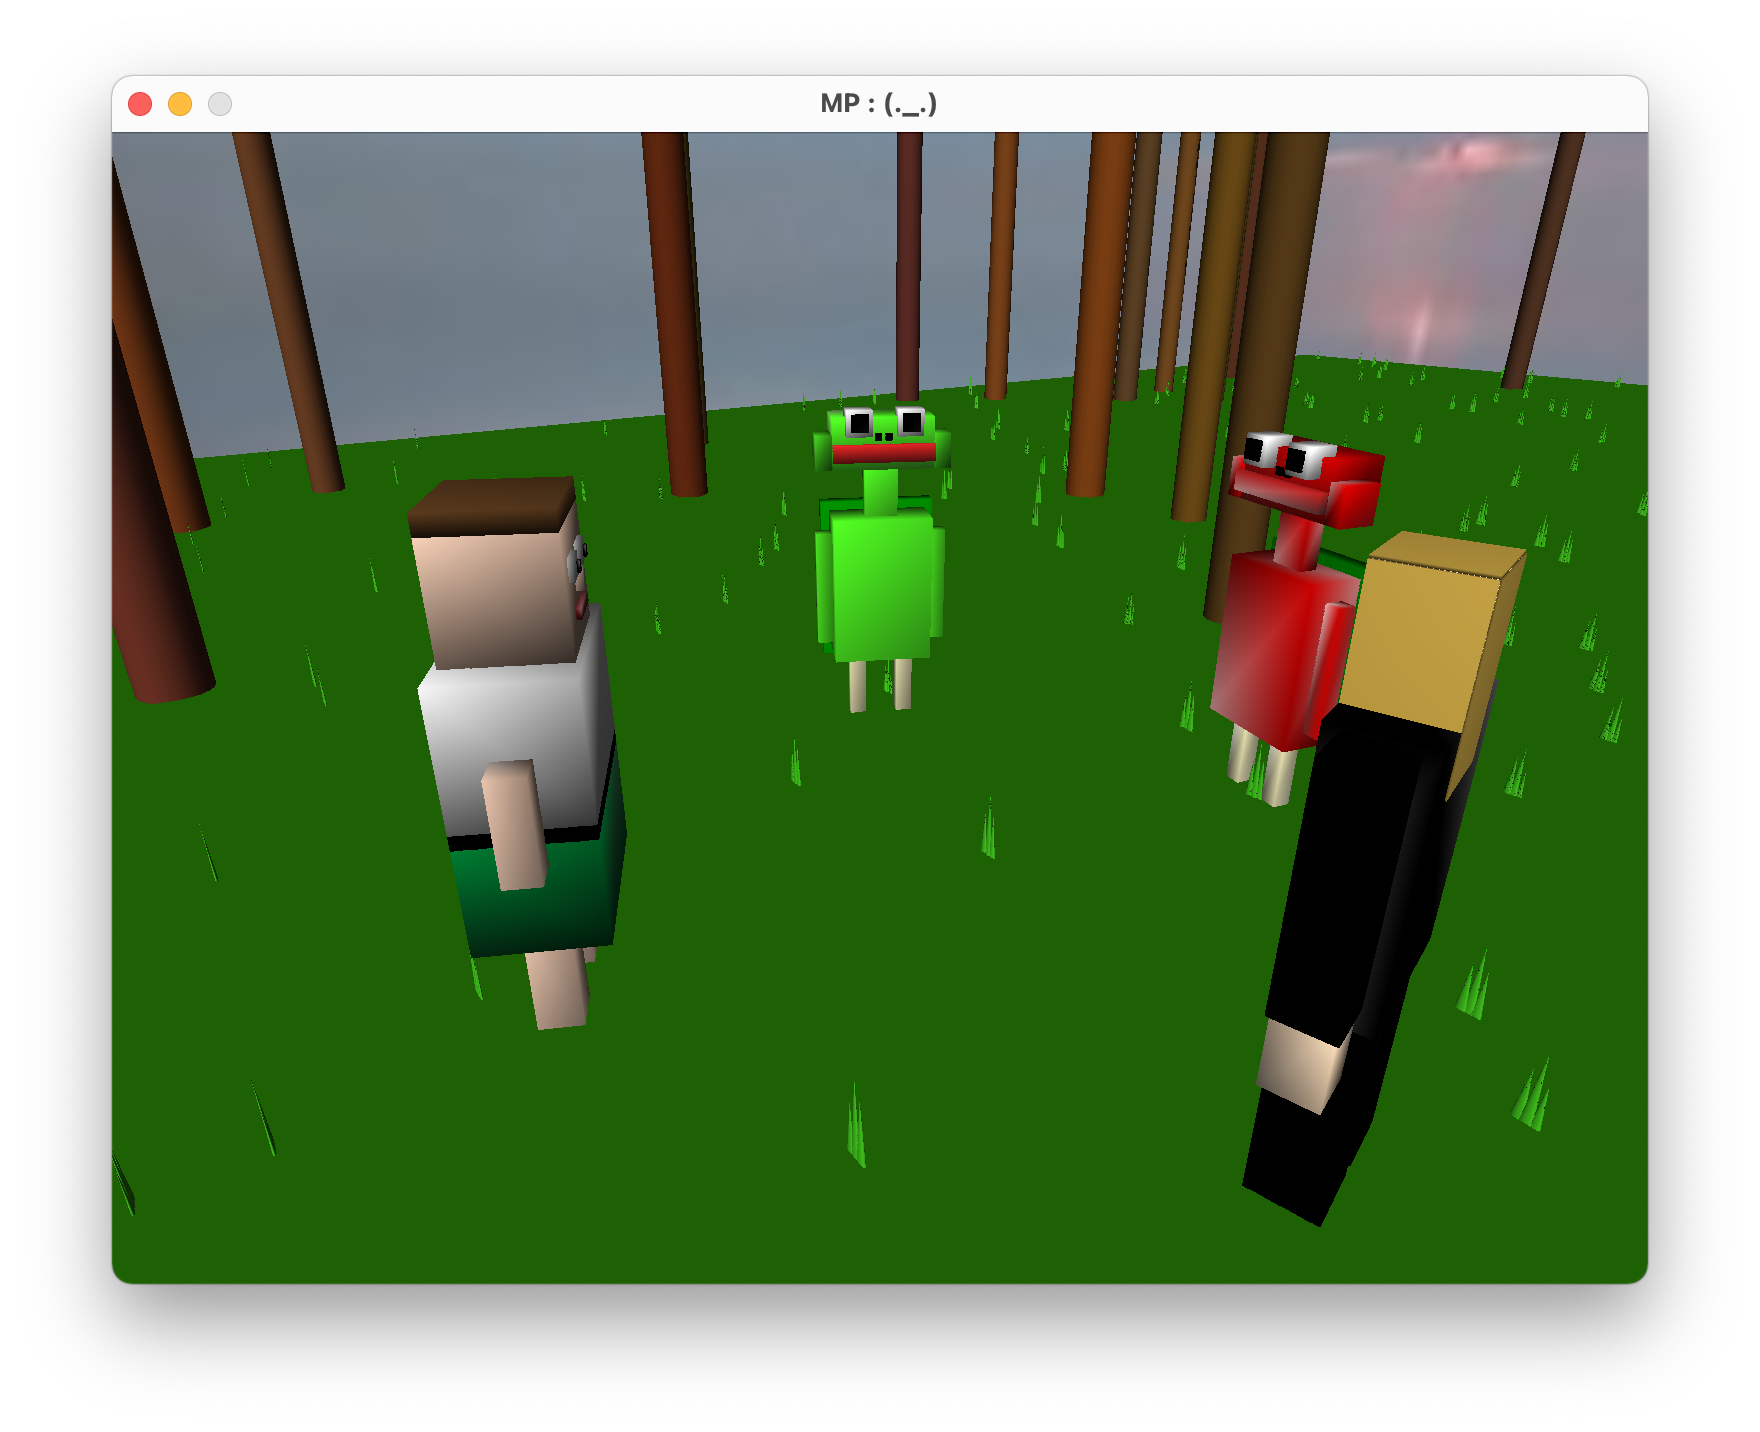
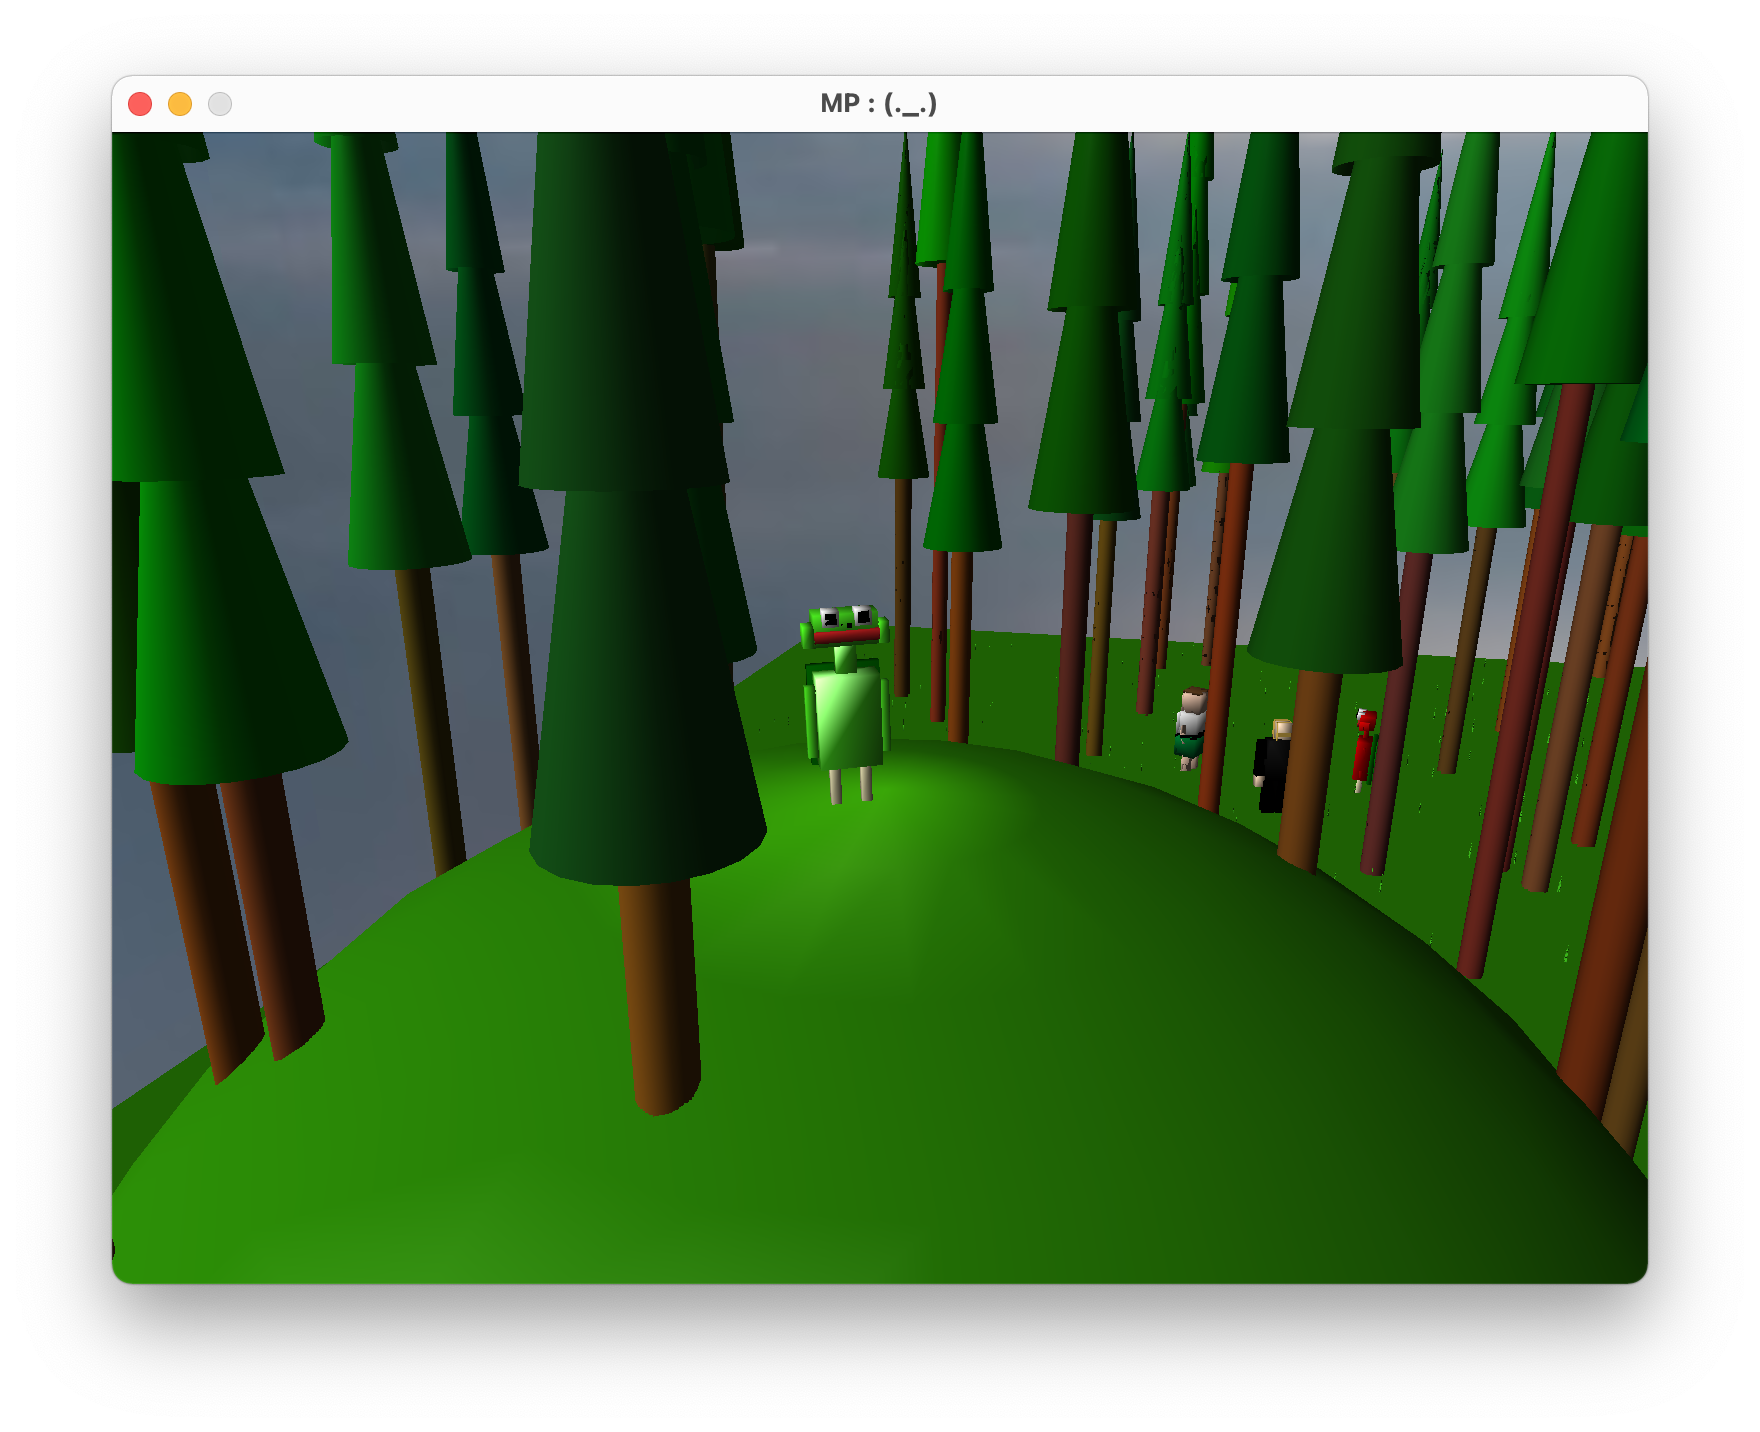
Mid-Term Project
This was our first big project as a team on Computer Graphics. We were able to create teams depending on our metal
chosen at the beginning of this journey, but it was not easy task.
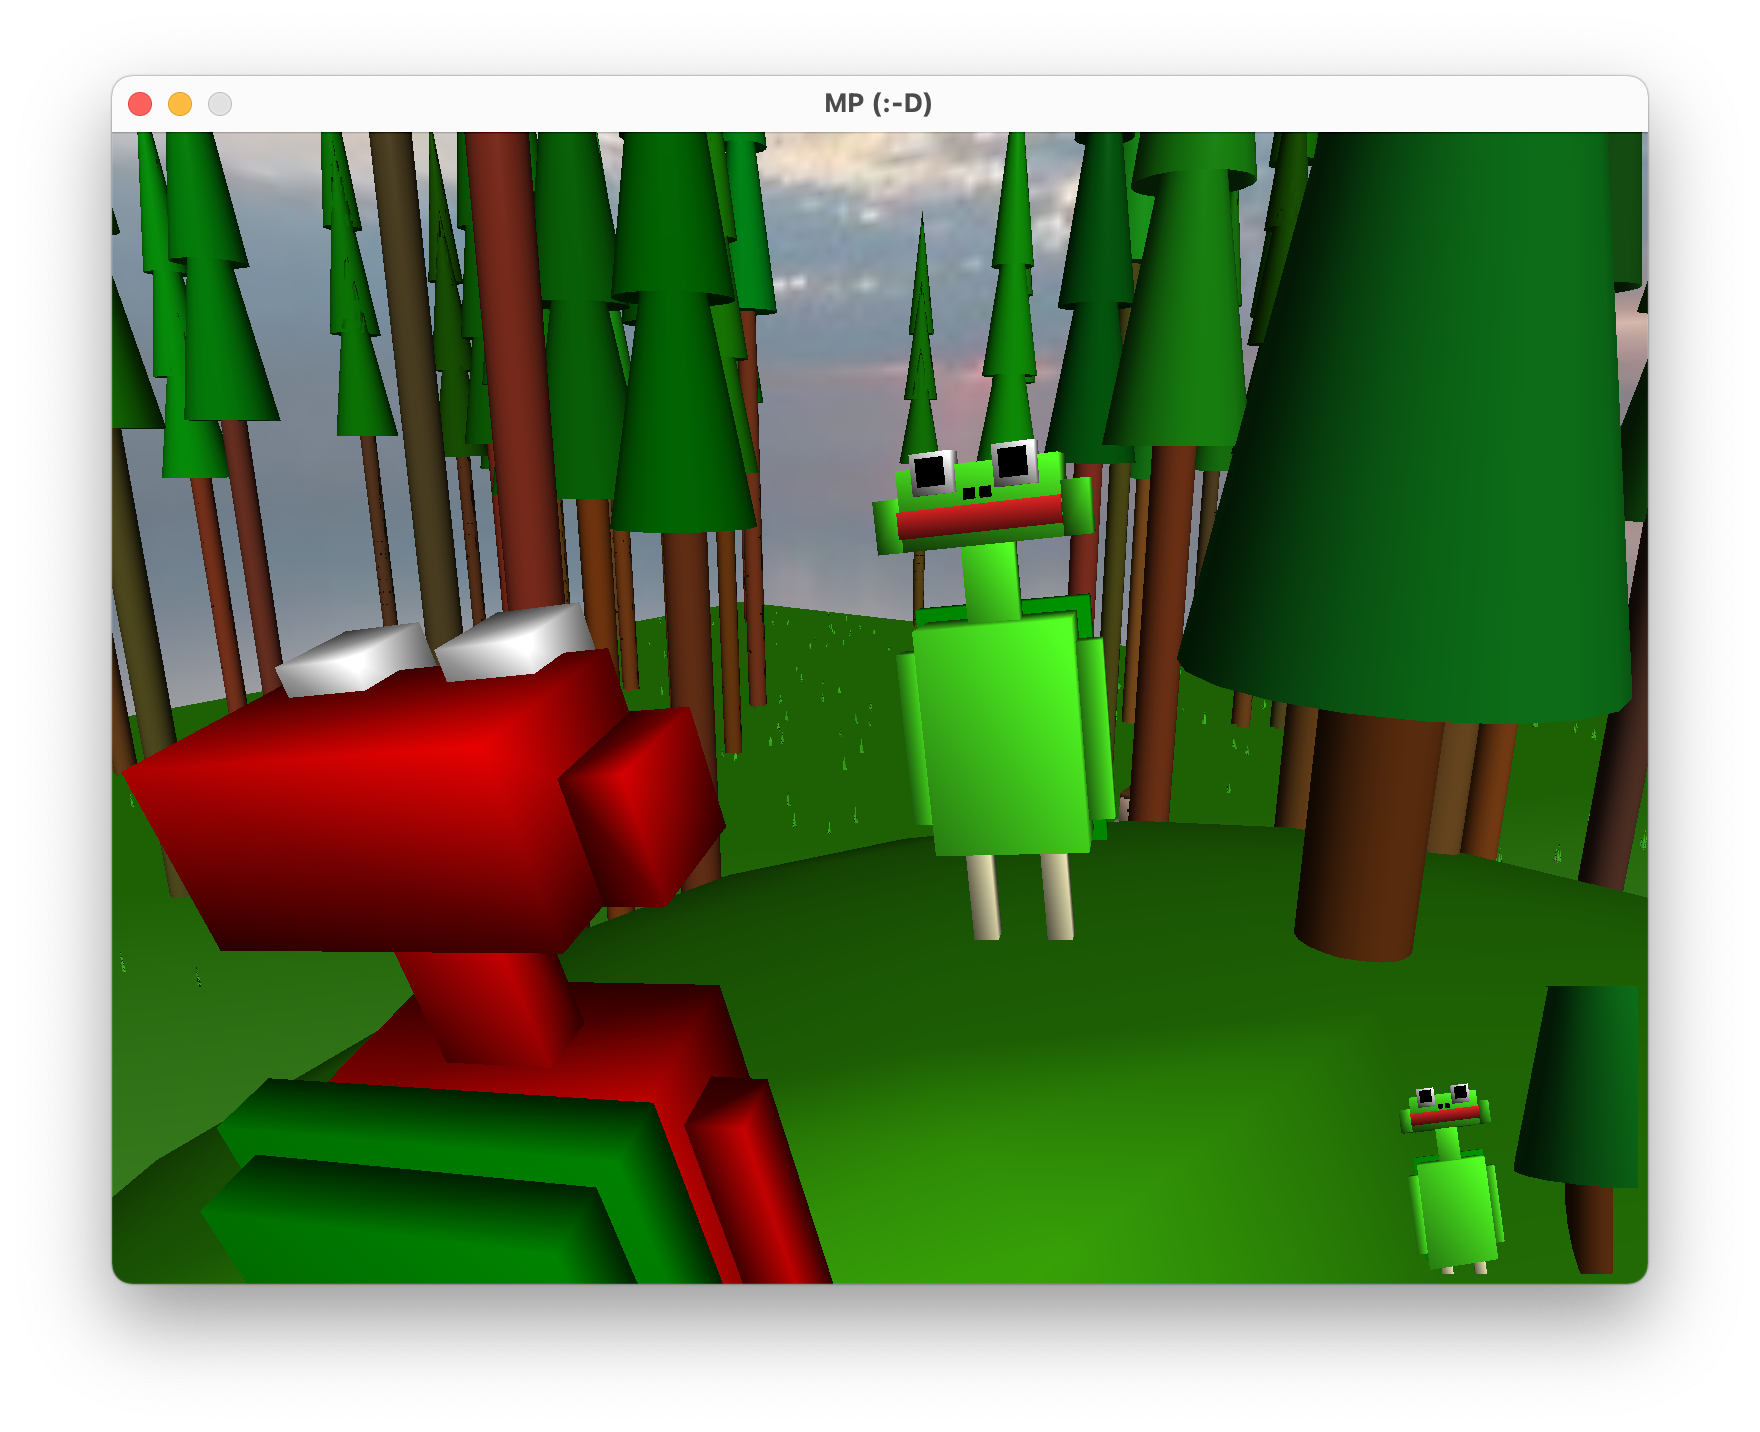
After finding a team a bit late, we were tasked to create our own and detailed 3D world, with our hero characters,
objects, animations, illumination, shaders and textures. As this was more like an assignment than a laboratory, we did
not have actual instructions, but only requirements.
Starting from an empty 3D world, we created an interface to adapt and draw all hero characters. This way all models
would be compatible and could be drawn with their own animations. With the heroes drawn and animated it was time to
make this world look better, so we added some interesting yet simple objects.
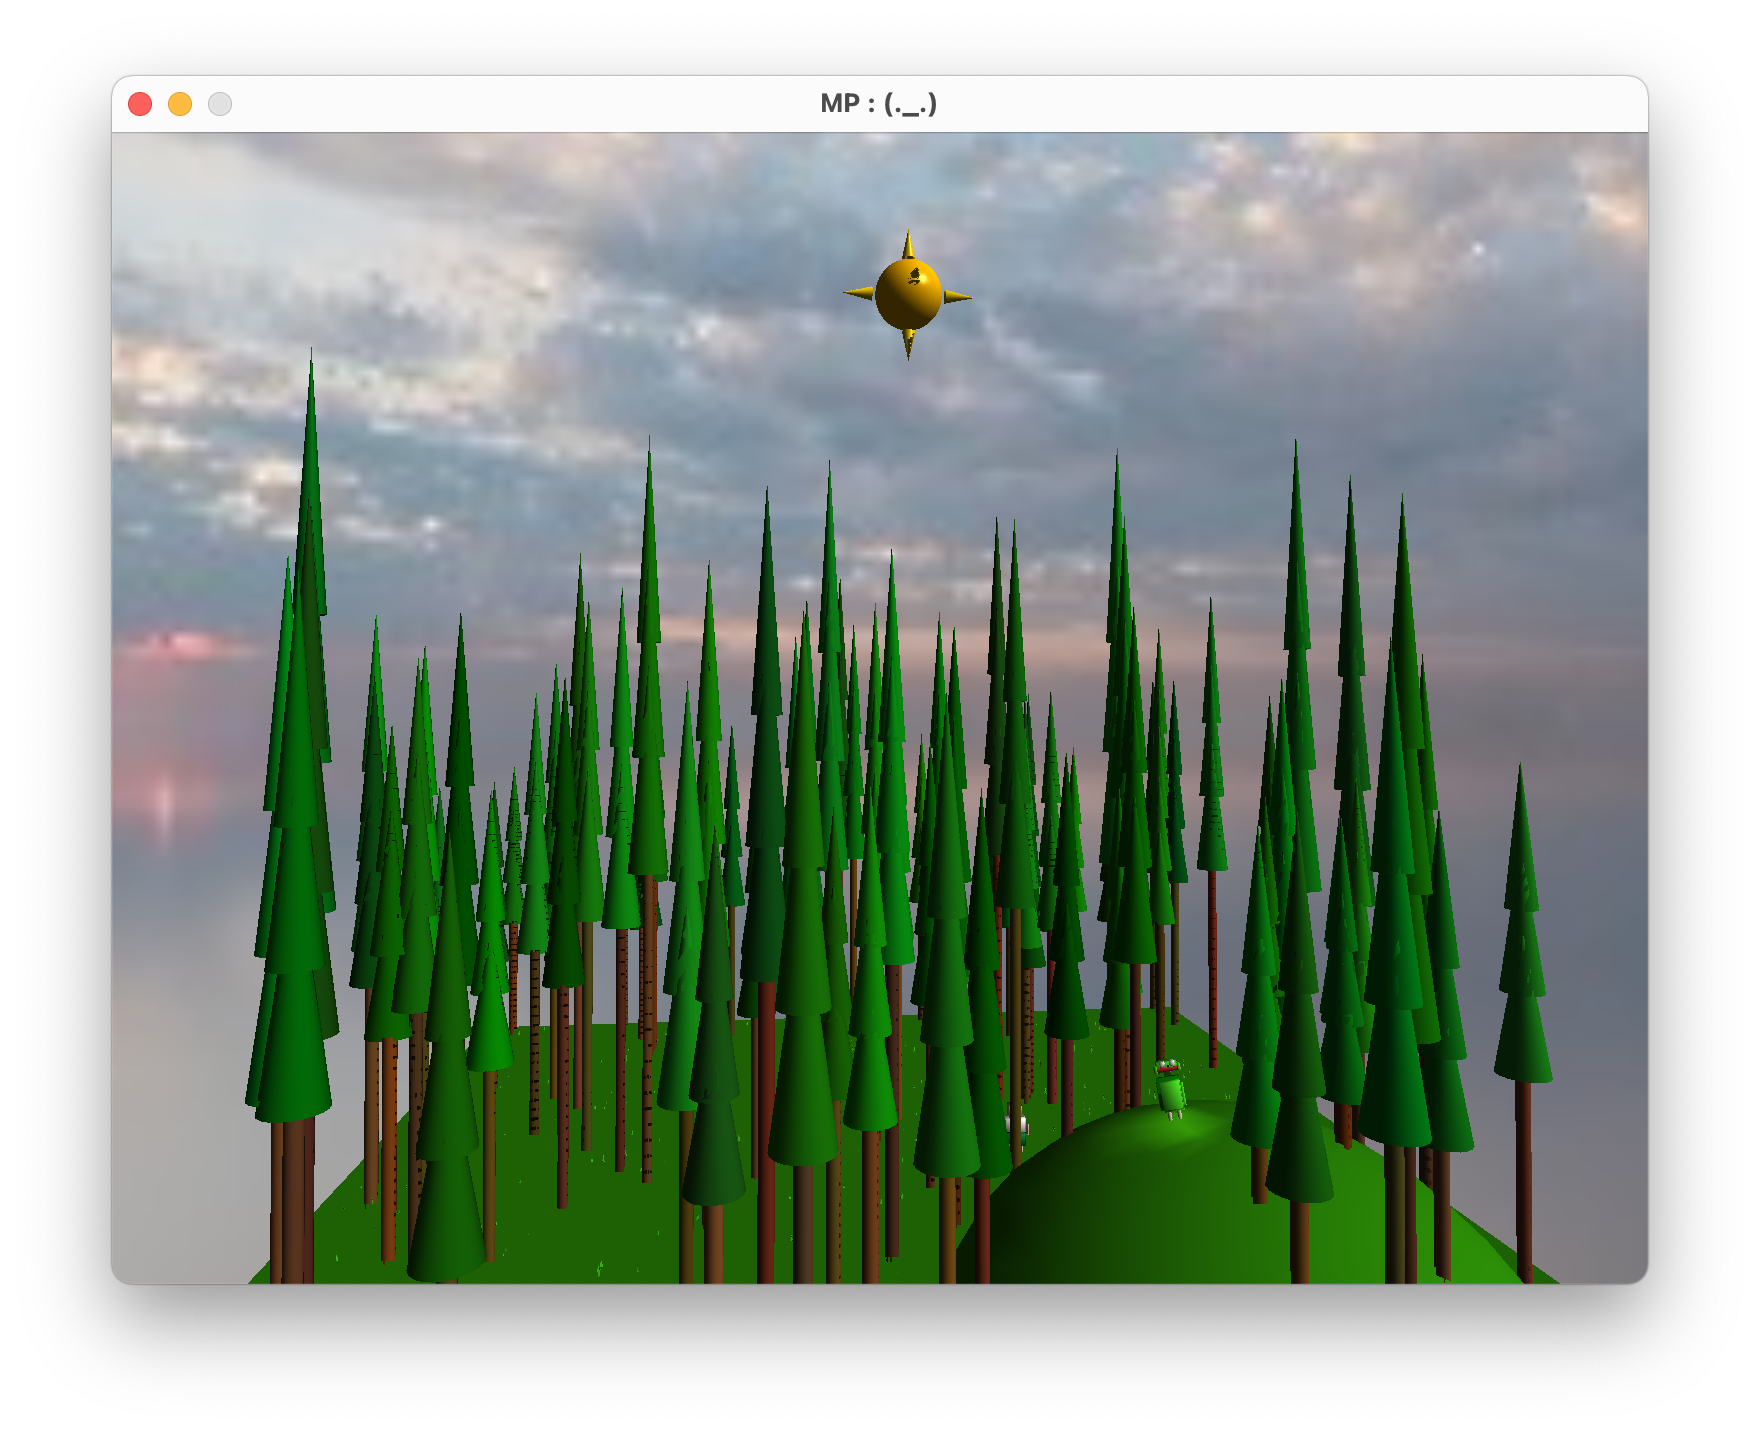
We created animated random grass around the grid of the world, made tall pine trees to create forests and also
made elevation possible, allowing to draw mountains. After the heroes and objects, we had to implement more technical
features for this world. Three different cameras were available: arc-ball camera around each hero, meaning each of them
could controlled by the player. A free camera to explore and move around the entire world, and also a picture-in-picture
first person camera view that could be seen along with the other cameras.
All heroes and objects were drawn using VAO, VBO and IBO with the help of the course library. Custom shaders were made
for the colors and lighting of the world using GLSL. The full phong illumination with diffuse, specular and ambient lighting
using all three types of lights: directional (creating even lights), point (the sun in the world) and spotlight (over the hero).
Finally some textures were added to this plain but detailed world to make it even more fun and realistic.
In my opinion, this project was about demonstrating what each of us were capable of doing after everything we have
learned so far, and it can very surprising. If you push further, if you research and read, go back to your lab files
and ask questions, you can be able to make things you never thought were possible.
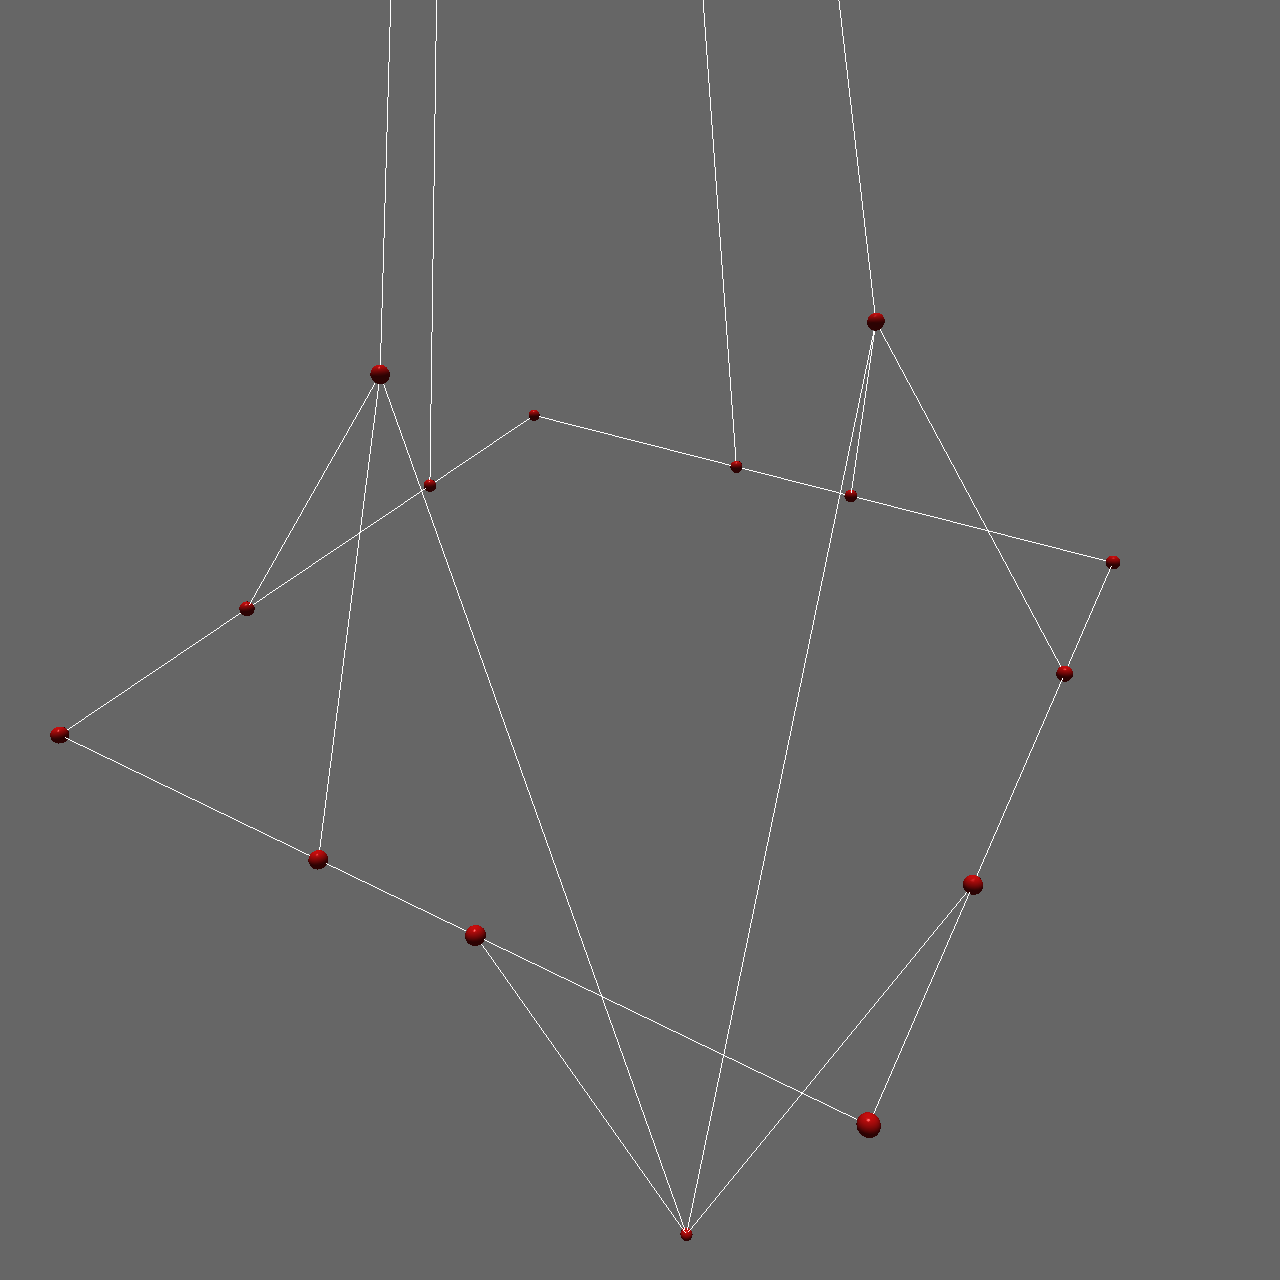
Laboratory 9
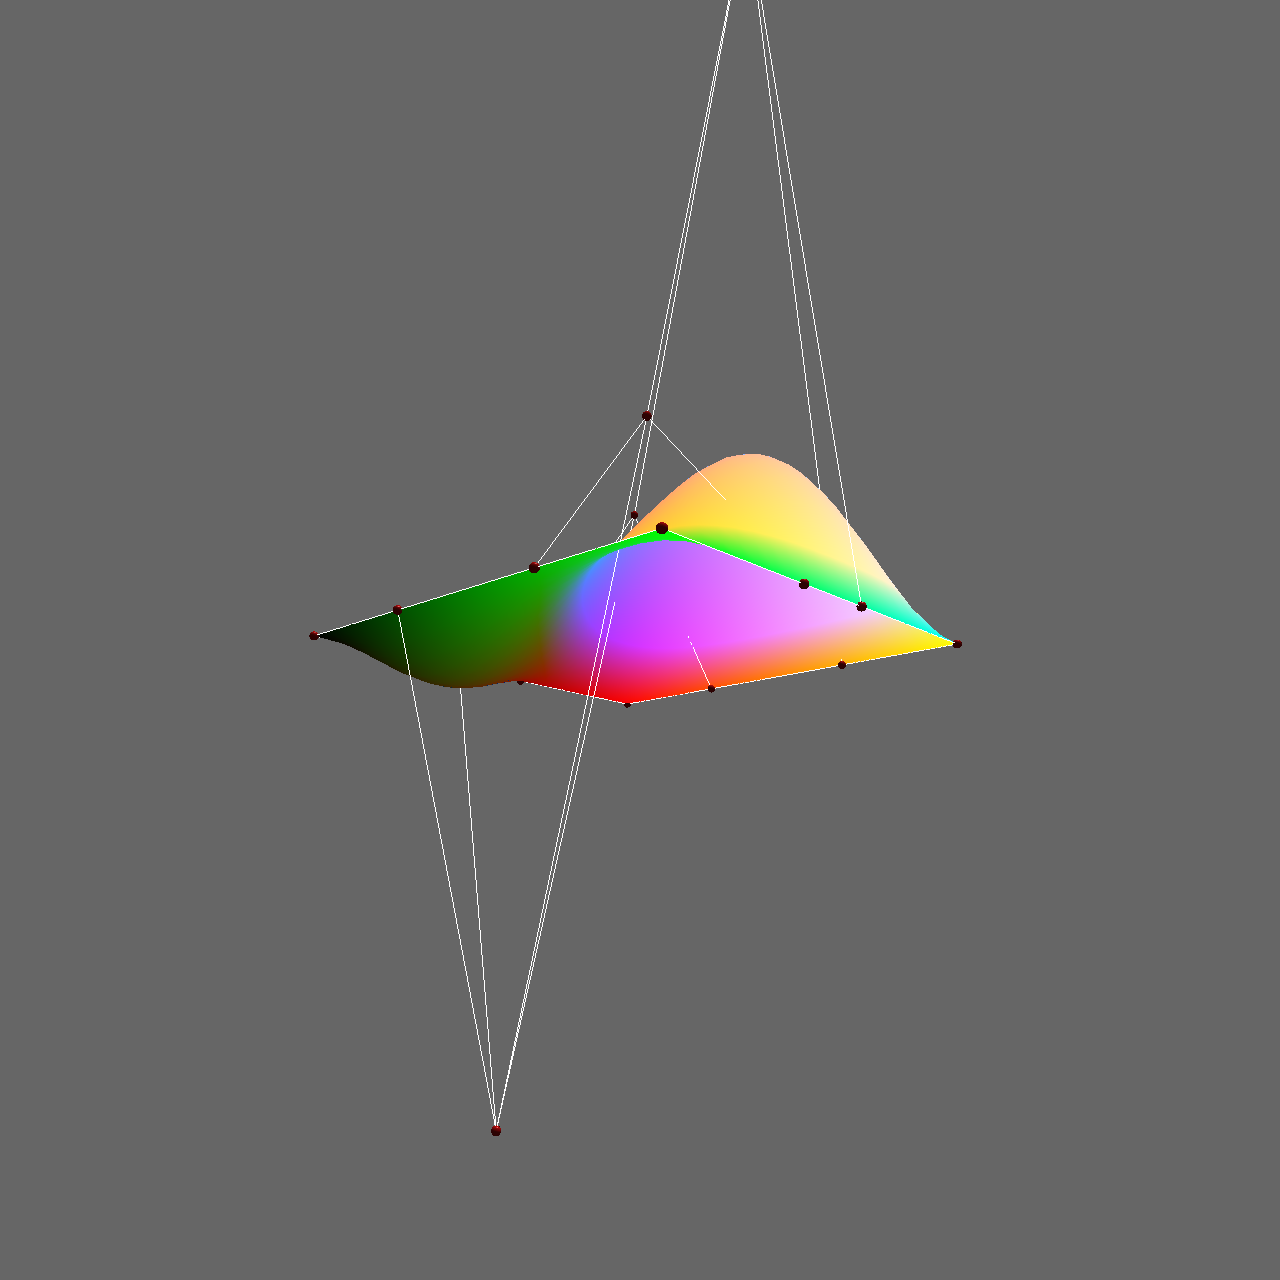
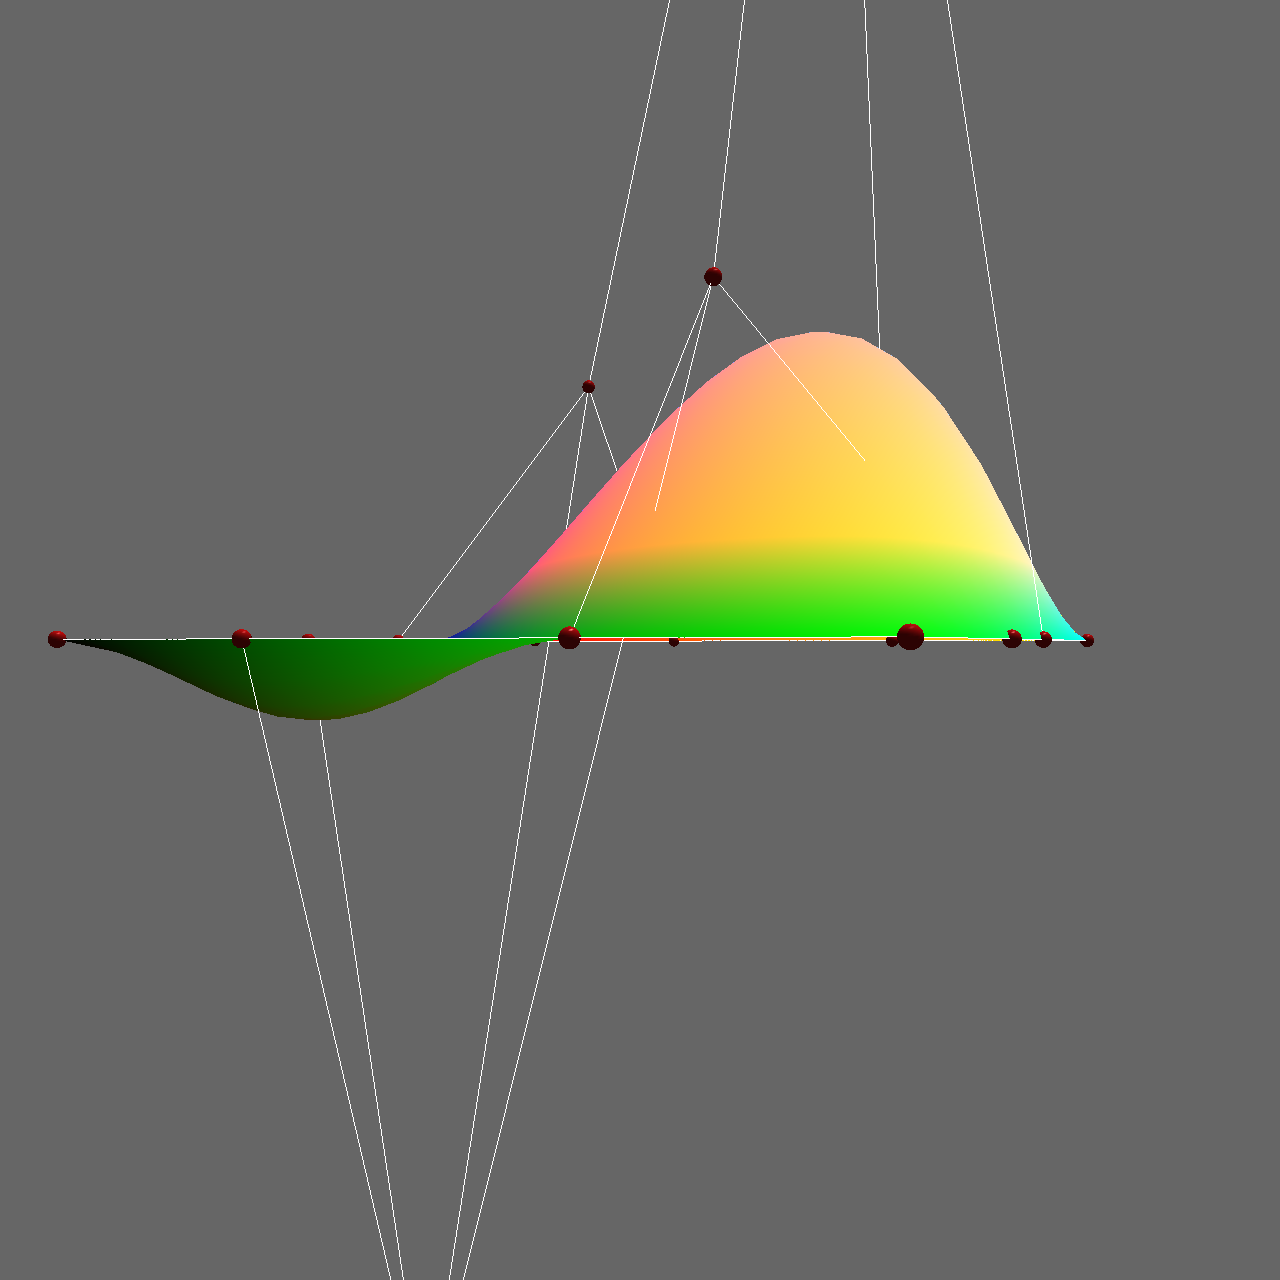
In this lab we implemented our first Bézier surfaces with Tessellation shaders.
We created the Bézier patch using 4 Bézier curves and a total of 16 control points, and we
used the tesselations shaders to calculate all of that and give the final color.
There were three shader program in total: a flat shader, a Gouraud shader and the Bézier patch shader.
The Bézier shader consisted in the following separate shaders:
- Vertex shader : No MVP matrix anymore, it only passed the vertex position.
- Tesselation control shader : defines number of control points and specifies tessellation levels.
- Tesselation evaluation shader : specifies primitive information, calculates Bézier curves and computes final patch and color.
All this shading resulted in a colored and cuved surface created using what Paul de Casteljau invented and Bézier patented.

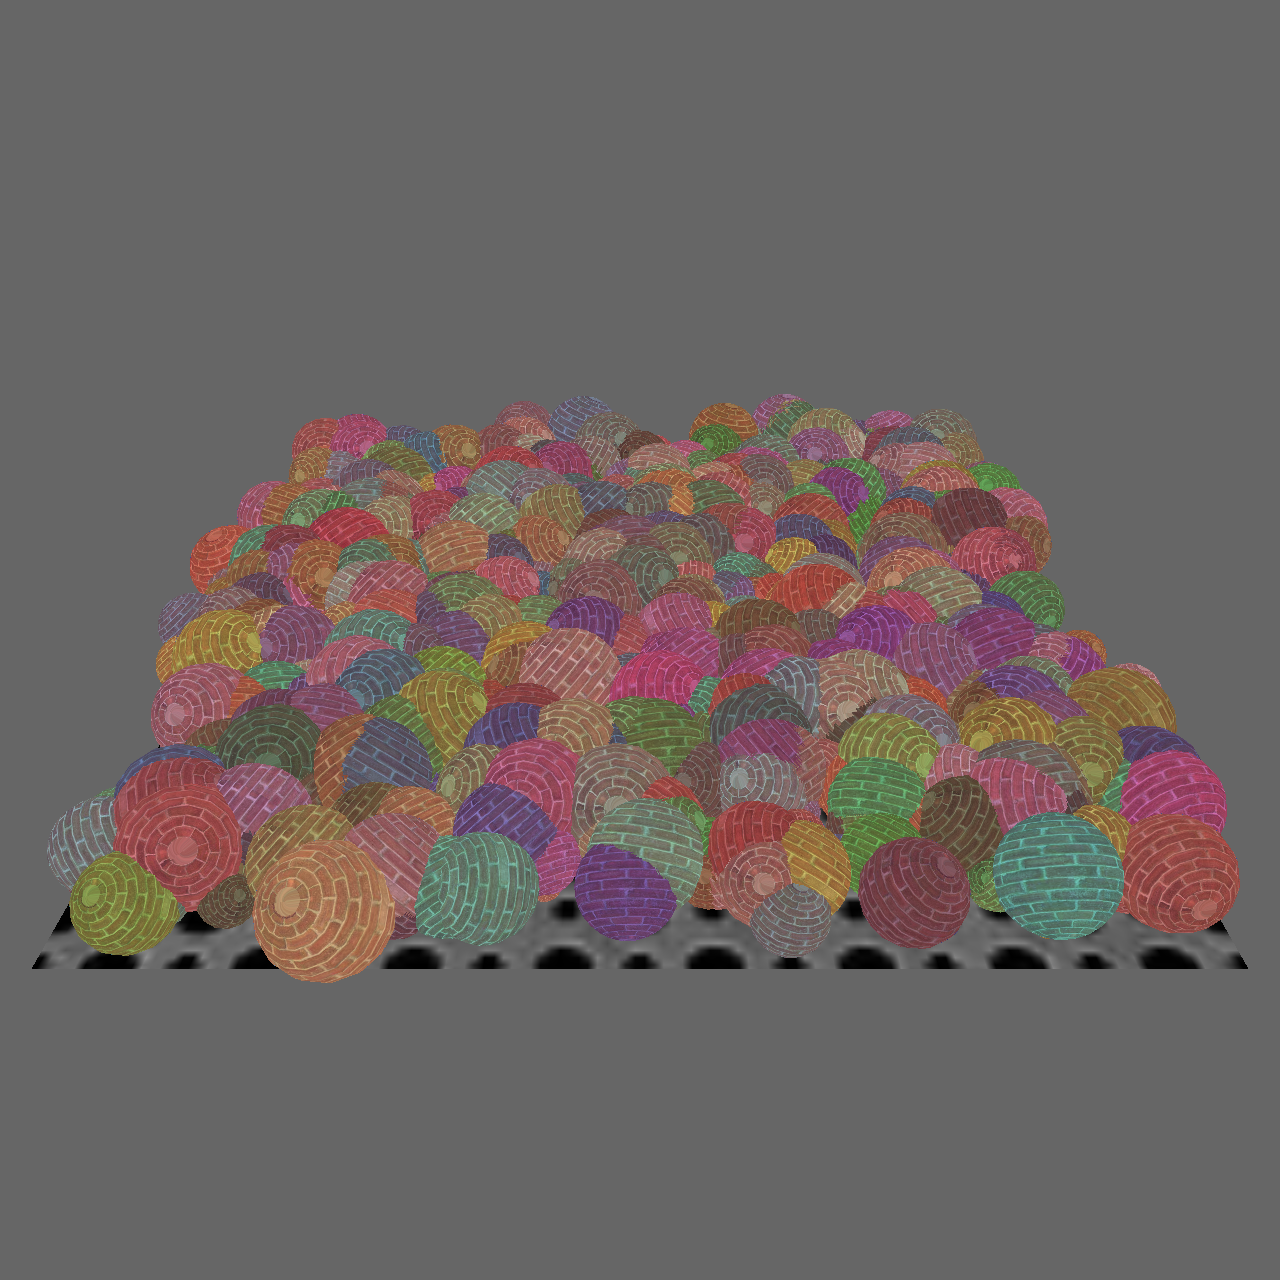
Laboratory 11
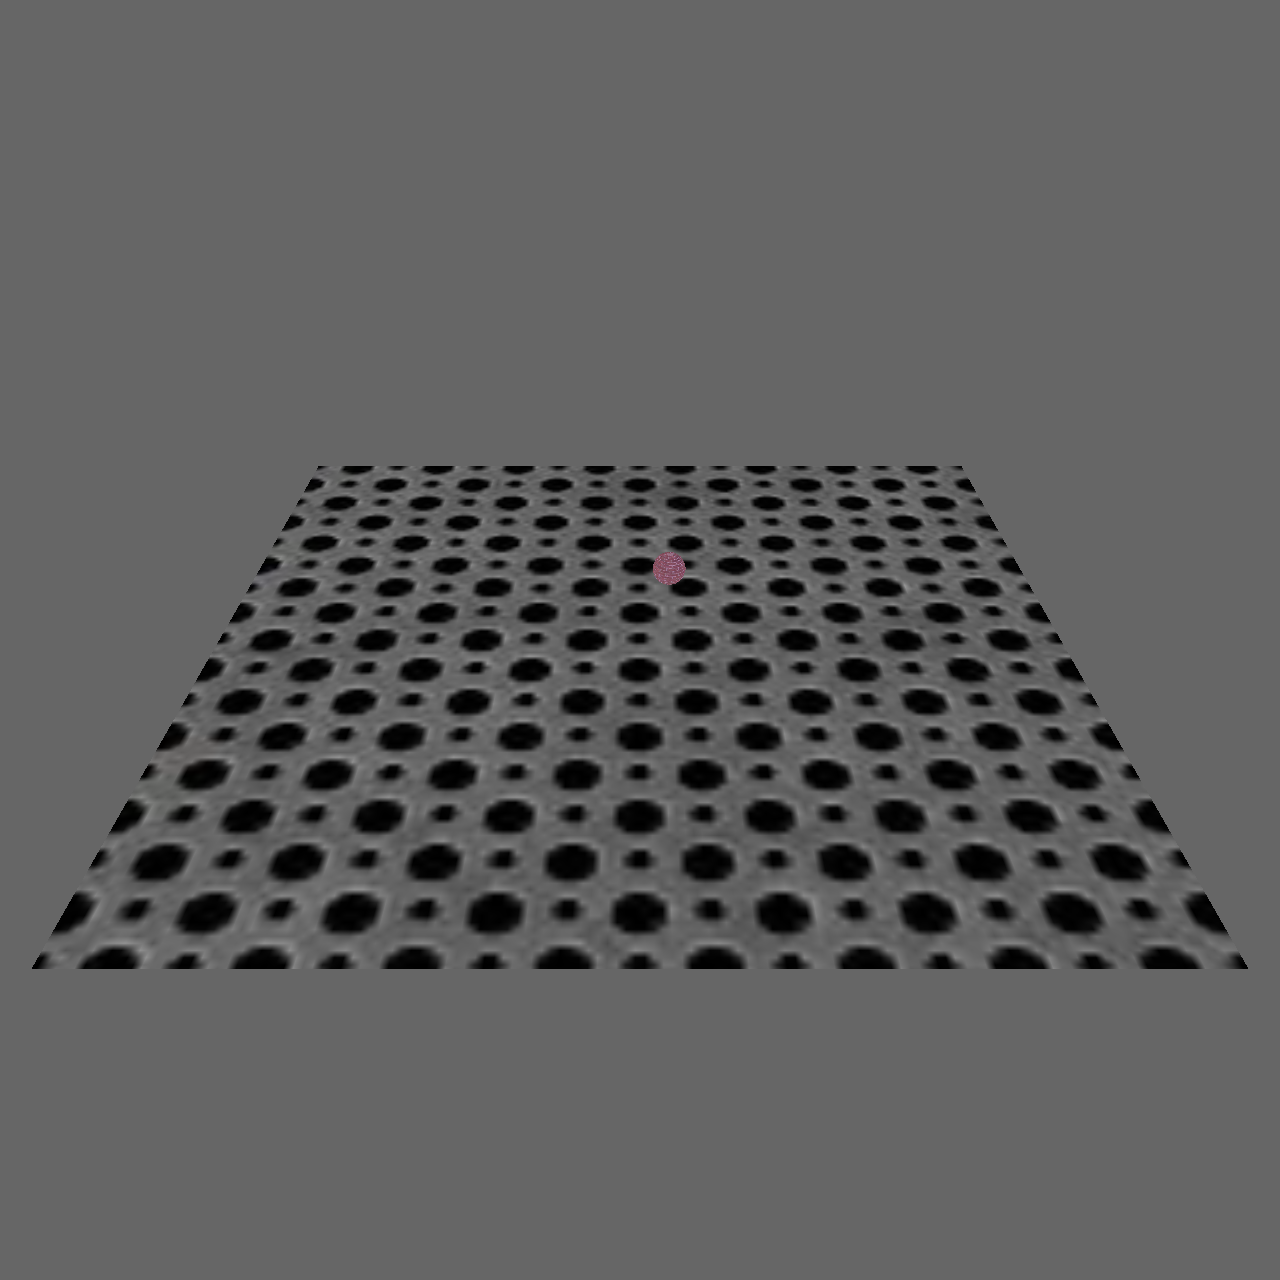
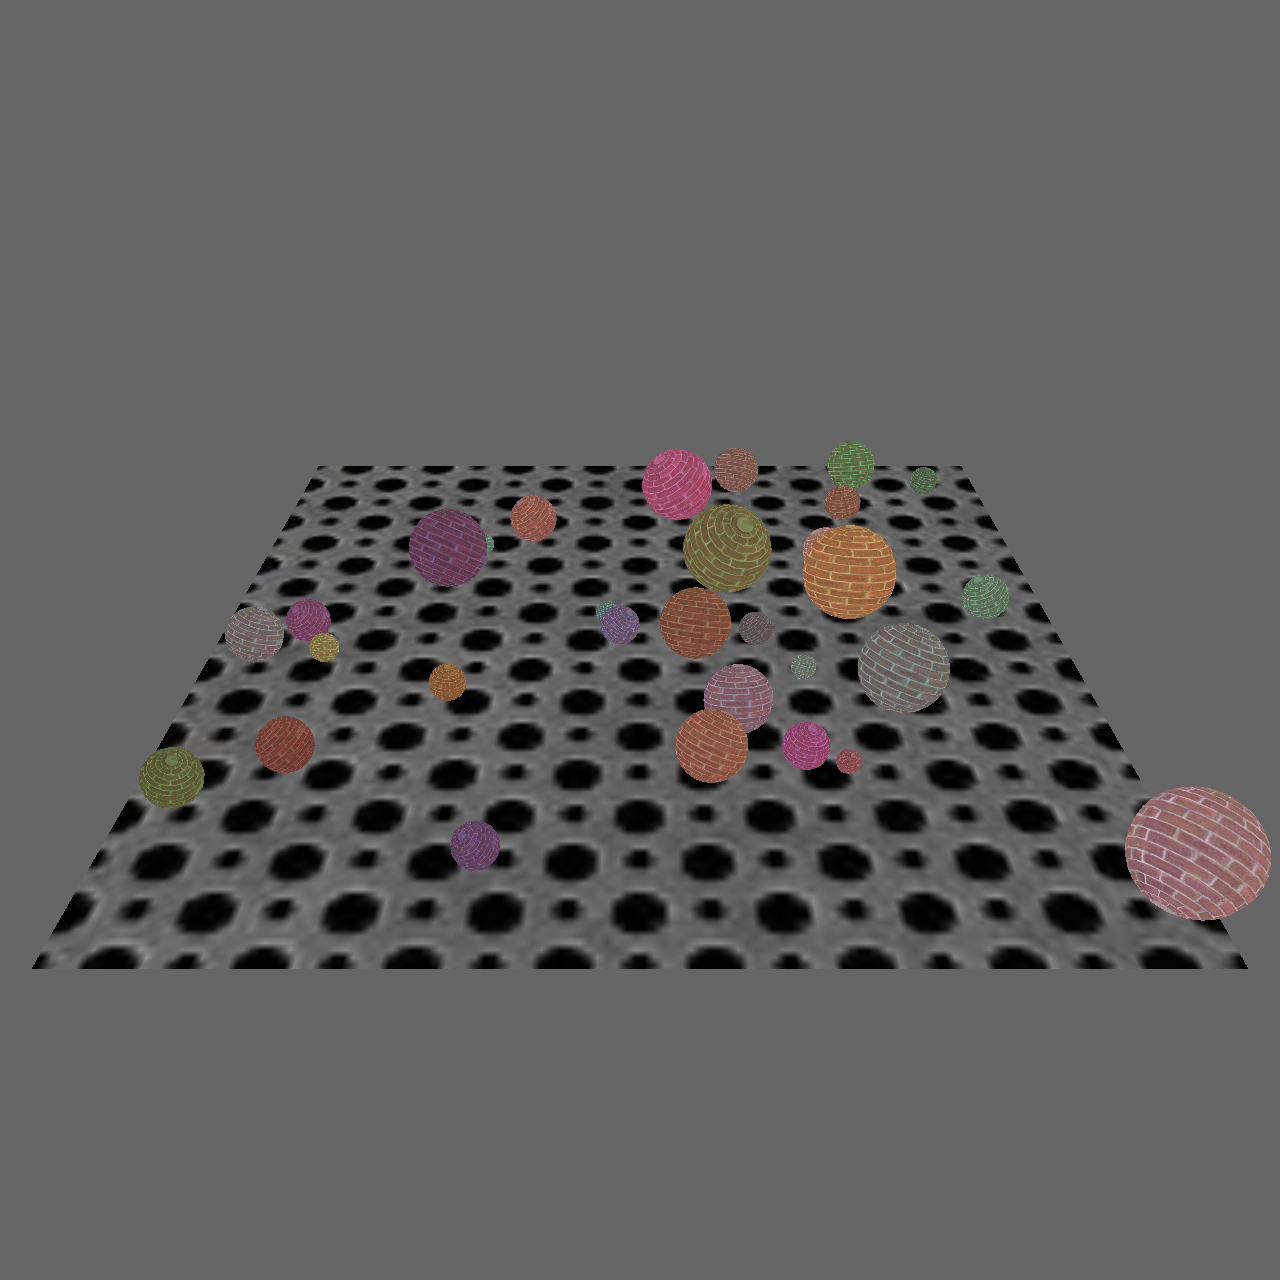
This lab primarily focused on particle generation system and collision detection between those particles.
In a simple ground quad, random marble spheres with texture, color, size and direction were generates. The marbles
are drawn and updated in a certain direction creating the movement animation. Then there are two collition checks,
collision with the walls and collision between any two marbles.
The collison with the walls checked if the marble position was at the boundaries and recalculated the direction vector
by a reflected vector using the normals of the walls.
The collision between the marbles was a bit more complex and less efficient. Using a nested loop, to check every marble
with every other marble, a new direction vector had to be calculated using the normals of the two marbles. After that, the
marbles were moved a little bit to create the bouncing effect.
These two function were executed each frame, allowing the generated marbles to move randomly and bounce off each other
in a very realistic way similar to pool balls.
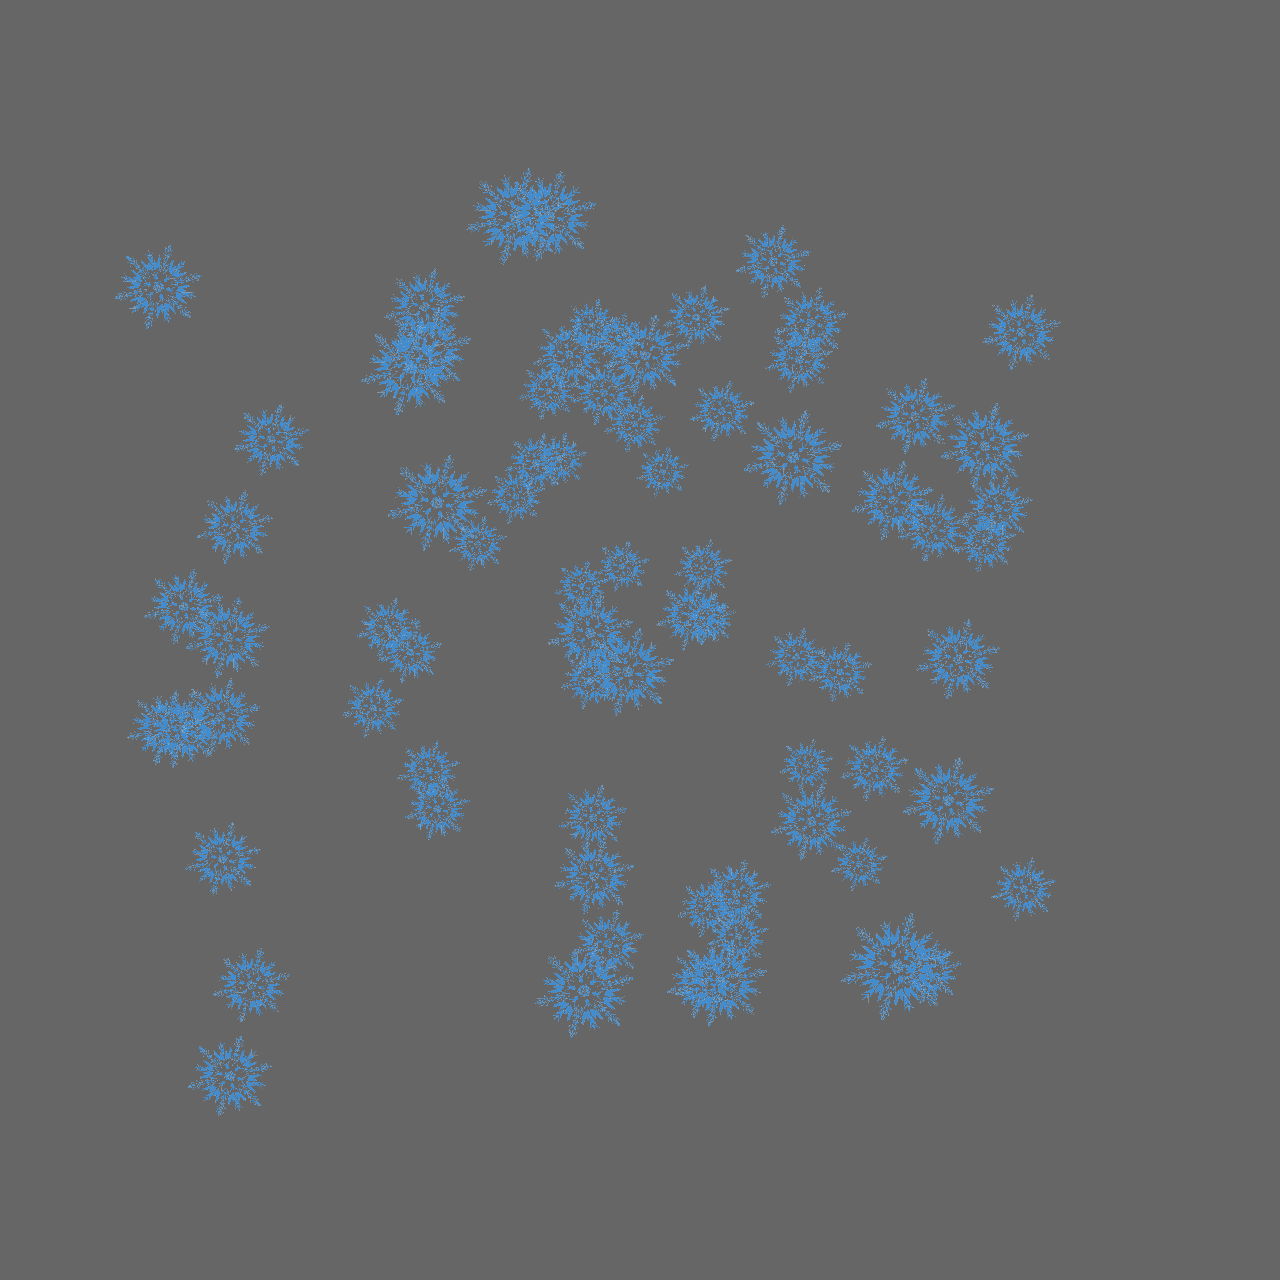
Laboratory 12
For our last lab in this course, we implemented a bunch of rotating and billboarded quads with snowflake texture using
a Geometry shader.
Most of the work was done on the shaders. First we generated the four points for the quads inside the Geometry shader, we
set the texture coordinates and send those vertices to the fragment shader. The vertex was only passing the the MVP matrix
and vertex position. The vertices were multiplied by the projection matrix to transform into clip space and orient the quad
with the camera look at point. Finally the fragment shader computed the color and the texture for the final output.
Inside the engine, the quads are generated, the distances to the camera are calculated and ordered from largest to smallest,
making sure the rendering is done from back to front. This prevents quads from covering other quads while being drawn in the scene
and is part of the Z-buffer testing.
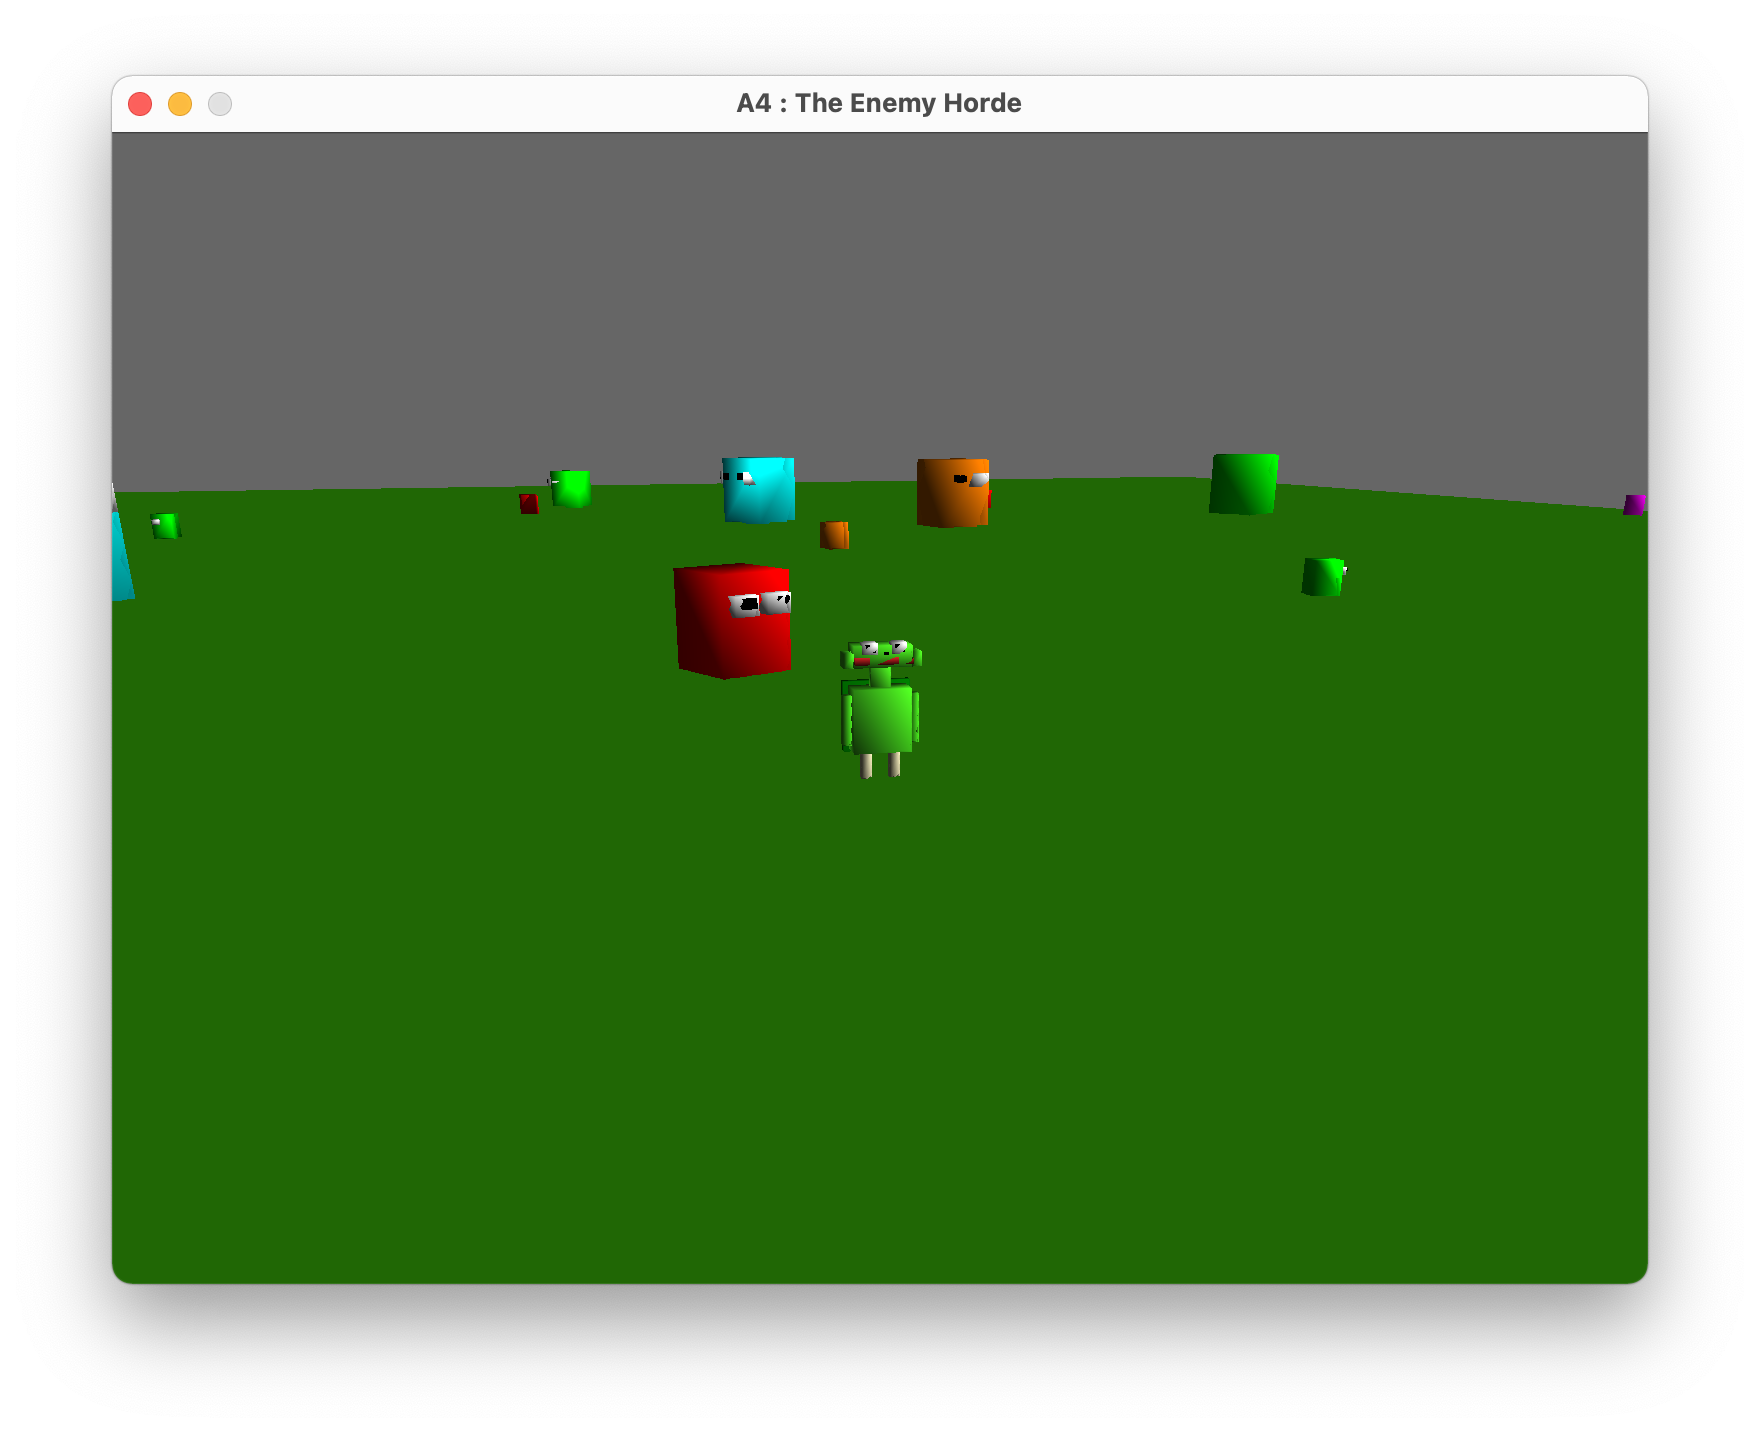
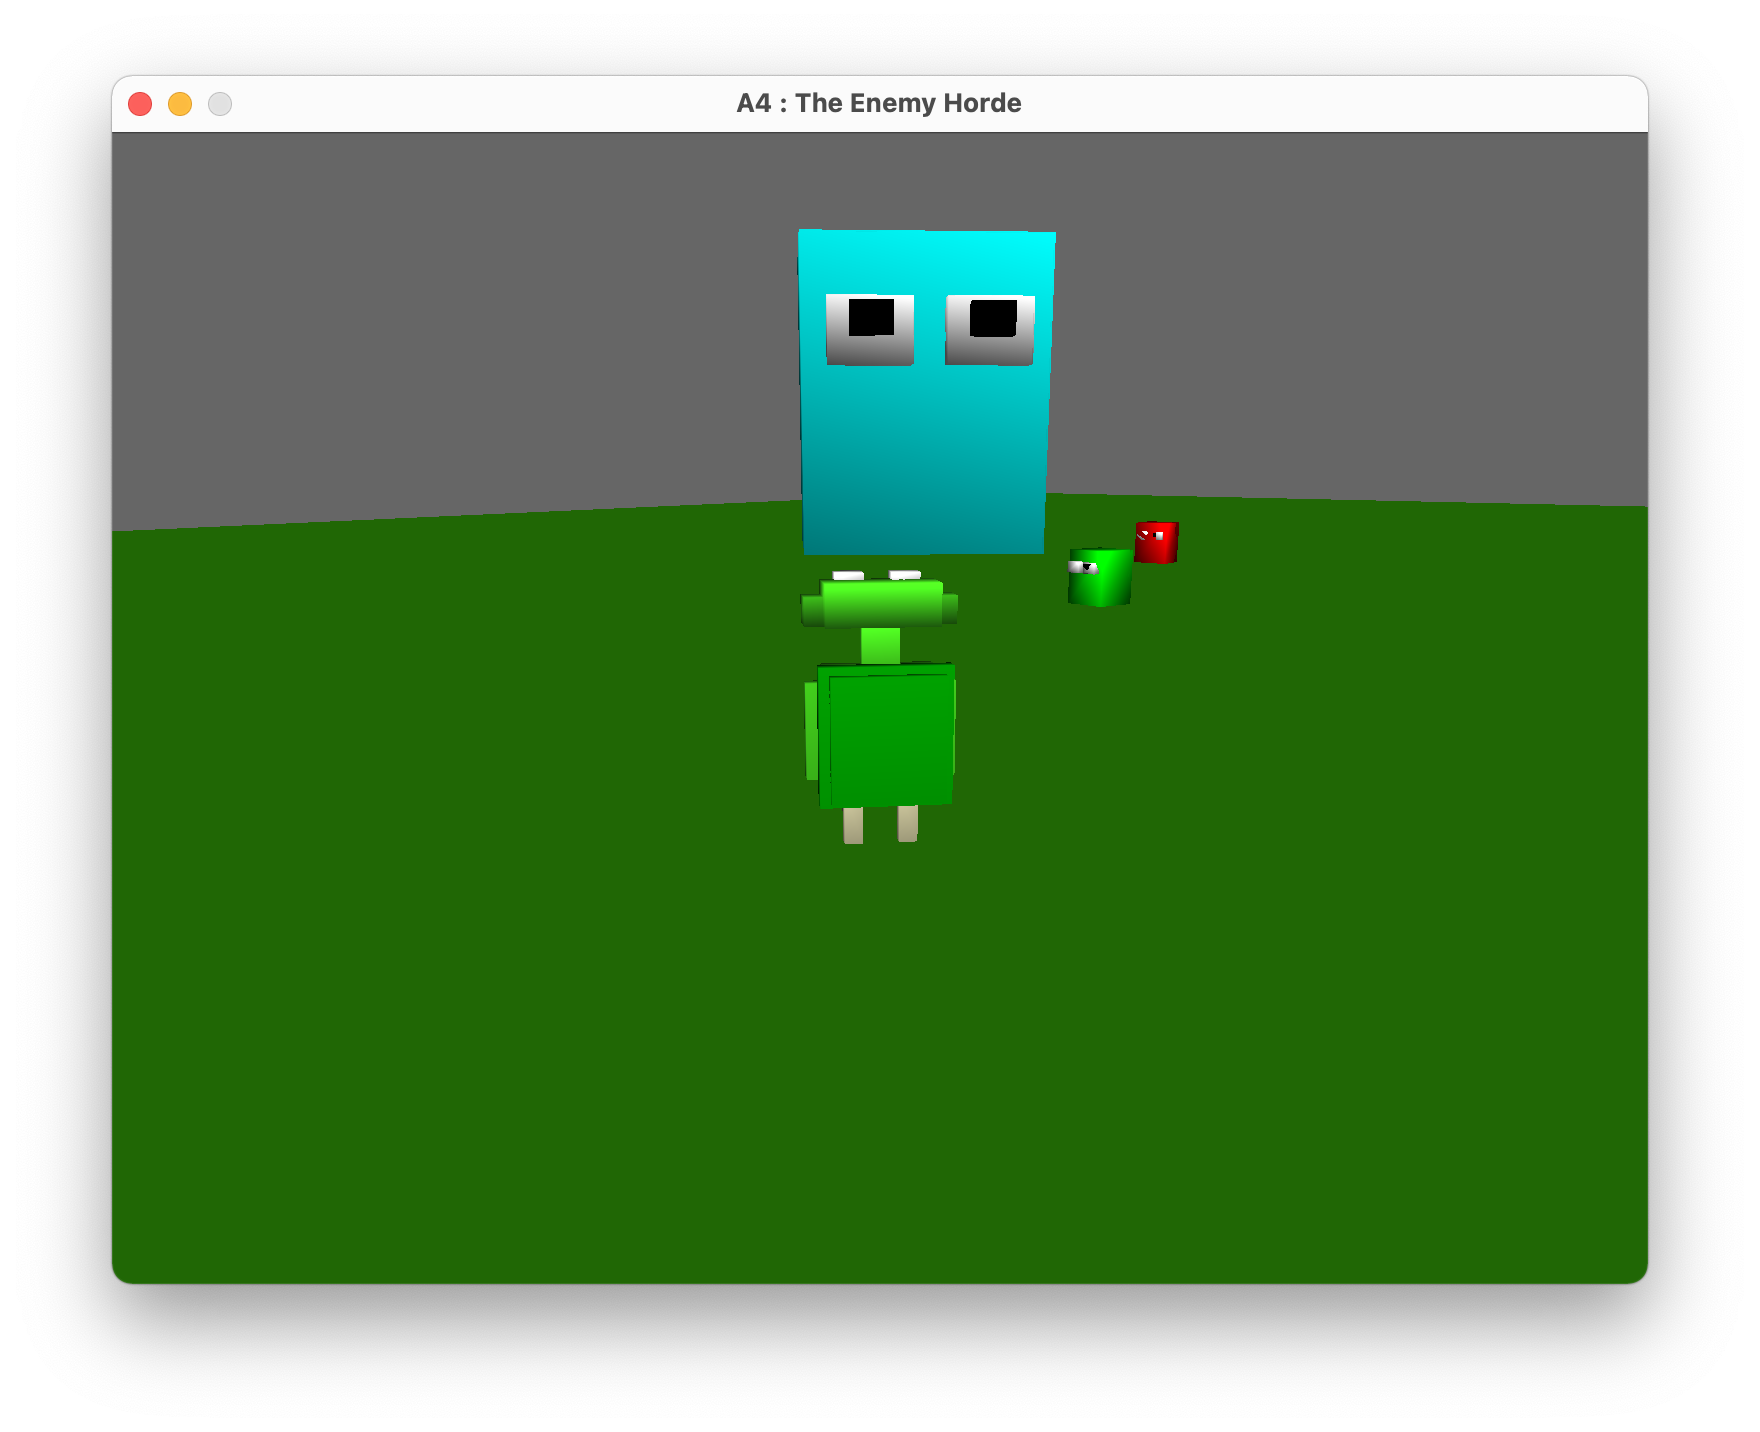
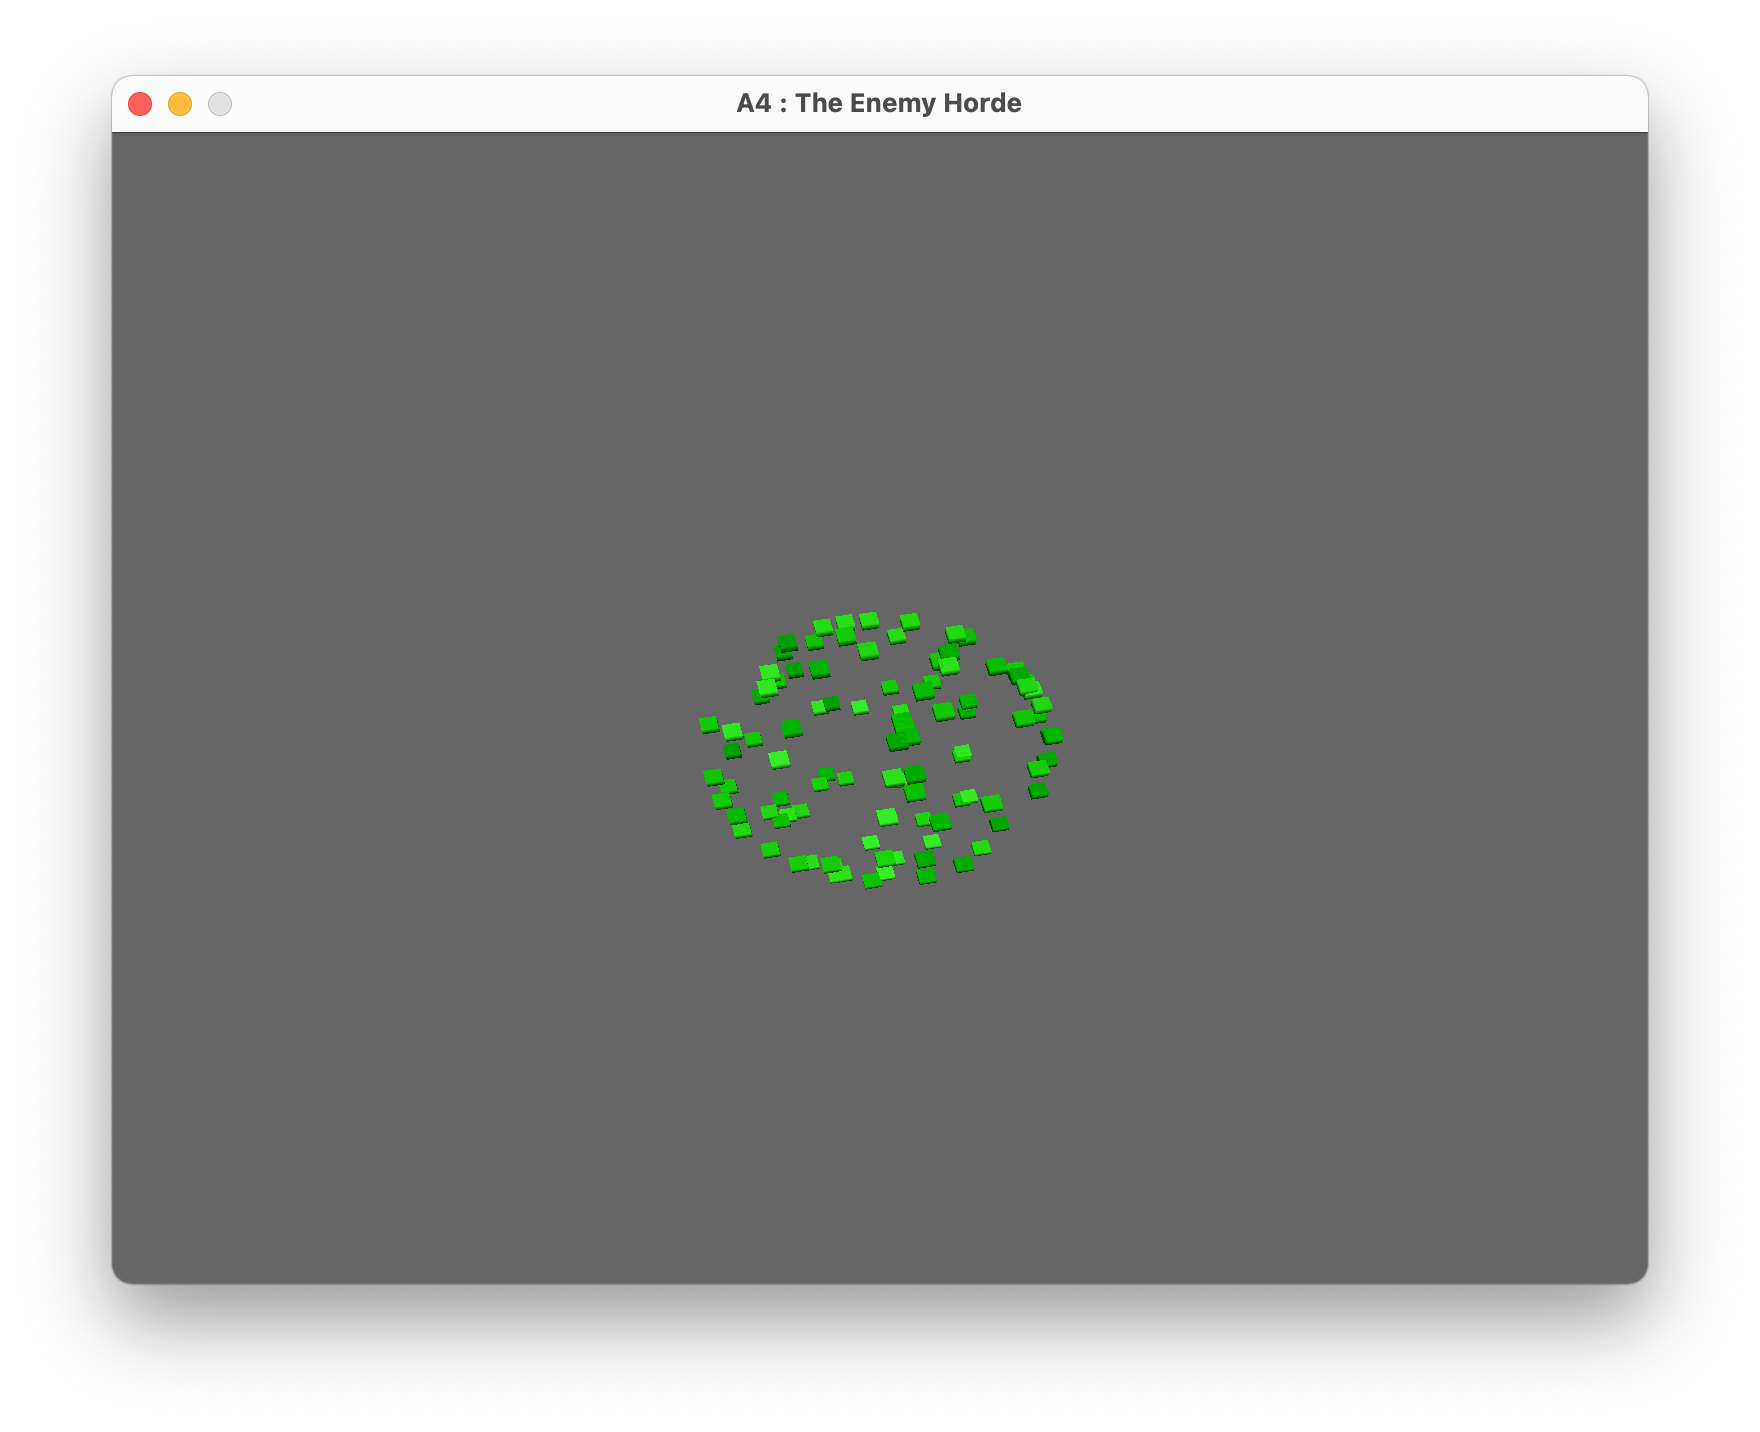
Assignment 4 - The Enemy Horde
This was our last assignment of the course and it mainly implemented a particle system and a collision detection system.
After applying these two in our labs at a simpler level, we used that knowledge to create a more sophisticated program.
I created the particle system as a separate class, implementing there all the generation, drawing and update of particles.
The only logic I separated from this system, was the update of enemies, which was heavily linked with the engine.
Inside this system, I created enemy particles and death particles. The enemies would be generated across the world with a more
complex behavior and interaction with the hero. While the death particles were used more as an animation and to show the player
that the hero or the enemies were being damaged or killed.
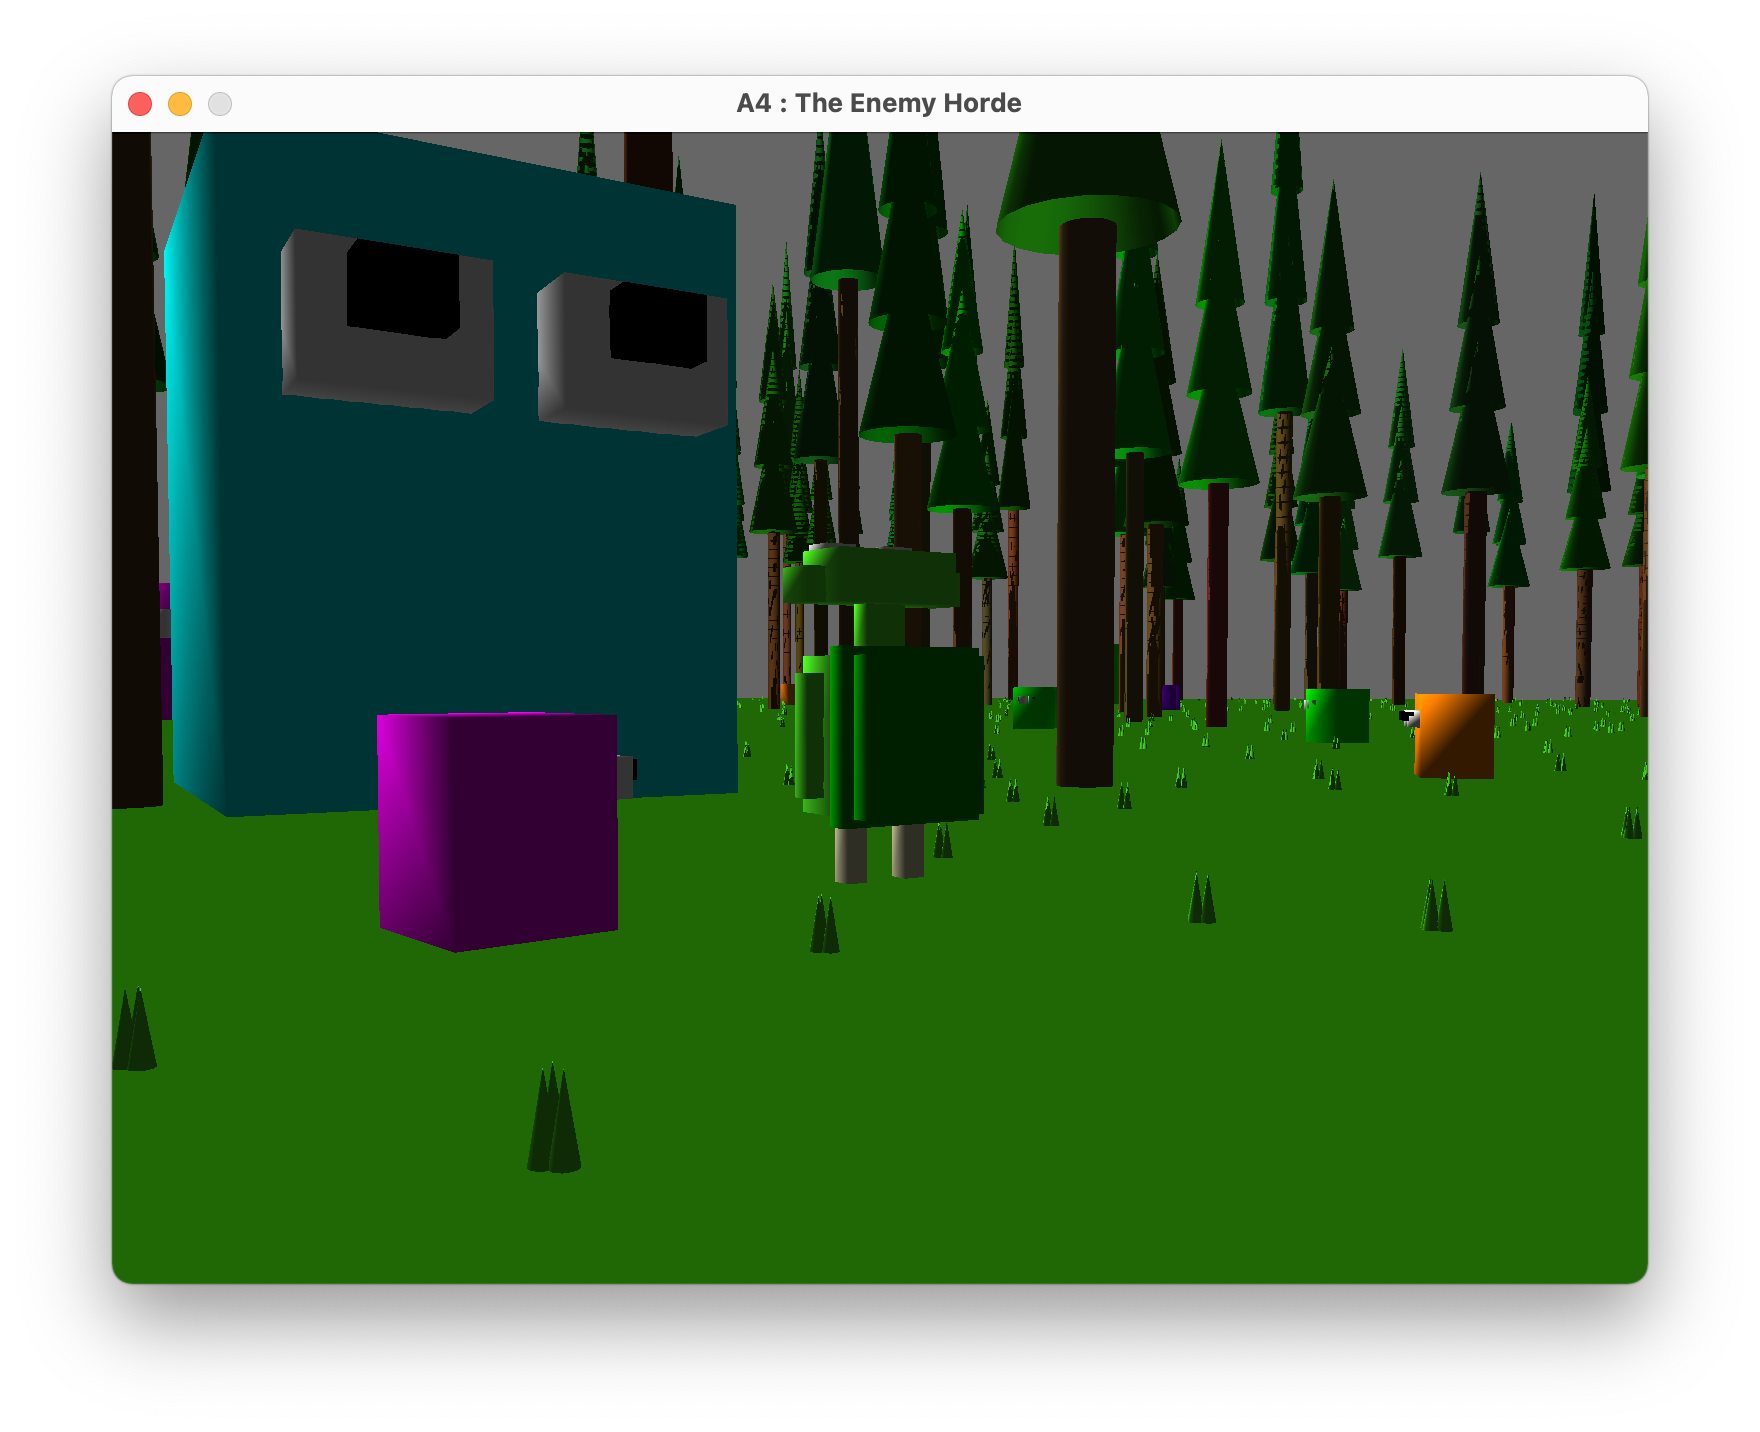
The collision detection was entirely made inside the engine. There is collision between the hero model and every single enemy,
between any two enemies, which will result in an enemy merge, and with the tree objects in the world. After two enemies collide,
their sizes, lives, colors and radii are combined, creating a bigger and more powerful enemy to defeat. This allowed to increase
the difficulty of the game, and it was thanks to the attack system using collision that the hero can damage the enemies and kill them
to win the game.
The particles were also used for damage and death animations, making sure the player knows what is happening. Some other features
like gravity, falling and jumping were also implemented to make the experience more engaging.
This assignment was a tough one, I took a long time to complete, but it taught me some interesting things I would not have learned
any other way. The key is to make things with enough time so you can enjoy them, hurring is really bad and makes everything stressful.
-·- The Final Project -·-
Our last task, the last quest we had assigned was this project. This work includes the most important and fundamental
parts of the course combined with the our own creative skills, making our own game using all our weapons.
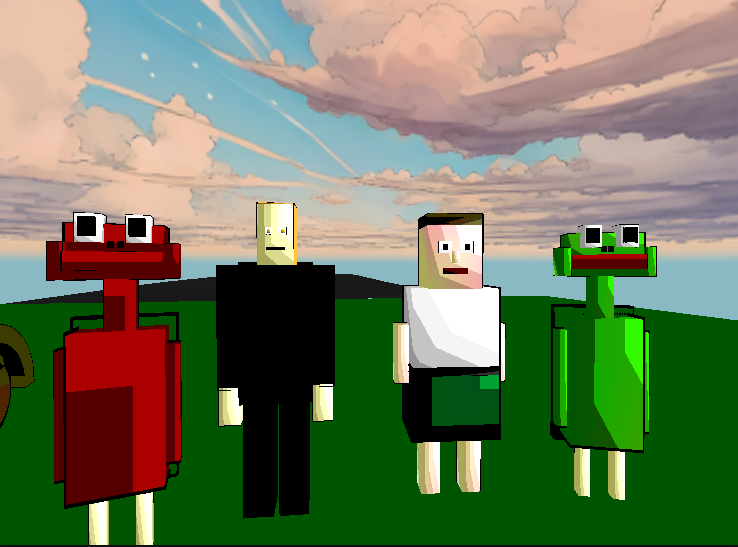
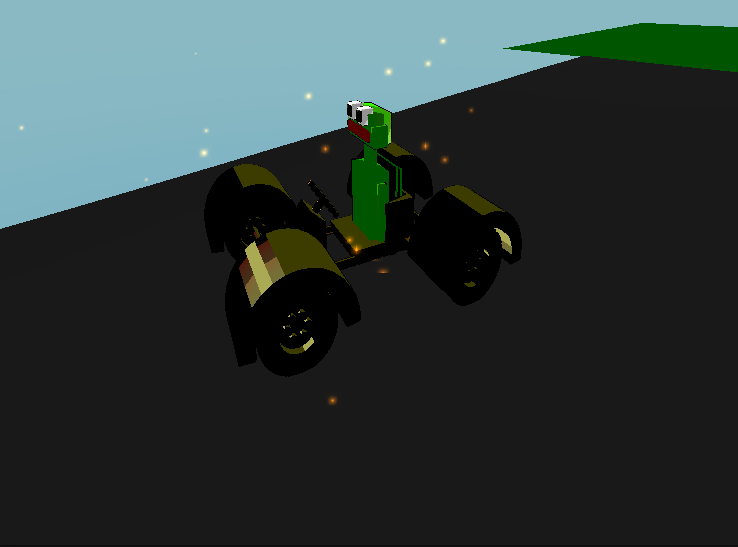
The idea for this project was to create a racing game, and that's what we did. We created a car along with our existing heroes
bring the car to life with colors, textures and animations, and created the mechanics to allow the heroes to drive.
The heroes can be controlled just as the car, but in order to enter the car there is a collision detection between the car
and the heroes, approaching the car allows the hero to drive it.
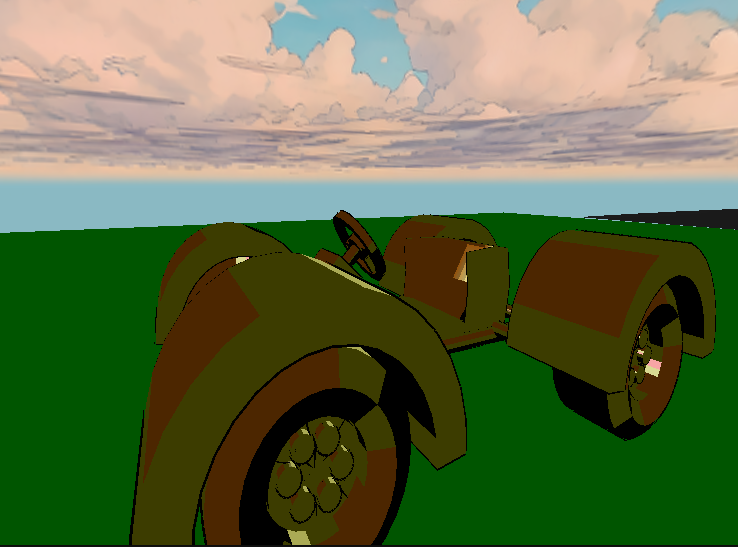
But, where are going to drive this car?
Well, we made roads for that. We implemented a randomly generated road using Bézier curves that expands as you drive.
The curves are calculated and evenly sticked together to create a smooth road to drive on. The car interacts with the
roads depending on the elevation using acceleration and momentum, and when you go off the road, you die and have to start
from the beginning. The car also features a particle system that generates small particles behind the car, giving the effect of
an exhaust.
This game is not using any normal shader, we wanted to give it a special look, so we created a Toon Shader along with the
illumination. To achieve the look we wanted we created two separate shaders, an outline shader that draws black borders
around the car and heroes, and a toon shader to give all the solid distint colors. Apart from these, we also have tessellation
shaders for the bézier curves, and texture shaders for the skybox.
Even though this was our last group project, we worked hard to make it a great game, but did not have enough time to give
the details and quality it really deserves. We had so many cool ideas we wanted to implement, but unfortunately had to
discard most of them due to not having enough time. There were many things to do during these last weeks, so we had to
work separately on most of the features and then join calls to combine our code and make it work properly.
Computer Graphics has a been a really refreshing course for me, entering a field of Computer Science I had barely touched,
combining the mathematical and technical concept with more creative and artistic skills.
It was definitely hard and with a lot of work during the weeks, more than I originally thought, but this is not something bad.
A fun experience, but a bit stressing sometimes. I really wish we get to learn even more out of this project, and feel the
motivation to keep working on it, or maybe on a new project...
Thank you for reading this, and thank you Jeff for teaching us so many cool things.
S.H.F.
Hey! You reached the bottom, you can click that small arrow to go up :-)
|