CSCI 441 - Computer GraphicsFall 2025 |
|
| | Home | Tasks | Leaders | Schedule | FAQ | Resources | | |
|
Gromage
Welcome to my computer graphics journey! Here you'll find my work from CSCI 441 - Computer Graphics at Colorado School of Mines. 
SQ2 Raytracer - Physically-Based Rendering EngineFor SQ2, I implemented a complete raytracing engine from scratch that simulates realistic lighting, shadows, and reflections. This project demonstrates the fundamental principles of physically-based rendering by tracing rays through a virtual scene to compute realistic lighting interactions. 
Basic scene showing spheres with different materials and a reflective plane 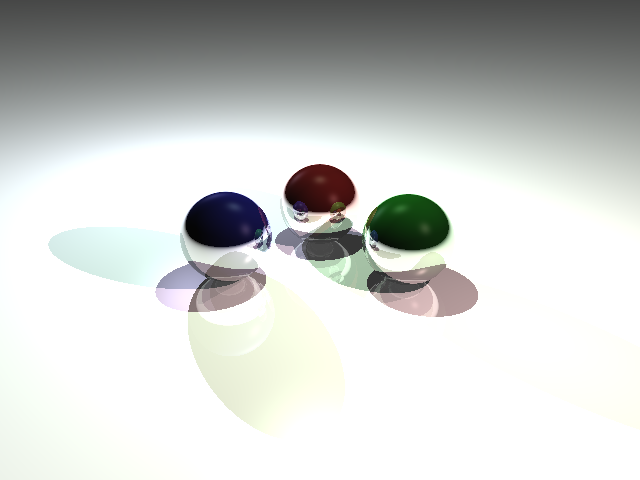
Highly reflective spheres demonstrating mirror-like surface properties 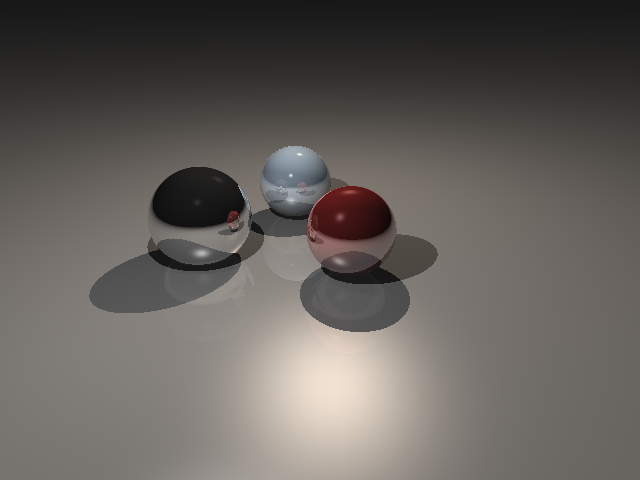
Scene featuring glass and mirror materials with complex lighting 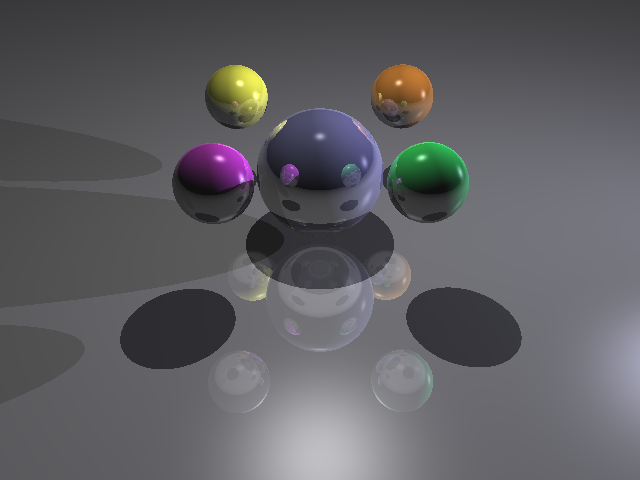
Floating spheres arrangement with dramatic lighting and reflections 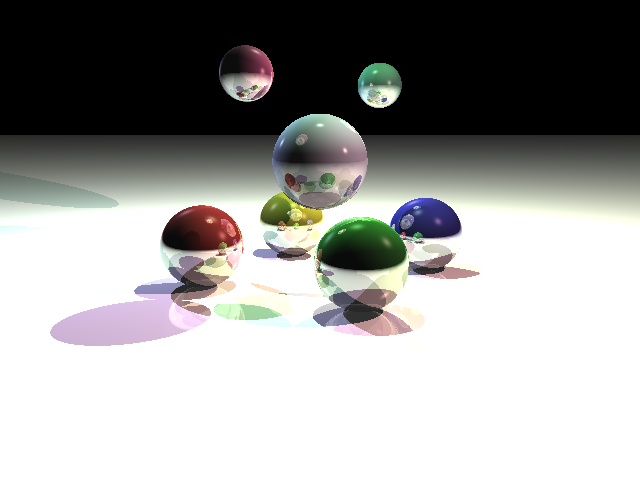
Abstract arrangement with colorful spheres and complex lighting setup 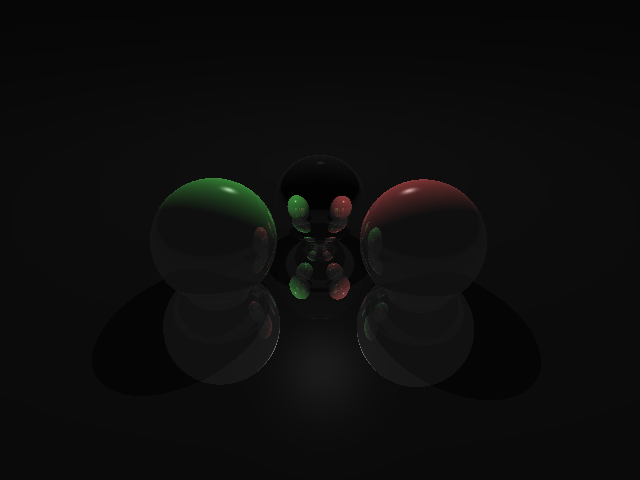
Minimalist scene with highly reflective floor and chrome spheres Key Features
Technical ImplementationThe raytracer was built using C++ with custom implementations for:
Scene Description LanguageThe raytracer supports a custom scene file format that defines:
// Example of ray-sphere intersection
bool Sphere::intersectWithRay(const Ray& RAY, IntersectionData& intersectionData) {
const glm::vec3 oc = RAY.getOrigin() - _center;
const float a = glm::dot(RAY.getDirection(), RAY.getDirection());
const float b = 2.0f * glm::dot(oc, RAY.getDirection());
const float c = glm::dot(oc, oc) - (_radius * _radius);
const float discriminant = b * b - 4.0f * a * c;
if (discriminant >= 0) {
// Compute intersection point and surface normal
return true;
}
return false;
}
Controls
FP New Kids on the Block Vampire Survivors-Style GameFor the Final Project, our team "The Metals" created a Vampire Survivors-style game where players move through an environment, defeat enemies, and avoid damage to achieve the highest score. This project demonstrates advanced graphics techniques including texturing, shading, lighting, and Bézier curves for smooth surfaces and animations. 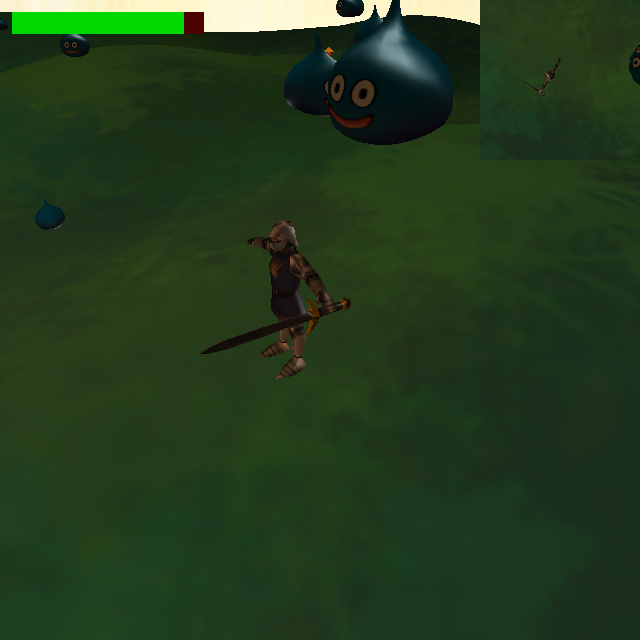
Gameplay screenshot showing the player character, enemies, and environment with advanced lighting and textures Key Features
Technical ImplementationThe game was built using C++ with OpenGL and features several advanced graphics techniques:
Controls
Team Information
A4 The Modelers Hero Adventure - Advanced 3D World with Camera AnimationFor Project 4, our guild "The Modelers" created an advanced 3D adventure game featuring a fully realized world with terrain, buildings, multiple heroes, and a sophisticated camera animation system. This project demonstrates advanced OpenGL techniques including procedural terrain generation, character animation, and pre-recorded camera paths. Video demonstration showing the camera animation system and world exploration 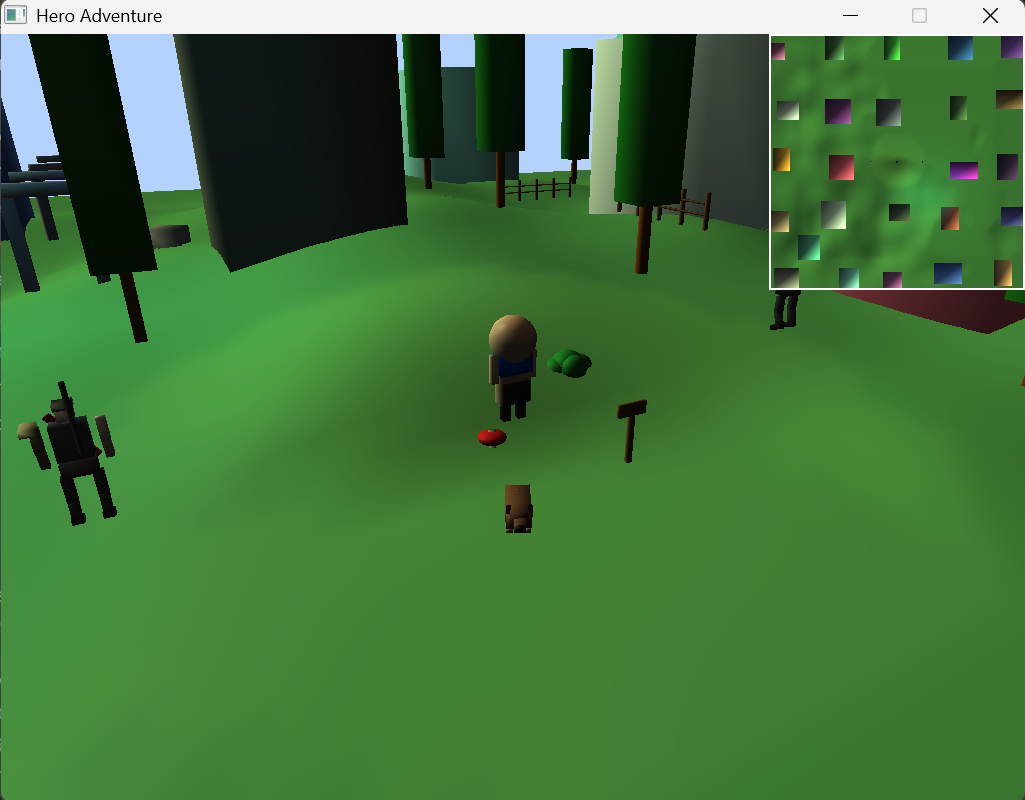
Overview of our 3D world showing terrain, buildings, and environmental props Key Features
Technical ImplementationThe project was built using C++ with OpenGL and features a custom engine architecture. Key technical achievements include:
Controls
SQ1 Nicolas Cage BattleFor the SQ1 project, I created "Nicolas Cage Battle," a thrilling 2D game where players control a colored sphere hero to defeat Nicolas Cage before he defeats them. This project demonstrates advanced game mechanics, collision detection, and interactive elements. 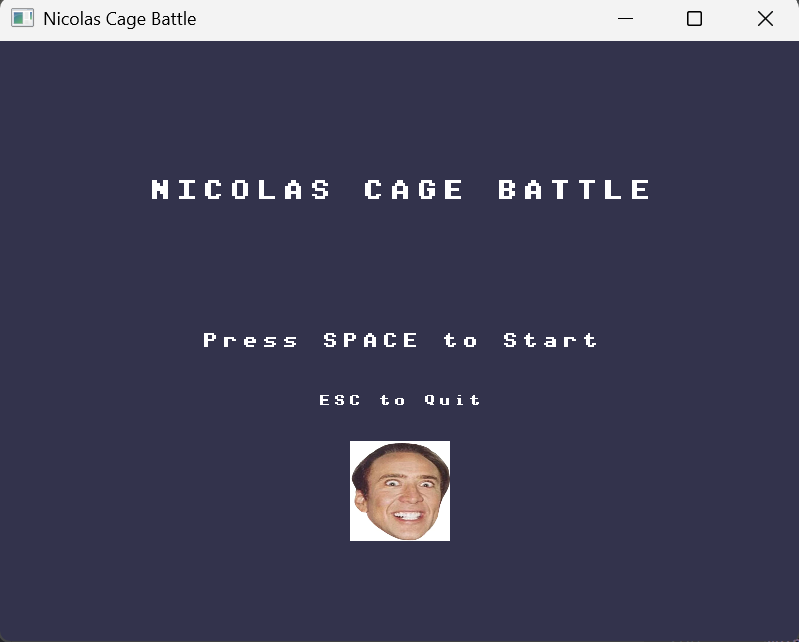
The main menu screen where players can select their character color before starting the battle. 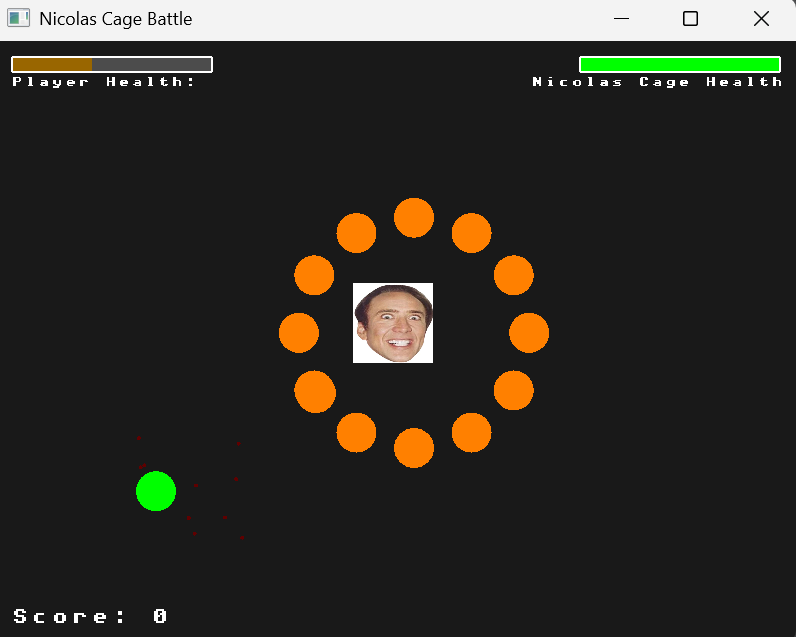
The intense battle scene showing the player's sphere hero facing off against Nicolas Cage with health bars and score display. Game FeaturesNicolas Cage Battle includes:
Controls
Technical ImplementationThe game was built using CMake with GLFW and OpenGL libraries. Key technical components include:
// Example of projectile collision detection
if (checkCollision(playerProjectile, cagePosition)) {
cageHealth--;
playerScore += 10;
spawnHitParticles(cagePosition);
}
A3 Hero Adventure - 3D Character with Multiple Camera ViewsFor Assignment 3, I created a 3D adventure game featuring a customizable hero character that navigates through a city environment. The program implements Phong illumination with Gouraud shading and features multiple camera views including an arcball camera and four minimap perspectives. 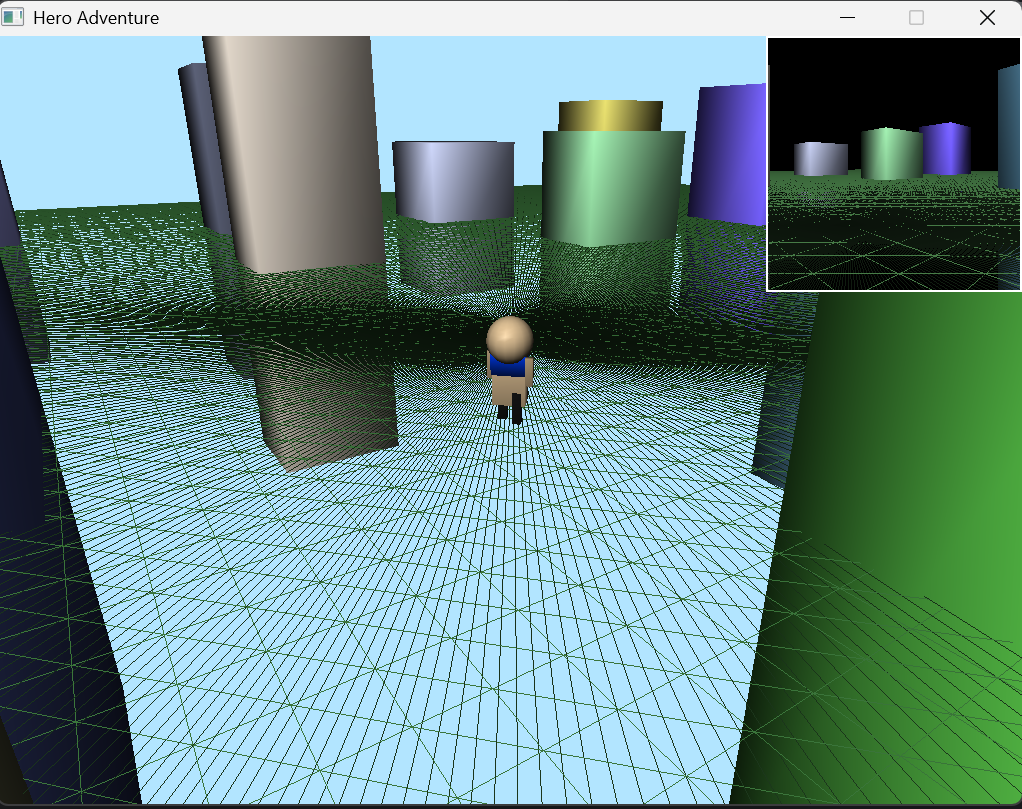
First person view from the hero's perspective 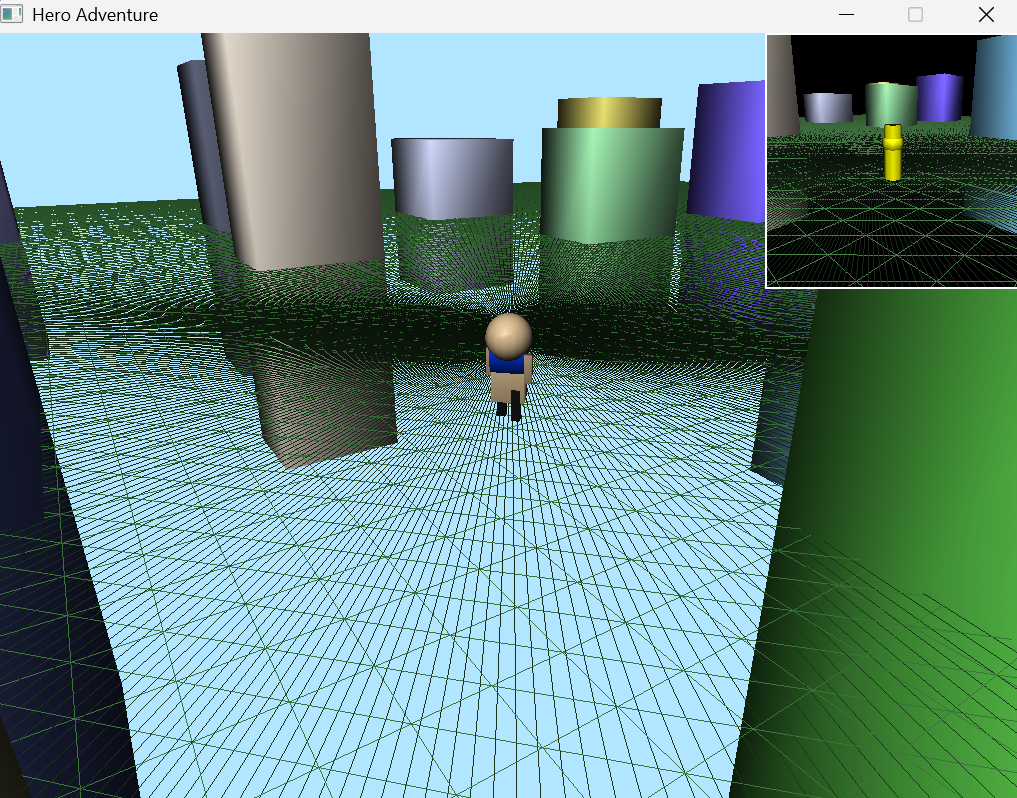
Reverse view showing the hero from the front 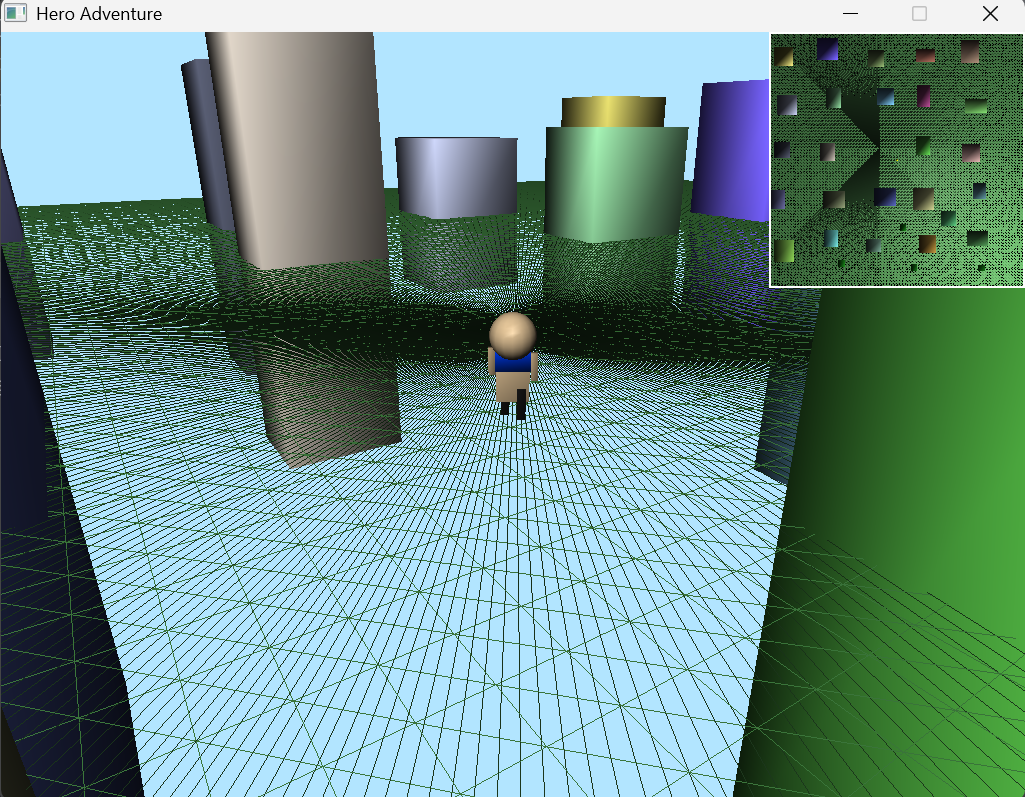
Sky view providing a top-down perspective Key Features
Controls
A2 Interactive Hero CharacterFor Assignment 2, I created an interactive 2D hero character using OpenGL/GLFW. The hero features hierarchical modeling, constant animation, and responds to both keyboard and mouse input. 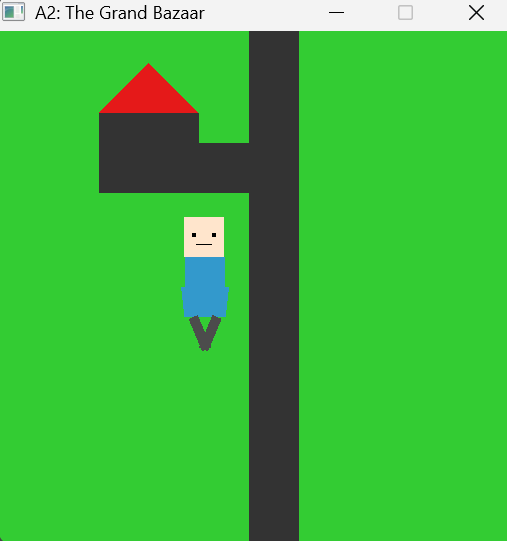
The hero character in its default pose, demonstrating the hierarchical structure with body parts positioned relative to each other. 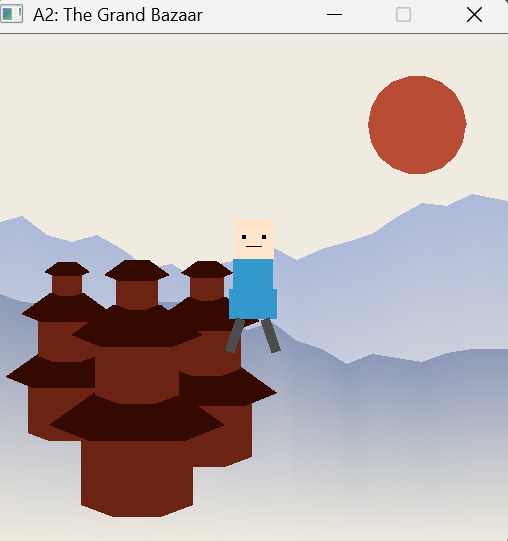
The hero character in an alternate pose, showing the animation and interaction capabilities. Implementation DetailsMy hero character features:
The implementation uses GLFW for window management and input handling, with OpenGL primitives for rendering. The hierarchical transformations are managed using glm::translate and glm::rotate to position body parts correctly. // Example of hierarchical transformation for the head
glm::mat4 headTransform = glm::translate(glm::mat4(1.0f), bodyPosition);
headTransform = glm::translate(headTransform, glm::vec3(0.0f, 0.3f, 0.0f));
headTransform = glm::rotate(headTransform, headRotationAngle, glm::vec3(0.0f, 0.0f, 1.0f));
// Draw head and its components using headTransform
L00A TriforceFor our first lab assignment, we created the iconic Triforce symbol from The Legend of Zelda series using basic OpenGL primitives. This project helped us understand coordinate systems and basic shape rendering. 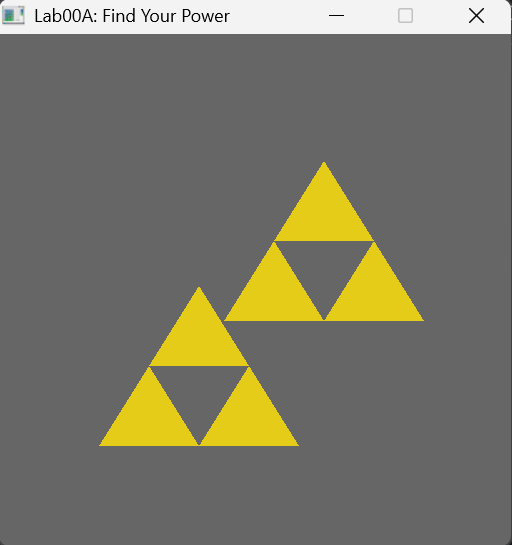
The Triforce symbol rendered with OpenGL, featuring three golden triangles. Implementation DetailsI used GL_TRIANGLES to create the three triangular pieces of the Triforce. Each triangle was positioned carefully to form the iconic overlapping pattern. The gold color was achieved using specific RGB values to match the classic appearance. // Drawing one triangle of the Triforce
glBegin(GL_TRIANGLES);
glColor3f(0.96f, 0.82f, 0.08f); // Gold color
glVertex2f(0.0f, 0.5f);
glVertex2f(-0.5f, -0.5f);
glVertex2f(0.5f, -0.5f);
glEnd();
L00B House SceneIn this lab, we created a 2D scene featuring a house. This project helped us understand how to compose more complex scenes from simple geometric primitives and practice coordinate positioning. 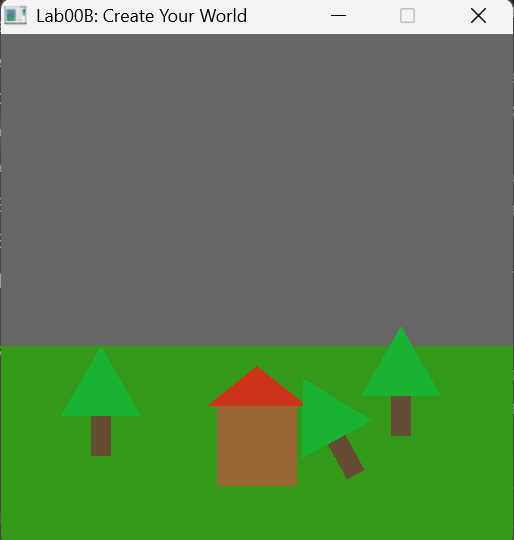
A simple house scene with a building, roof, door, and window elements. Implementation DetailsI used a combination of GL_QUADS for the main structure and roof, and GL_TRIANGLES for the roof details. The scene demonstrates proper use of coordinate systems to position elements relative to each other. Different colors were used to distinguish the various components of the house. L02 3D WorldThis lab introduced us to 3D rendering concepts. We created a simple 3D world with basic objects, practicing 3D transformations and perspective projection. 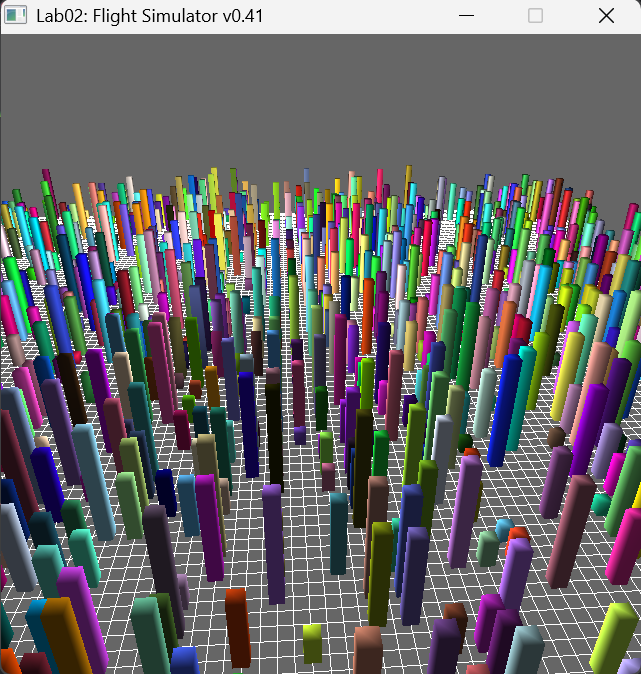
A 3D environment with multiple objects demonstrating depth and perspective. Implementation DetailsI implemented 3D transformations including translation, rotation, and scaling to position objects in the world. The perspective projection was set up to create a sense of depth. This lab helped me understand the differences between 2D and 3D rendering approaches in OpenGL. // Setting up perspective projection
glMatrixMode(GL_PROJECTION);
glLoadIdentity();
gluPerspective(45.0f, (GLfloat)width/(GLfloat)height, 0.1f, 100.0f);
glMatrixMode(GL_MODELVIEW);

| |
|
Gromage's Graphics Portfolio
|