CSCI 441 - Computer GraphicsFall 2025 |
|
| | Home | Tasks | Leaders | Schedule | FAQ | Resources | | |
Cosmo the WizardLabs 00A and 00B: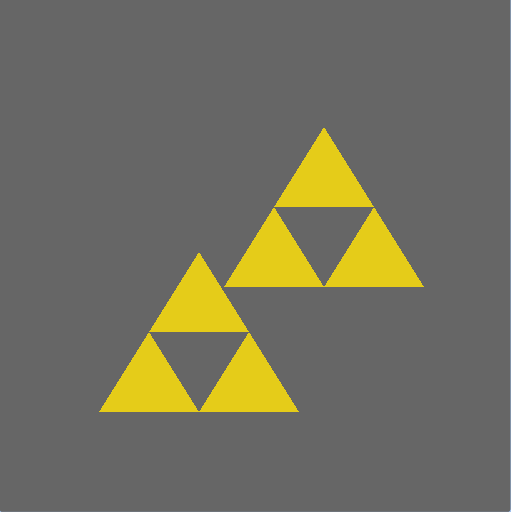 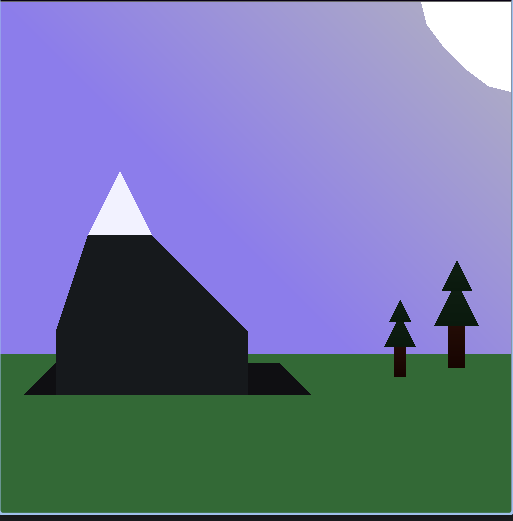 In Lab 00A (Top image above), I followed a very detailed procedure to learn about drawing to a 2d canvas in OpenGL. These two transformed tri-force symbols made out of triangles were my first creations in OpenGL. After that, the goal of Lab 00B (bottom image above) was to use a square OpenGL canvas to create a picture of our characters' hometown. I invision my character as coming from a snowy, forested mountain town so I drew a mountain and a couple of trees. I also tried my hand at trying to draw a quarter circle sun with a gradient background to show its rays. Lab 01:  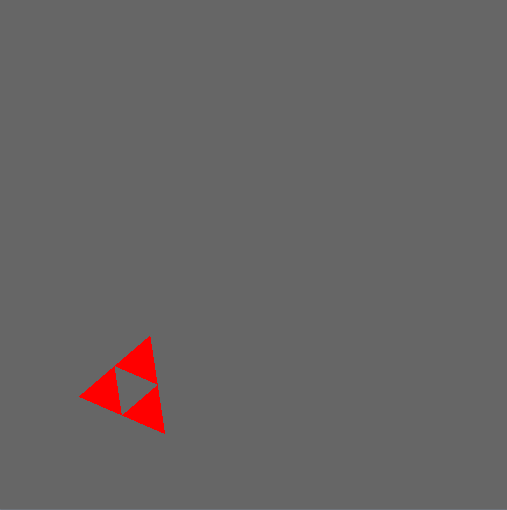 In Lab 01, I followed the provided set of directions to create my first animated OpenGL program where the user can change the color and location of a spinning triangle. The canvas starts off with a gold spinning triangle that follows the user's mouse position. The user can then change its color to red by clicking the mouse down or toggle its color by pressing the C key on their keyboard. The program can also be exited by pressing escape instead of clicking the exit button on the window. One image above is the gold triangle and the other is it toggled to red in a different location with the mouse. Assignment A1: 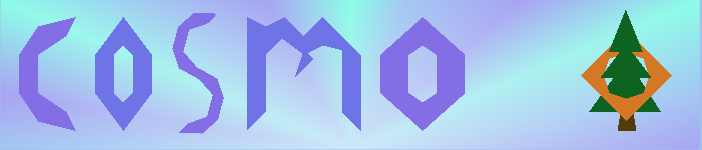 The goal of assignment A1 was to create a name banner with our character's name and a symbolic crest representing their hometown. Given the fact that OpenGL works primarily with triangles, I spent some time designing this very sharp and angular way of writing Cosmo's name. I also included a tree symbol with a ring around is to represent the snowy forest he comes from and a decorative fan background with multiple colors. One interesting implementation detail in this project is the fact that S letter is actually composed of two transformed C's rather than being a separate set of points. Lab 02: Flight Simulator 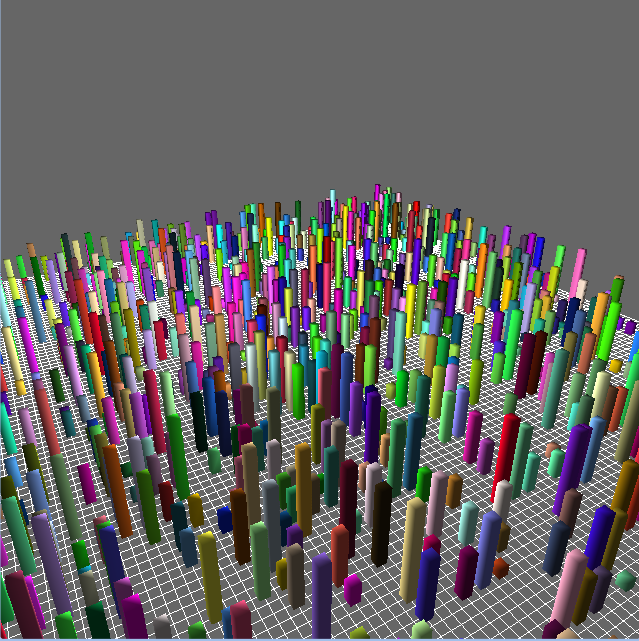 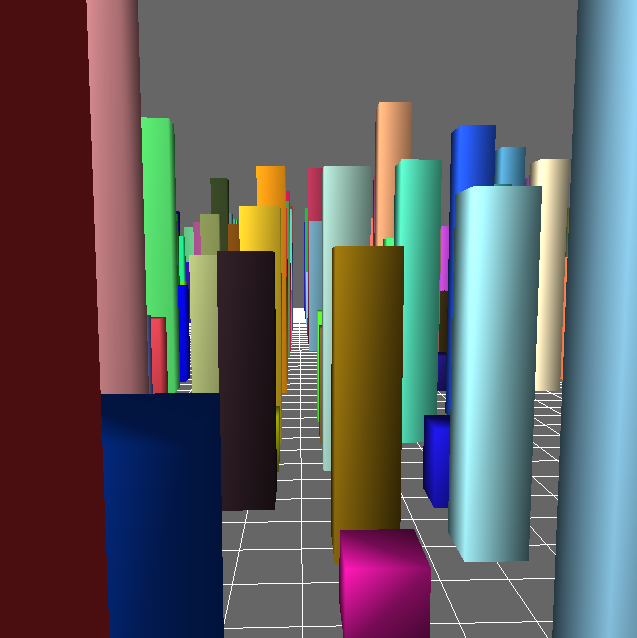 In lab 02 I got to learn about cameras in 3D OpenGL for the first time. This lab had us create a grid or procedural generated multicolor building. We then added a free camera that could move around the world to explore it. The camera could be moved forward and backward with the W and S keys and could also be turned by clicking and dragging with the mouse. Lab 03: VAO, VBO, IBO Hellknight 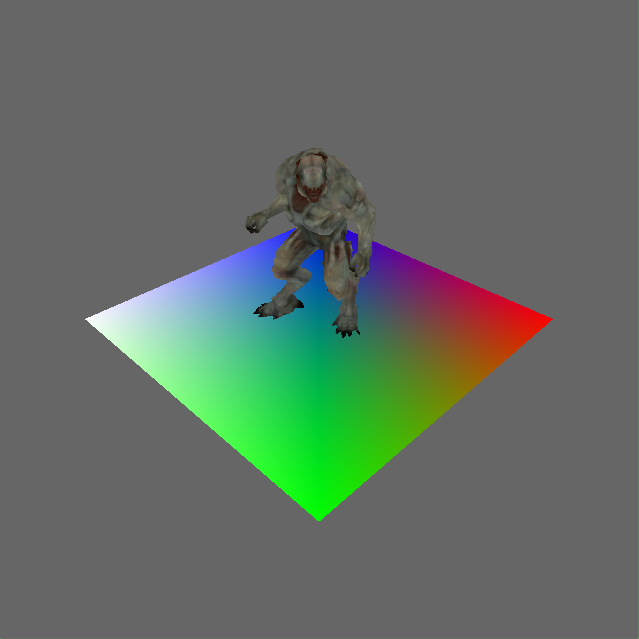 This lab was the first time that we removed some of the abstraction of our class code library. I had to manually use plain OpenGL functions to register my VAOs, VBOs, and IBOs and send them to the GPU for rendering. In order to make this a slightly less time consuming process, we were given a premade model to import and simply had to create a rainbow platform for it to stand on. We also learned to register and render the texturing of the model provided. A2: The Grand Bazaar 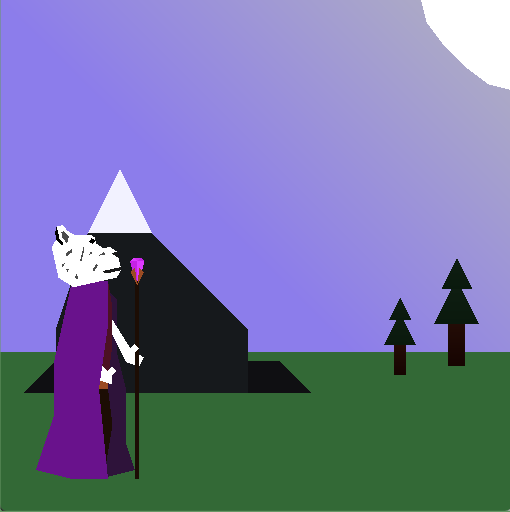 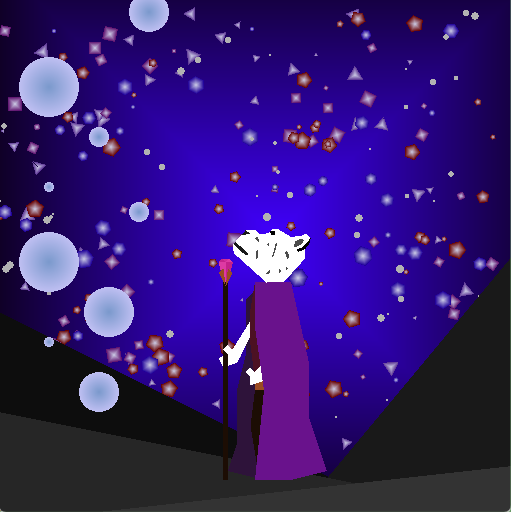 In assignment A2 we were tasked with creating an interactive version of our hero. In my program, the gem on top of Cosmo's staff slowly alternates color between red and pink all the time. I also implemented keyboard and mouse functions that allow direct interaction. The W, A, S, and D keys move Cosmo around the 2d world by going up, left, down, and right respectively. When he reaches the end of the screen, he wraps around and the next world tile from the provided map class is displayed under him. Finally, when left clicking with the mouse, you can drag the pointer around the window and Cosmo will stay looking at the pointer. His body will also face the direction he is currently walking in and the program can be closed with the escape key. Lab 04: Muddled Suzanne 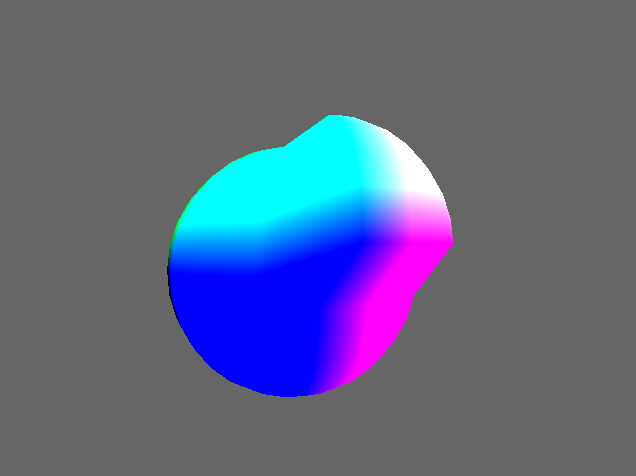 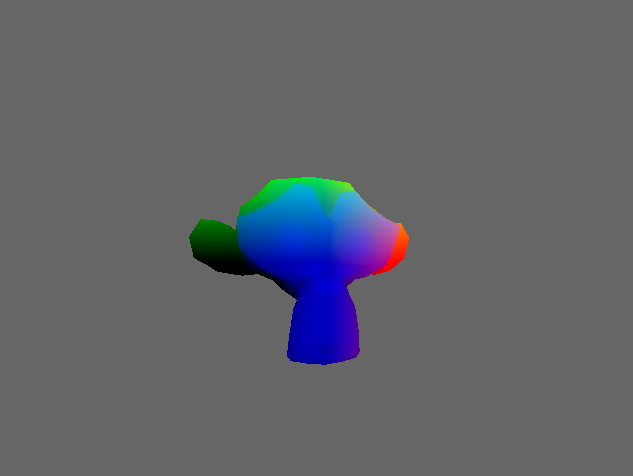 In lab 04 we learned to right GLSL shader code and load it onto the GPU to be used. After creating a shader that colored fragments based on their position in the world, we were able to test it on a set of provided models. We also learned how to program uniforms and attributes for the shader program and passed in time to make one quadrant of the objects pulsate in and out. Lab 05: Turn On the Lights 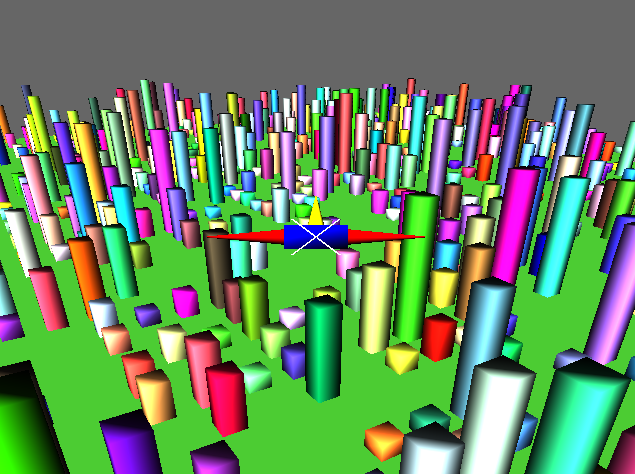 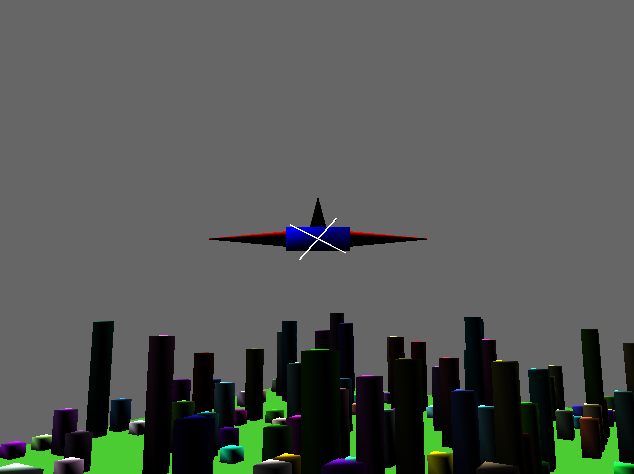 In lab 05 we were given base code similar to the flight simulator in lab 02 except with a green ground plane. Continuing with our learning of GLSL, we implemented the diffuse component of the Phong Illumination Model to give the buildings and ground realistic directional lighting. The world could then be explored and viewed from different angles. Lab 06: Texture That Teapot 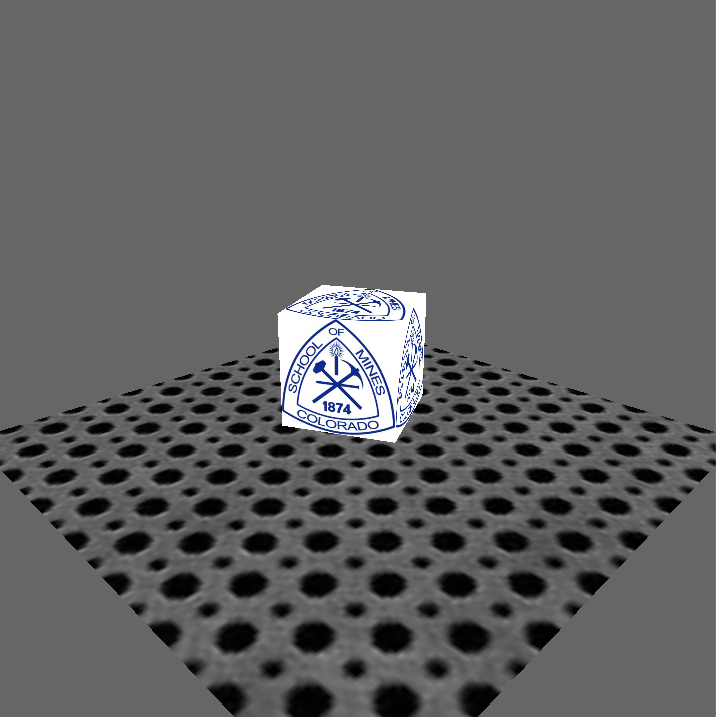 In lab 06 we got to try adding textures to our objects for the first time to create a more detailed scene. This experience helped tech us about methods of sampling and loading image files in openGL. By the end we could view the same variety of provided objects as in lab 04 with our new texture based coloring. A3: Begin the Transformation In assignment A3, I created a 3-dimensional representation of my character Cosmo as well as a simple world for him to explore. In order to make this assignment I had to combine several previous techniques like implementing all three components of the Phong Illumination Model on top of my code from Lab 02 and creating an arcball camera model for the first time. The user is able to explore the world with Cosmo using the arrow keys and drag the camera around him with the mouse. His character model also has an animation when walking of his hat bouncing up and down although this was hard to get a screenshot of. Lab 08: Curves 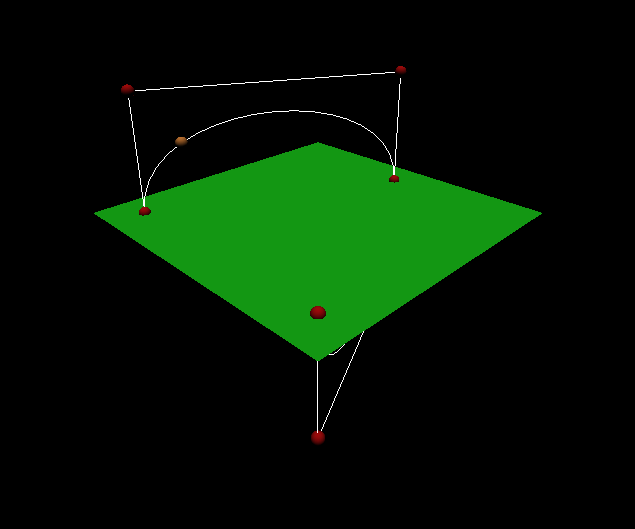 In lab 08 I learned to use Bézier control points to draw smooth curves in OpenGL. The resulting program is able to read control points from a file and draw the curve into 3D space. A golden ball is then animated along the resulting curve using my evaluation function. Midterm Project: The Alchemist's Guild  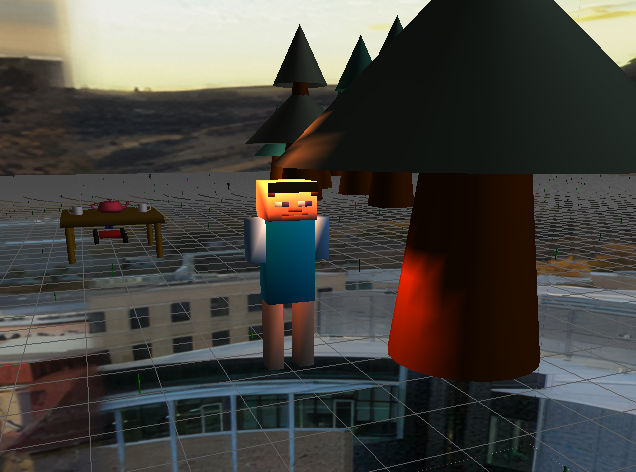 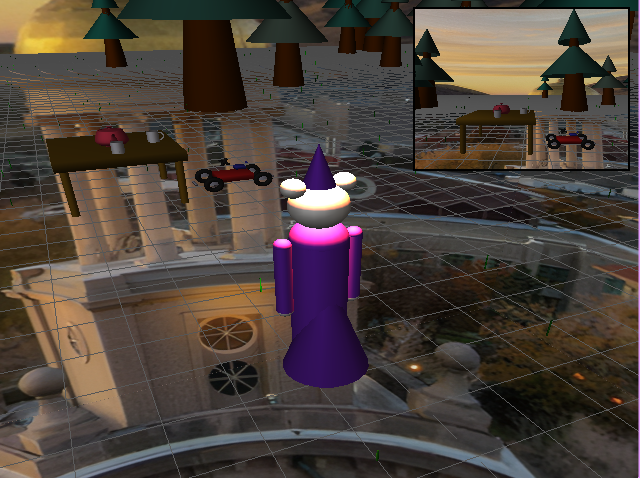 The midterm project, or MP, was our first group project in graphics class. As a team of 3 we created a 3D world that could be explored with each of our characters from A3. We also implemented a variety of different light types and camera types to make the world more interesting. Personally, I added the code for the different camera types and the point lights to our program. There are three camera types in our program: An arcball camera, a free camera, and a first person camera. The arcball camera orbits around the currently selected character and can be zoomed in or out by scrolling. The free cam can be turned and moved around the world with arrow keys. Finally, the first person camera follows the eye location of the current character as well as their heading. When displayed, the first person camera shows up as a viewport within part of the larger window. When making point lights, I added small path lamp models scattered randomly around the world and gave each of them a light. These lights exhibit attenuation so that they realistically light only nearby objects. Lab 09: Tessellating Surfaces  In Lab 09, I created tessellation shaders and learned to apply Bézier patch equations to render a curved surface with a hill and a valley. Lab 11: Marble Madness 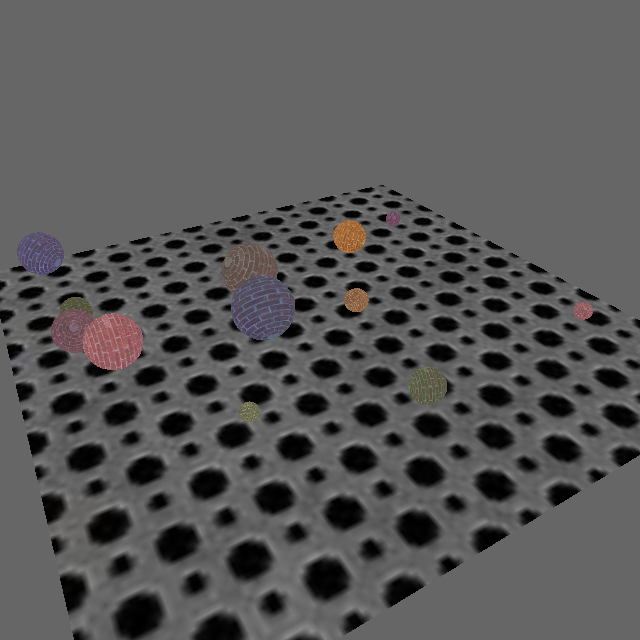 In Lab 11, we learned about collision detection by creating code to make marbles bounce around on a surface. The marbles bounce off of the sides of the world as well as reflecting off of each other. Lab 12: Billboarded Point Sprites In Lab 12, I used the principles of a basic particle system to render a rotating field of snowflakes. Each snowflake was rendered using a geometry shader for billboarding and a texture. This lab also served as an opportunity to order points for proper rendering of transparent textures in OpenGL. A4: The Enemy Horde 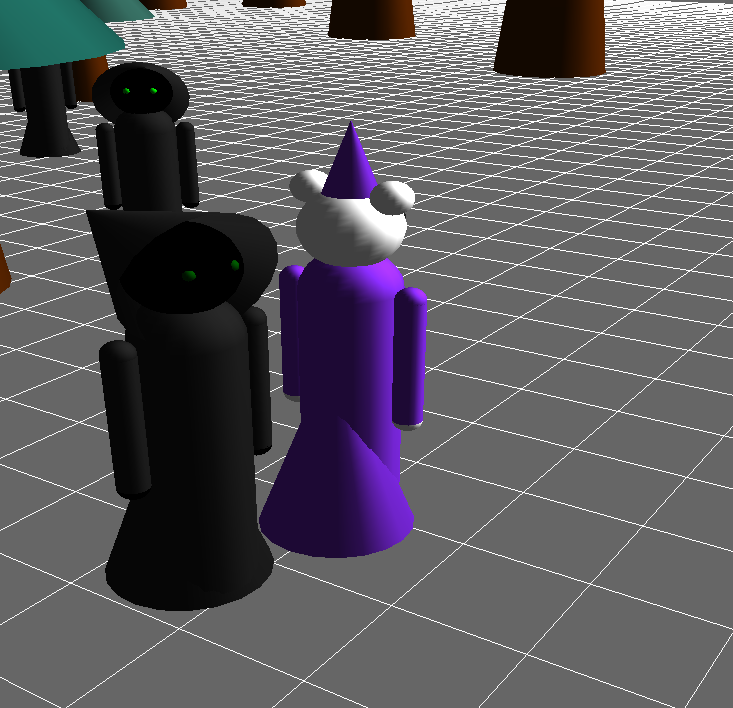 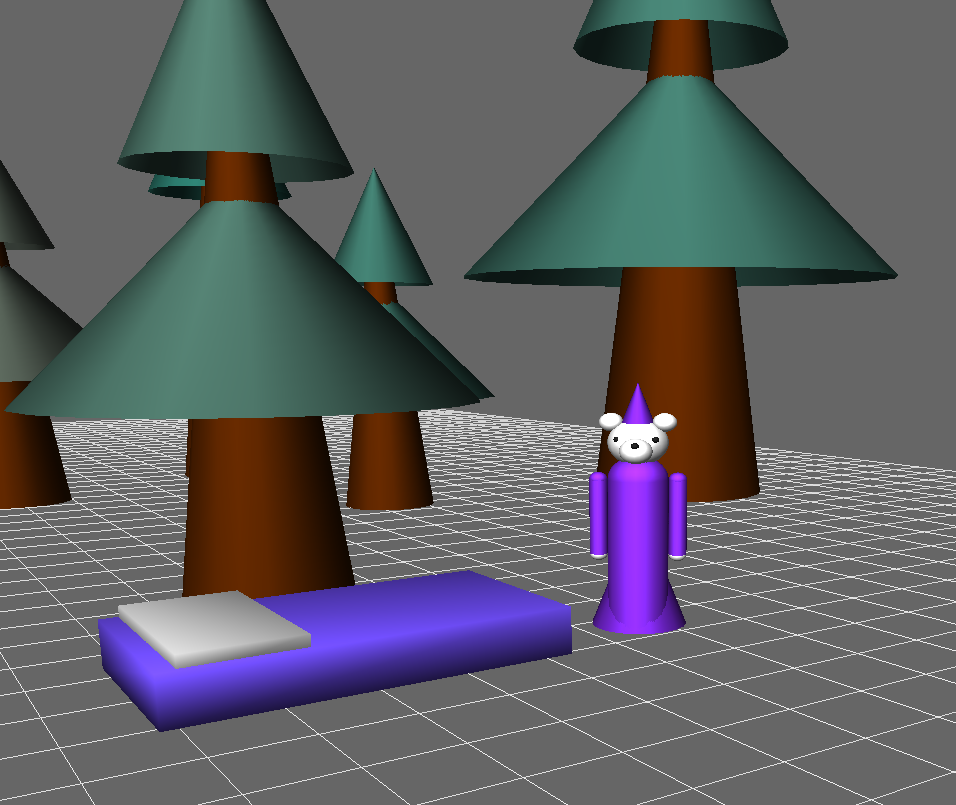 In assignment A4, I modified my 3D world from A3 to make it into a simple 3D game with enemies and proper collisions on the trees. The enemies were black versions of my original character's model with slight modifications and an eye color based on their position in the world. In my game, the very simple objective was to reach the blue bed on the map as the player and make all the enemies disappear. If an enemy was able to touch the player's character at any point, the player would die resulting in a red death screen. In order to make the game challenging the enemies were constantly attracted to the player. Finally, the player and enemies were all able to fall off the side of the world giving rise to some interesting strategies of clearing enemies. Final Project: The Metals 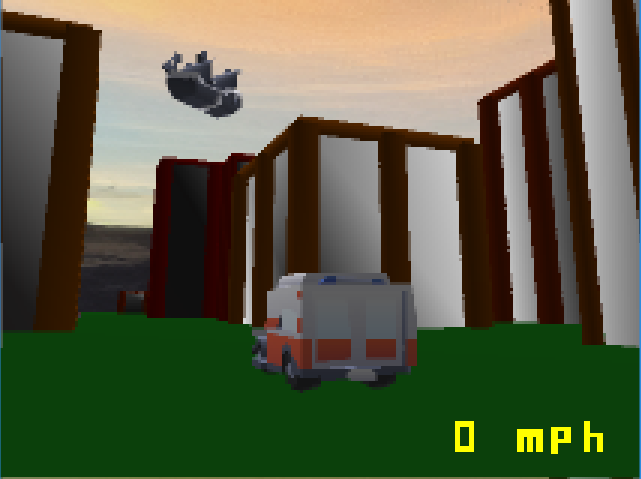 In the final project we worked in the same team as on our midterm project. My team chose to create a simple vehicle simulator with generated buildings, a vertex snapping and pixelization shader to stylize the scene, and a flying pirate ship in the sky. Personally, I worked on the building generation and hitbox code for this project as well as helping with the loading of obj files into the world for vehicles. This project was a fun end to the semester where we were able to combine many techniques from the class to make a unique game-like program. I was interested in doing more but unfortunately ran out of time. | |