CSCI 441 - Computer GraphicsFall 2022 |
|
| | Home | Assignments | Leaderboard | Schedule | Resources | | |
Enca's Website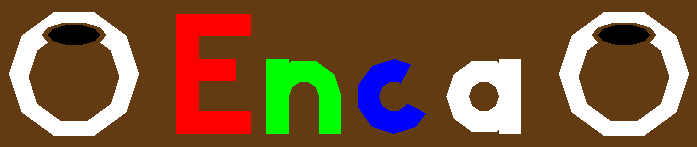
"A1: Hoist Your Sign": This is the Enca banner! It includes the word Enca, along with two ceramic pots on the outside, each drawn using basic OpenGL primitives, such as triangles, triangle fans, and triangle strips. Each letter of the word Enca is drawn in a different color, all are drawn heirarchically (drawn small in the corner, but scaled and translated to their true position relative to where we want to draw the whole word), and the lowercase 'c' is even rotated a little bit! 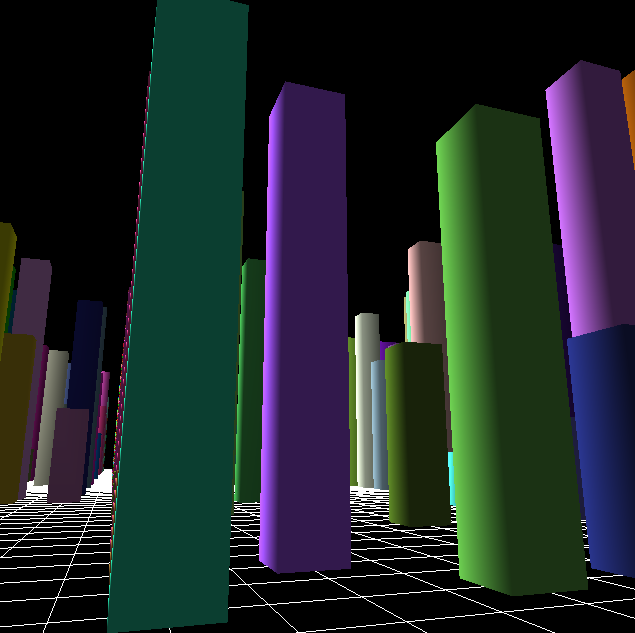
"Lab02: Free Cam": This lab focused on creating a camera that could freely move throughout a randomly generated (albeit blocky) city-scape. In this image, you can see me "soaring" among the buildings! 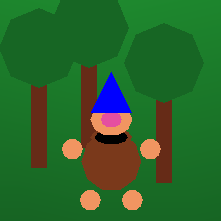
"A2: An Unexpected Journey": In this assignment, we created a player avatar that we could move freely around a world made of various images. In this image, you can see my player character, Enca, sitting among some trees. Enca bobs up and down slightly over time. Pressing the WASD keys moves Enca around, and clicking makes Enca move toward the mouse. However, holding R while clicking makes Enca run from the mouse! 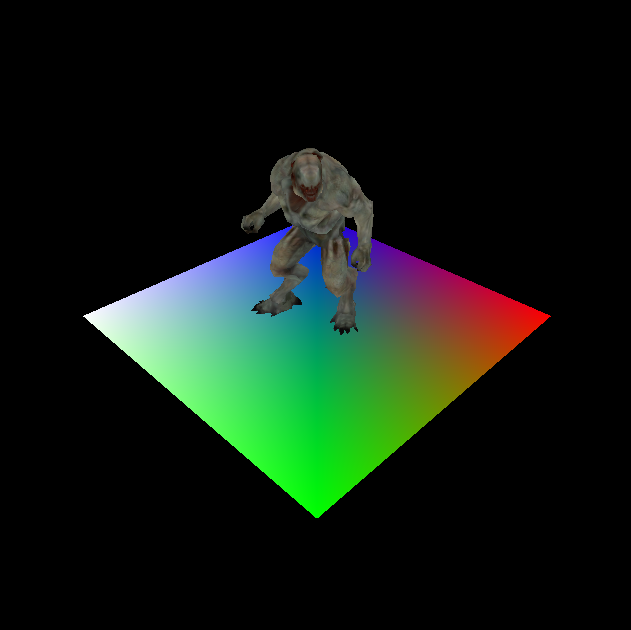
"Lab03: Mesh Texturing": In this lab, we learned how to create VAOs, VBOs, and IBOs, in order to pass data from the CPU to the GPU. Here you can see a fully textured Hellknight from Doom! 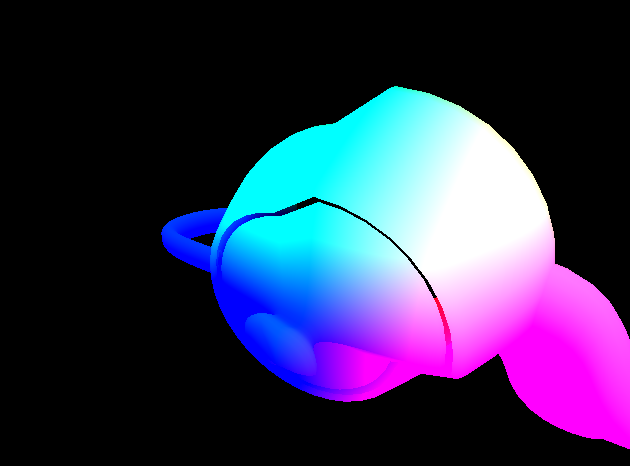
"Lab04: Simple Shaders": In this lab, we created some simple shaders to texture different objects. Firstly, we made the color of each fragment depend on its position (color generally changes per octant), and secondly, we made one octant oscillate in and out. Here you can see an oscillating and colorful teapot! 
"Lab05: Diffuse Plane": In this lab, we took a free-flight simulator, and added some diffuse lighting to it! This light is a little more realistic than before; triangles that are facing the light receive more illumination. In this image you can see what it looks like to fly a plane through "diffuse city"! 

"A3: The Cabin in the Woods": In this assignment, we made an animated 3D avatar that moves around a scene! My avatar, seen above, is a motorized bike. It bobs up and down, and its tires rotate as it rolls around! In addition, I added a more advanced lighting model to the scene, with a light on front of the bike that casts a spotlight on the area in front of it. Seen above is an exaggerated version of the spotlight, that illuminates a very large area! Implementing the spotlight required moving lighting calculations from the vertex shader to the fragment shader. 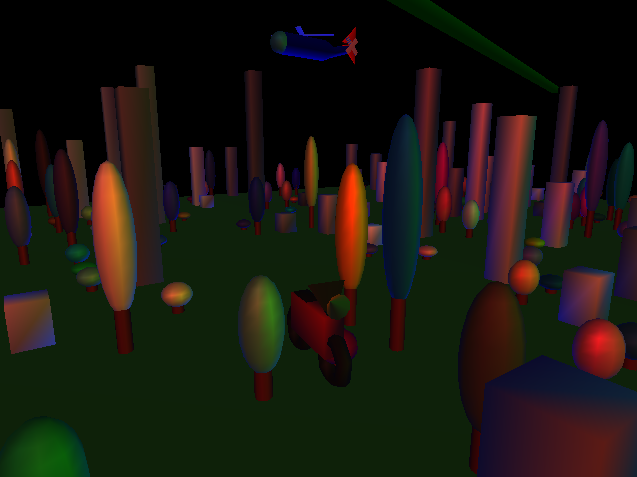
"MP: The Fellowship": In this assignment, I worked together with the Linux Users Guild (group project!) to create a scene with multiple characters moving around, along with fancy Gouraud shaded lighting. Here you can see three of our characters in a scene, with red and blue lighting illuminating the place. Several grey buildings and colorful trees dot the picture. 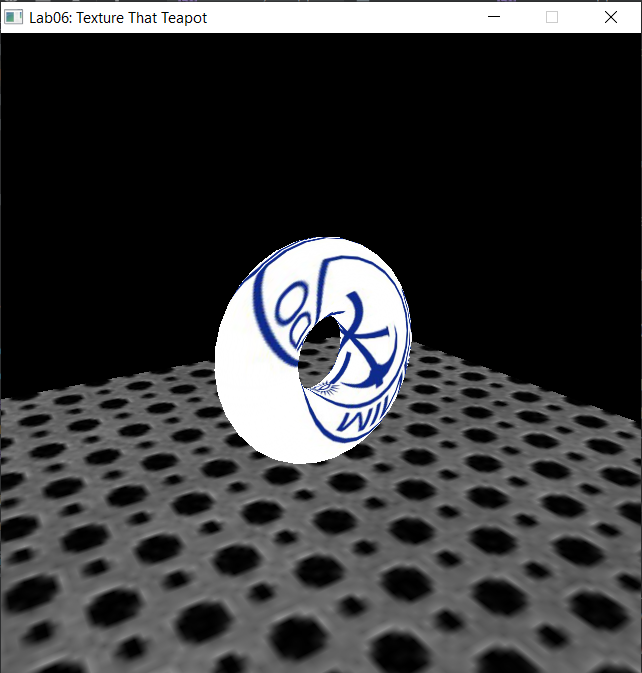
"Lab06: Shape Texturing": In this lab, we were taught how to apply textures to various objects. Here you can see a torus with the Mines logo wrapped all around it. 
"Lab08: Bezier Curves": In this lab, we were asked to calculate the path of a Bezier Curve, which is a great method of creating a "spline" that aligns with the general path of a series of points. 
"Lab09: Bezier Patch": In this lab, we learned how to create a smooth Bezier Patch using tessellation shaders. Looking at the image, you can see that the result is very smooth! 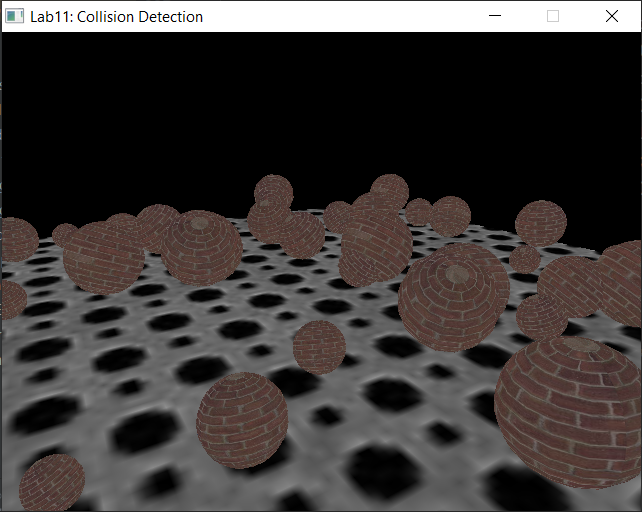
"Lab11: Marble Colliders": In this lab, we were shown how to perform basic collision detection. As you can see in the image above, several marbles bounce around a tray, knocking against one-another, without ever leaving the tray or going through another marble. 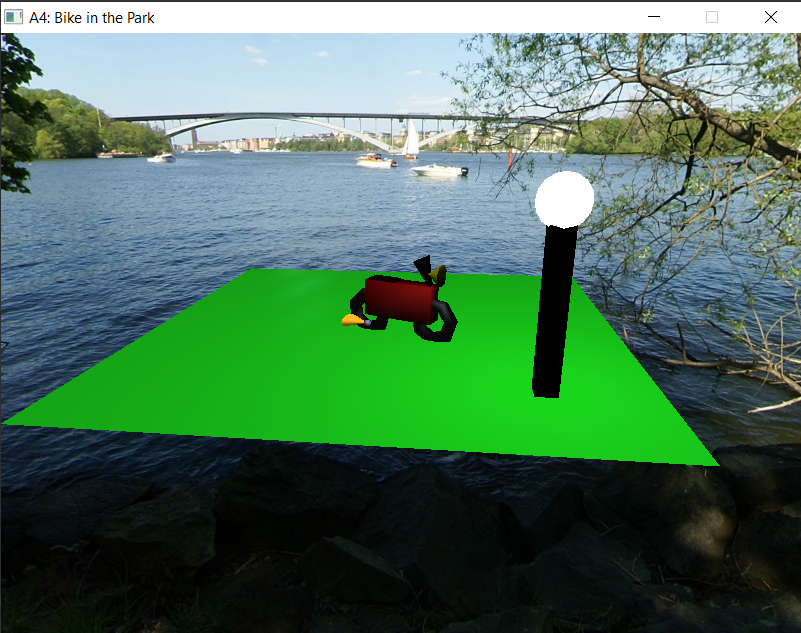
"A4: A Bike in the Park": In this assignment, we were asked to combine the content of several previous labs, making a character move along a Bezier Curve around our player character, with a textured skybox! My program also supports multiple lights in the scene - this one has one point light and two directional lights. 
"Lab12: Snowflakes": In this assignment, we used a Geometry Shader to expand a single point sent to the GPU into a pair of triangles, with a snowflake on them. These snowflakes swirl around in the world, rendering in front of and behind one-another. In order to prevent closer snowflakes from occluding farther snowflakes, we must render them from back-to-front, since the transparent bits of the snowflake texture still update the depth buffer, acting as a solid barrier to light. 
"A5: There and Back Again": In this assignment, we had to create a game with our graphics skills! In it, scary red demons (pictured: red balls) chase after you, while you try to dodge them, running around the map and collecting coins! If the enemies hit you once, you lose your magical guardian spirit, and if they hit you again, it's game over... But if you manage to collect all the coins in time, you can save Katla!!!!!!! 
"FP: Channel Surfer": In our final project, we created a "channel surfer" tool! In it, you input an image, which is displayed up on a screen. Then, a displacement map moves out the screen depending on how much color it has in a particular channel. So if you make the red channel pop out, the red parts of the image will stick out more. And same for the green, and blue channels! | |