CSCI 441 - Computer GraphicsFall 2019 |
|
| | Home | Syllabus | Assignments | Leaderboard | Schedule | Resources | | |
KILLA CHIMPULab 1:
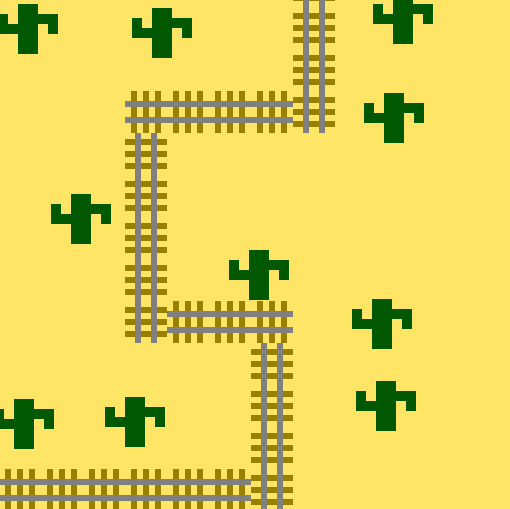
These were the first two OpengGL programs I had ever worked with. During this project I learned a lot about OpenGL primitives and how to apply matrix-based transformations to those objects. The first image was a build off of an example program and had a very detailed write up on how to draw everything and apply transformations. The second image used the first's base code for the displaying and OpenGL setup. To place the cactuses I had a random number generator place them. To have a bit more control I added a command line prompt where I could put in different seed values until they were placed in a way I was happy with, I then added the seed as a constant into the program and set the seed during each draw loop. For the railroad tracks, I placed each of them using a combination of for loops, rotations, and translations. It was a lot more time consuming than any other graphics work I had done before (Pygame, Kivy, ProcessingJS) and helped me to appreciate the speed and beauty of nearly any graphics being displayed on a screen. I can't even imagine how many transformations are happening each millisecond to bring to life games like Witcher 3. Project 1:
The goal of this project was to create a screen that displayed the hero's name and a neat graphic for the hero's crest. To do this I created the lettering using OpenGL primitives, transformations(rotate,translate, and scale) to draw, size, and place the letter. One of my favorite parts with the lettering was creating the 'C' in Chimpu. To do this I created a semi-circle drawing function that used GL_TRIANGLE_FAN and trigonometry to iteratively place verticies along a circular path between two angles. Then, I drew two circles: an outer circle and inner circle with the background color. The next step was the "village crest", I looked at Mayan textiles and found that brightly colored concentric diamonds were quite common. Rotating the squares and then translating them was a bit more...unique than I expected. After some whiteboard work and right arm contorting, I came up with an equation to change my desired x and y positions into the x' and y' coordinate in the new coordinate frame. Overall, this project ended up turning out pretty well. In the future, I would not use background colored cutouts for the lettering so that if the background does change (as it did in this project) the lettering still looks clean. Project 2: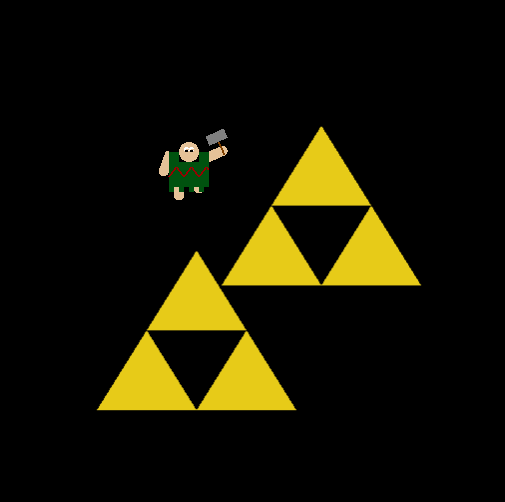
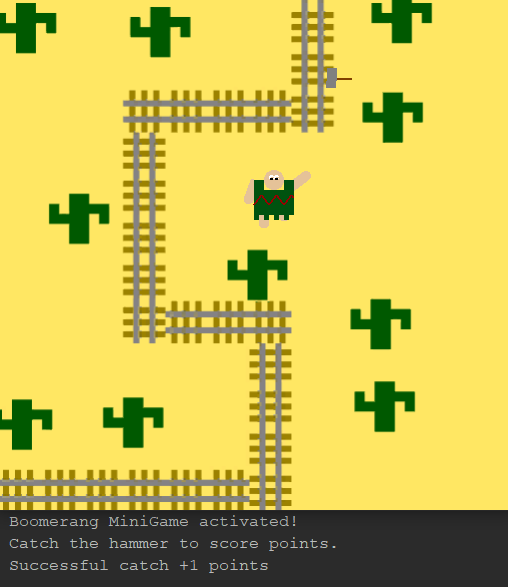
This project was my first project working with user interaction and animation in OpenGL using GLFW. The first step was designing the hero. I went with a simple guy wearing a Mayan poncho to keep with the theme. This was the first time I had been introduced to the idea of a model hierarchy, which made animations and movement much easier. The next part was adding a constant animation of the hero running in place. After that I moved on to moving the character. To do this I created position variables that are updated each frame by a delta. When a key is pressed, I use the callback system to change what those deltas are. If I were to do this again I would use booleans to avoid unnecessary operations, but for this simple program it worked out fine. With the character now moving about I wanted him to have a hammer he could move around based on the mouse position. I put the hammer under the right arm in the model hierarchy and then adjusted the arms rotation to have it point towards the cursor. When the left mouse key is pressed it start a swinging animation which stops when the left button is released and the swinging motion is back at neutral to avoid clunky animation. To complete the array of hero actions I added the ability for the hero to throw his hammer. When the user ctrl-clicks I stop drawing the hammer with the arm and then spawn a hammer behind the character, this way I don't have to keep track of more positions and it is hardly noticeable. The hammer then moves based on the current angle of the hero's arm. This makes the hammer motion more complex and allows for a boomerang-like motion if controlled correctly. The boomerang motion spawned my idea for probably my favorite part of this program, the Boomerang Minigame. When the user presses 'm' the console spits out a message. Then if the hammer collides with the hero after being thrown a point is awarded for 'catching' the hammer. I really enjoyed building this program and I am excited to hopefully port this into 3D at somepoint. Project 3: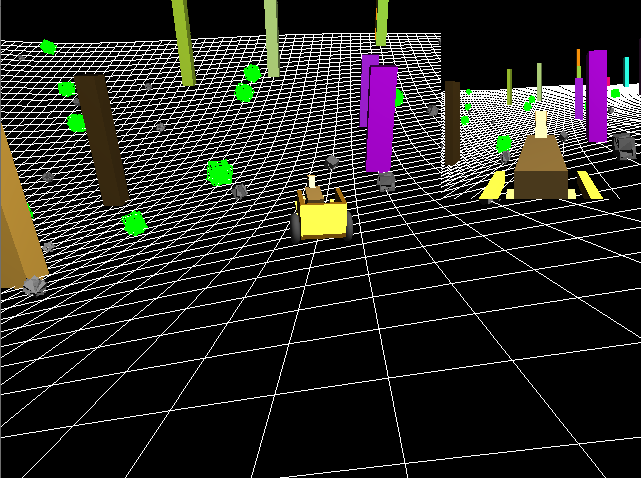

The goal of this project was to create an OpenGL/GLFW program with a vehicle that explores a 3 dimensional scene. I originally designed the vehicle to be a stand alone cart. The cart can be moved using the WASD keys along with shift for a 'sprint' like movement. The carts wheels rotate depending on if the cart is going forwards or backwards and if it it turning. After implementing a few features I will talk about shortly I decided to add in a non-animated horse to the front of the cart. The main camera is an Arc Ball camera which can change location using click and drag motions and change distance using ctrl-click and drag motion. The next thing to add was the terrain to the scence. To do this I used a pre-existing Perlin Noise generator implemented in c++ [source]. The grid is created by iterating over two for loops and drawing lines at the x and z coordinates specificied and a y coordinate generated by Perlin Noise. I used Perlin Noise due to its realistic looking topograhy and ease of use. The vehicle updates its y position during movements to match the topography at that location. However, the cart does not update its rotation. I would love to implement that feature but did not have the time to do so. I then added in the randomly generated objects. The buildings, rocks, and bushes are all spawned at random positions with random properties inclduing size, color, and for the rocks and bushes shape. The grid and objects are stored in a display list for fast rendering, since they don't change location or any other properties after the initial rendering. My last challenge was creating a minimap like display in the top right corner. I did this to mess around with various camera models as well as projections. The user can cycle between a First-Person cam, a Sky cam (with orthographic projection), a Third-Person cam, and a Reverse cam using the 1-4 number keys. I thought this went really well and the end product is very fun to play around in. Project 4: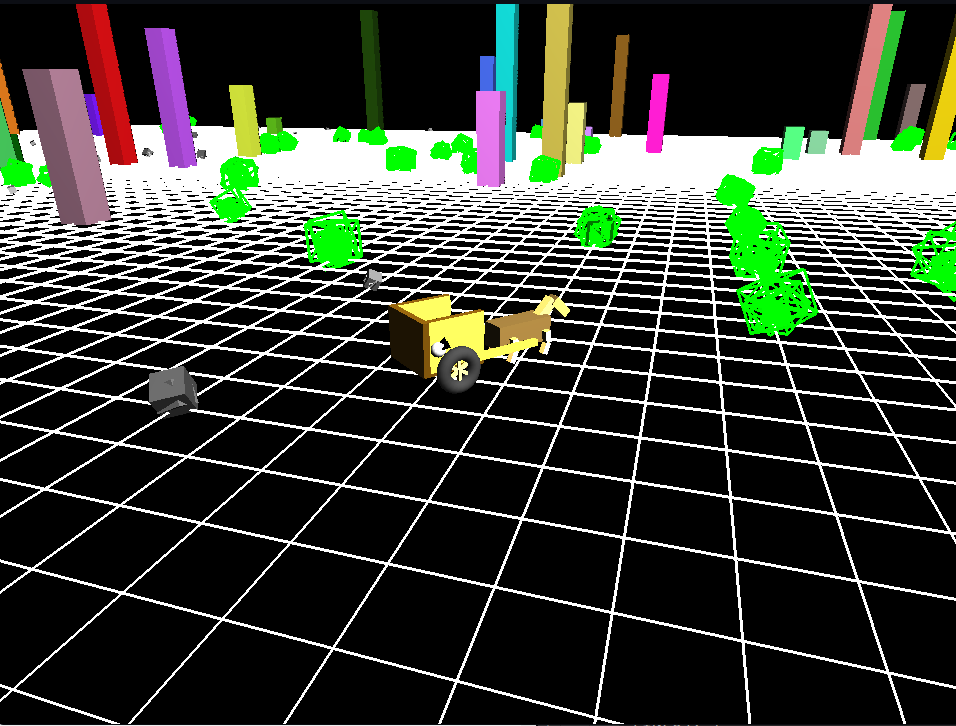
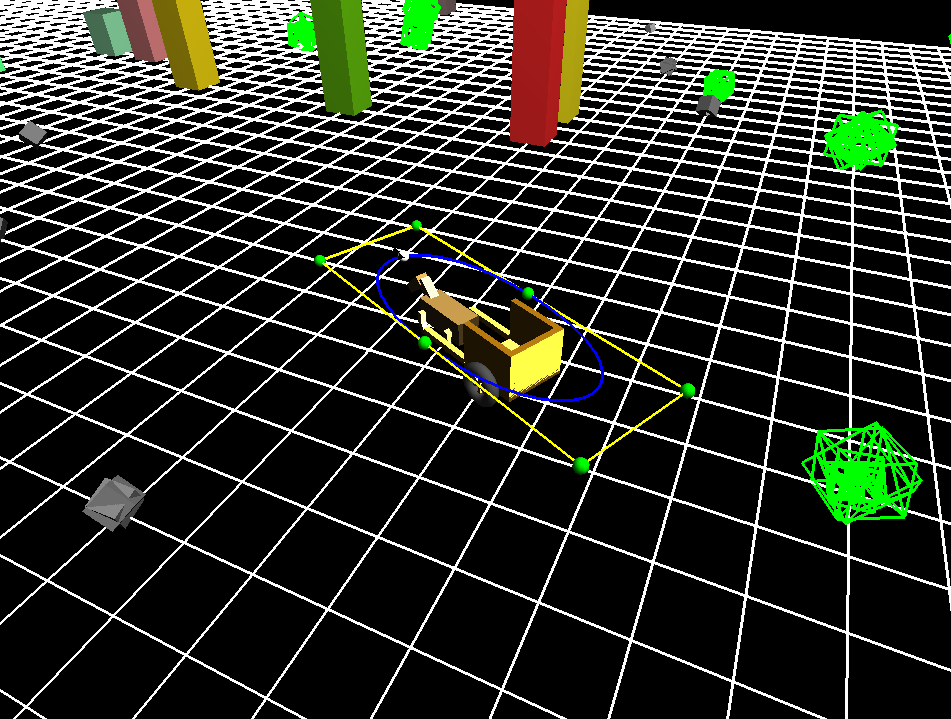
The goal of this project was to add a small faery that flys around our character from Project 3. The faery will follow a bezier curve whos control points are loaded in from a file. The first thing I did was remove the minimap views and the hills from the code to clean things up. And I added leg animations to the horse so it doesn't look dead. After that I wrote the code to load in the control points file. I added graphics to show the control cage, this control cage is within the character heirarchy so the faery will follow the characters movement and keep the vehicle centered. I created a bezier curve file with functions to draw the bezier curve based on a list of control points. The bezier curve is drawn in blue. After that I begain designing the faery. I went with a small white bat with black wings (however, it looks more like a discolored golden-snitch). The wings are constantly animated to give the look of flying. I then had the bat move along the curve by incrementing a time variable and calculating the position at the location. I then calculate the derivative at that location on the curve which I use to rotate the bat so it is facing towards its flight path at least in the x,z plane. The last thing was to make it so that the cage and curve can be toggled for beauty and for debugging. This project turned out really well and the cart/horse/faery character animates well and is really fun to drive around the map. Midterm Project: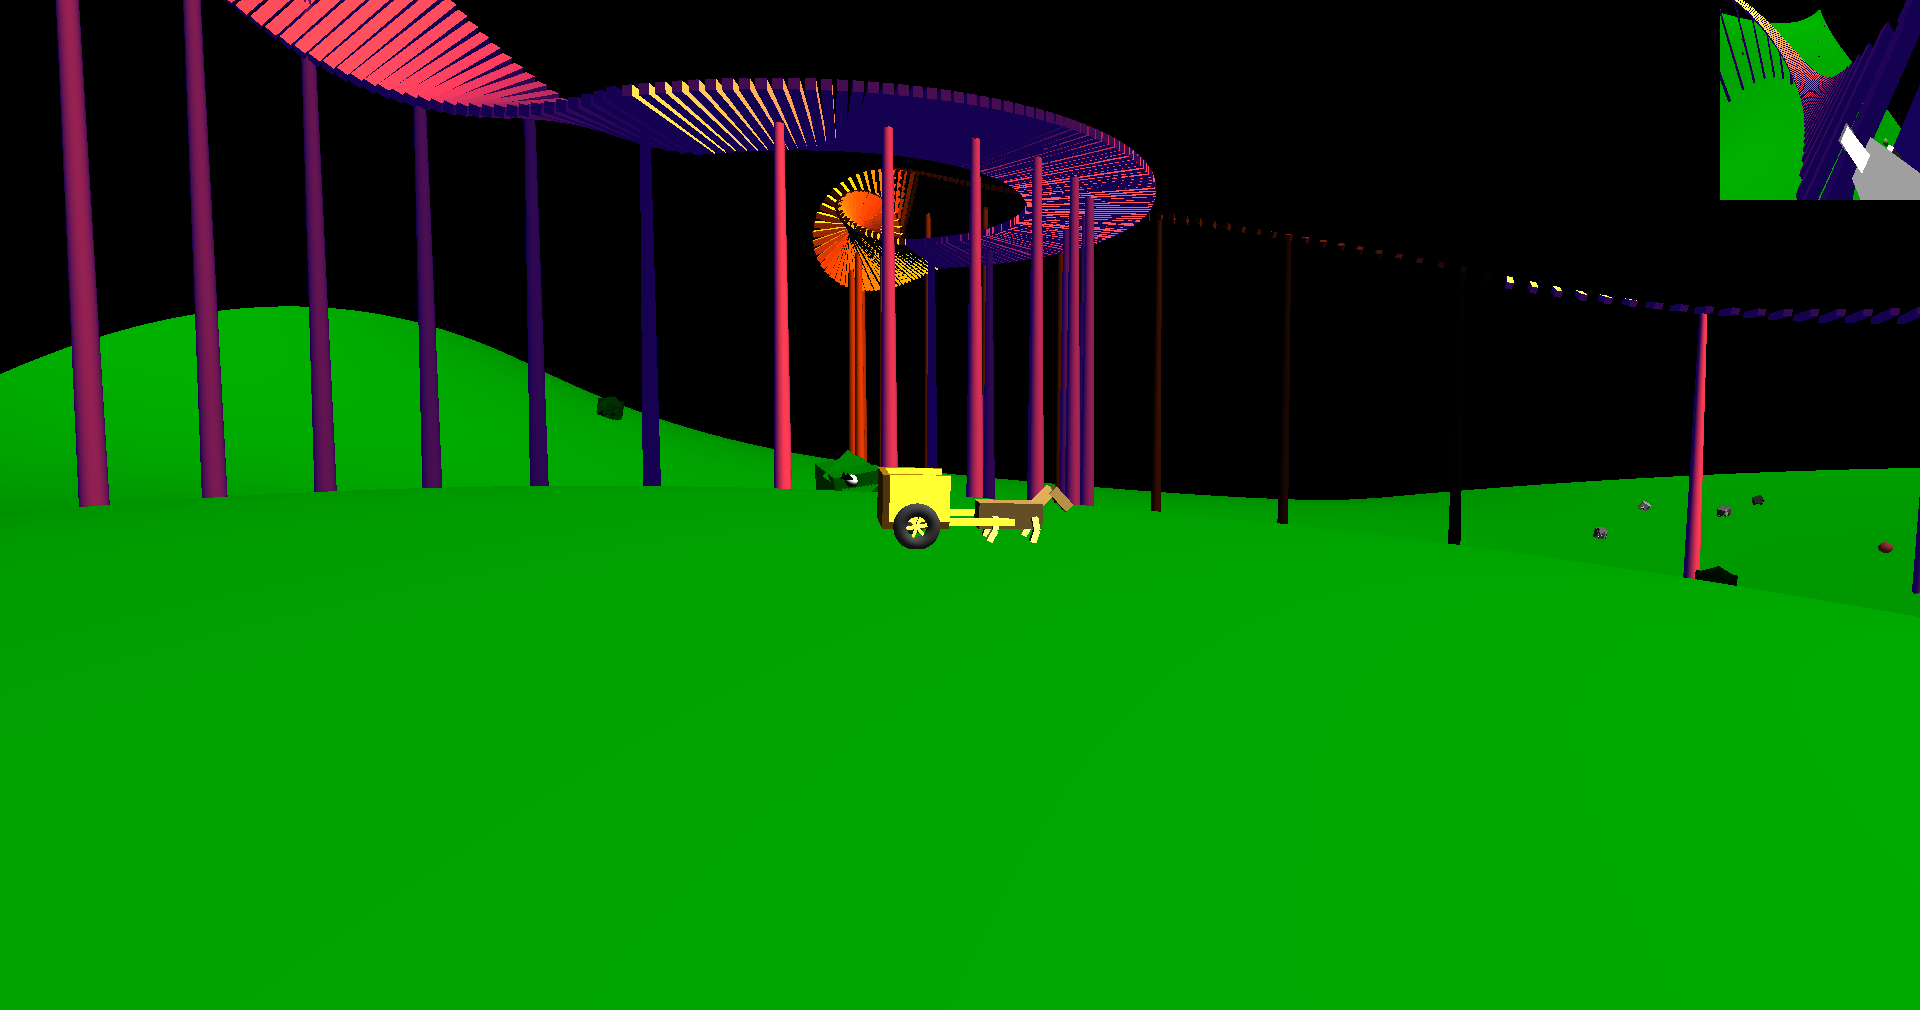
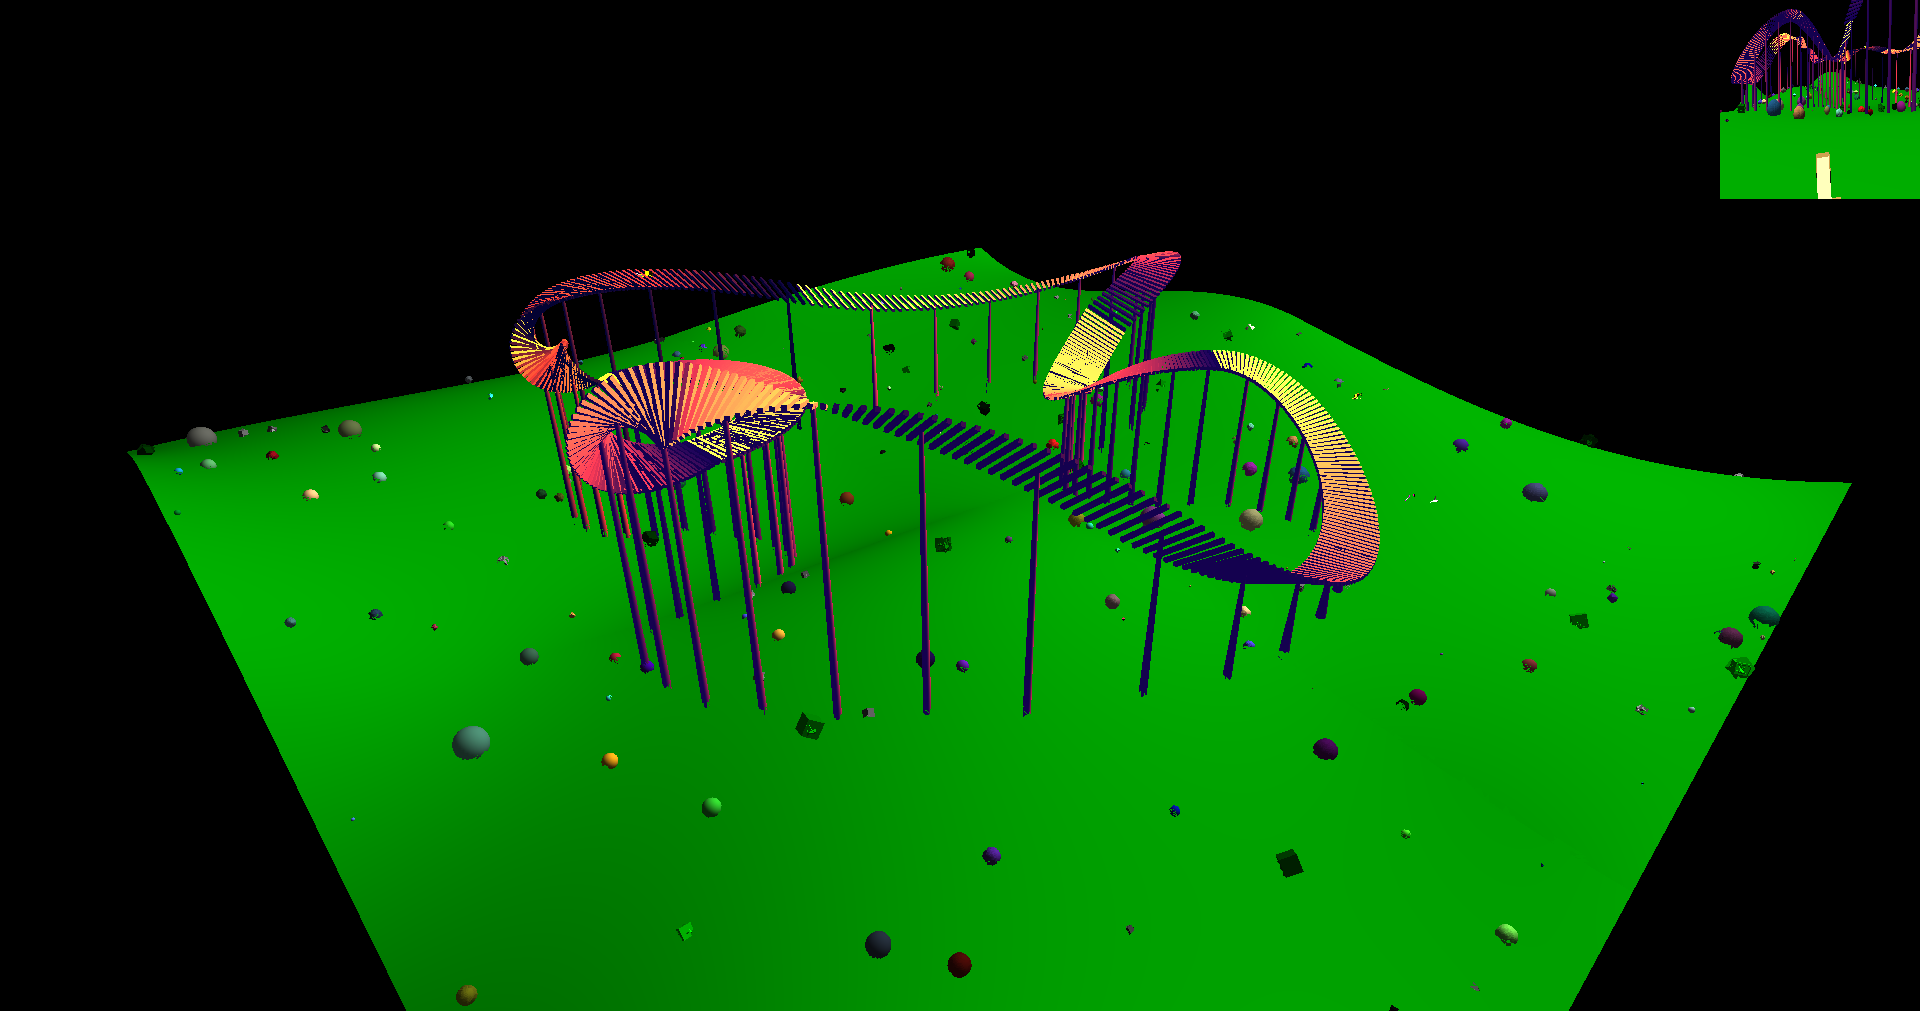
The goal of this project was to bring about most every other technique we have learned: cameras, bezier curves and surfaces, animation, lighting, materials, and file io. To bring to life an amusement park of sorts. There are three characters: one which wanders around the 3D bezier patches being controlled by the user, one which moves along the roller coaster (which is defined by a bezier curve) by time steps, and the last one which moves along the roller coaster by distance steps. The entire world is read in from a file which specifies the locations of environment objects and the bezier control points. I really love the look and feel of navigating this world, switching between cameras to follow the three characters or fly around the map. Project 5: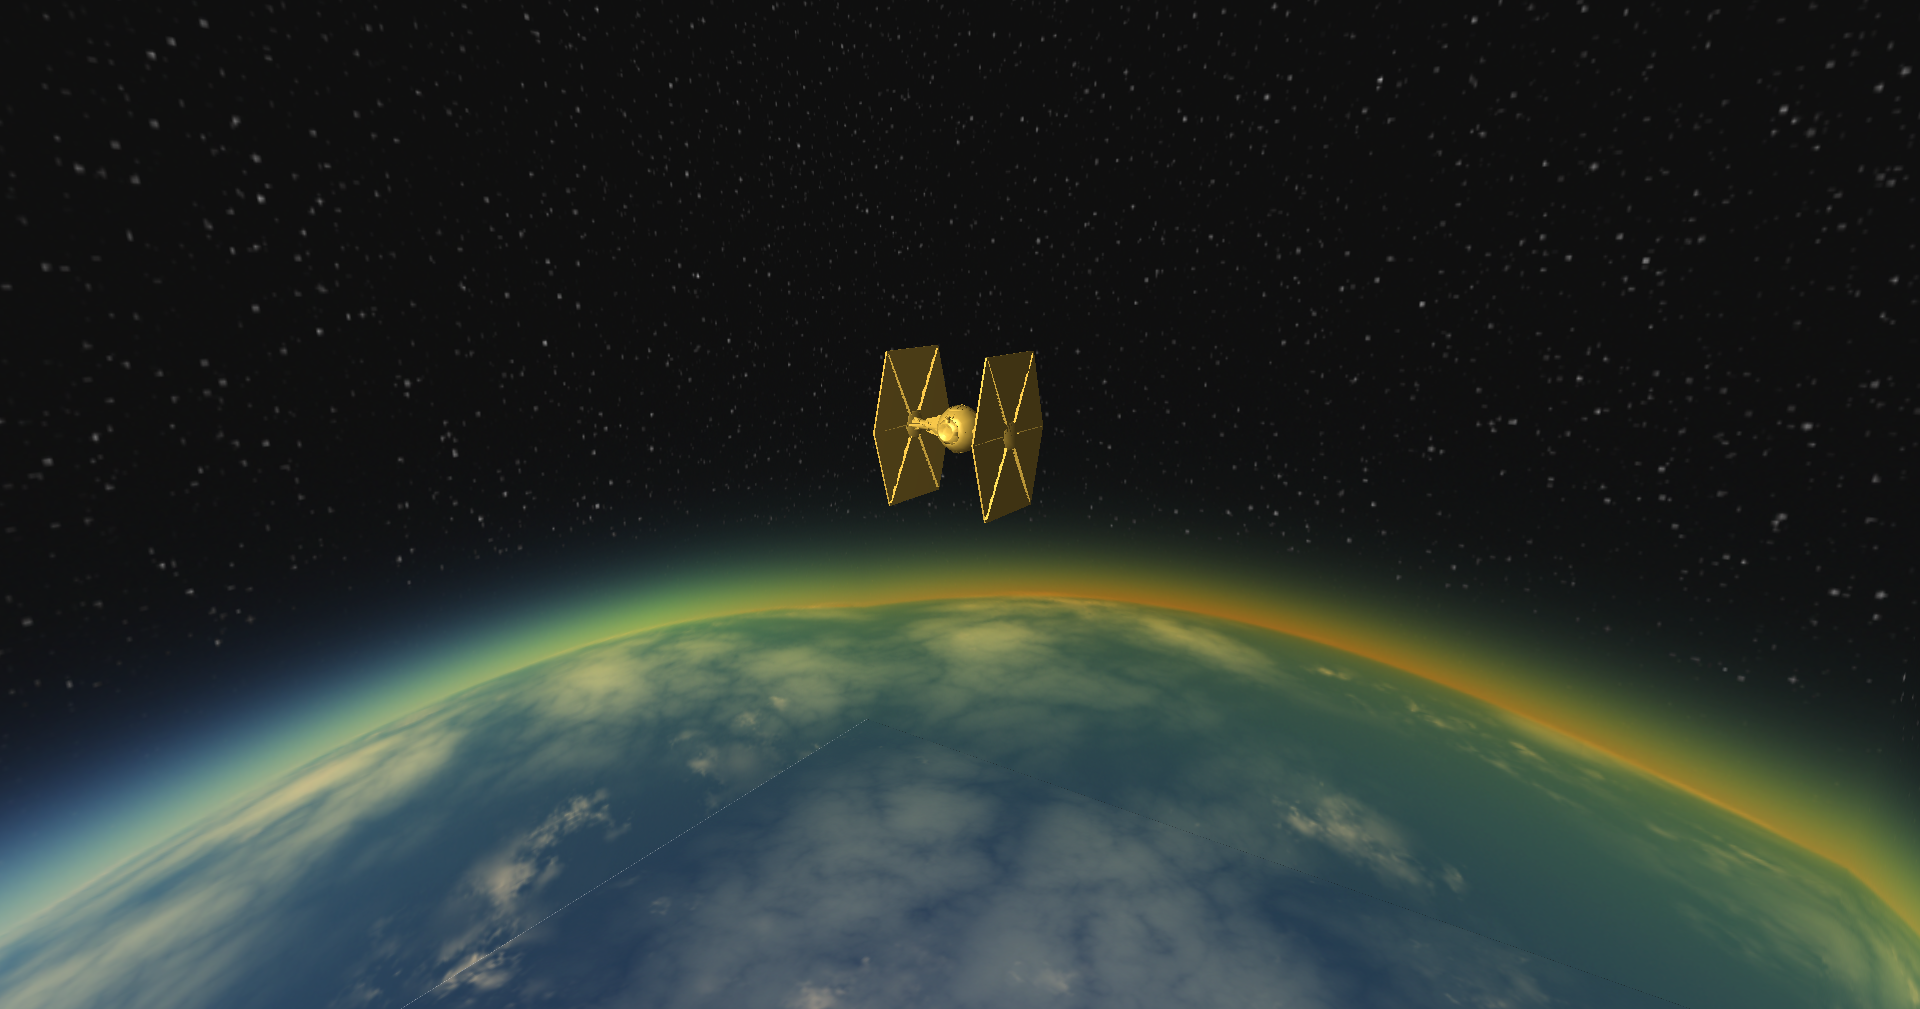
The goal of this project was to render a textured SkyBox with a model loaded in from an object file. The rendering was done using a custom shader using GLSL. The lighting is done by Blin-Phong for the calculations and Phong shading. The lighting was an absolute hoot to implement. Messing with lighting and material parameters was really cool and I ended up trying many combinations, mid way through I decided to make it a bit easier I should build a class which reads in pre-set material colors from here. Now I can just set what material I wanted by name and voila no more hard coding in 10 different number. I also added a few different modes of positioning the light to mess around with different angles and looks. P.S. The object files were handled by a seperate library, hence the sudden change in modeling quality. Project 6:

This program shows off two particle systems that can be set and altered using config files. The particles are drawn using the geometry shader to explode a point into a quad for a billboarding effect, the size of the resulting particle decreases as the particle gets older. The particles are also sorted based on the location and direction of the camera in order to handle transparent textures. The two particle systems are a fountain particle system which generates particles with initial velocities within the specified cone angle. The particles then move using forward euler calculations of gravity. They die once they have lived for a randomly set amount of time. The second particle system is a rain particle system this system generates particles within a plane and then the particles are acted upon by gravity and wind (if they fall into a collision box which is specified by the config file) once the rain particle hit the ground it then creates a splash particle system which is the same as a fountain system but instead of continuously generating particles is creates as set number and lets them live out their short life. For textures I chose the make the fountain particles using a water droplet texture for the rain particles I decided to go with a $20 bill. Project 7: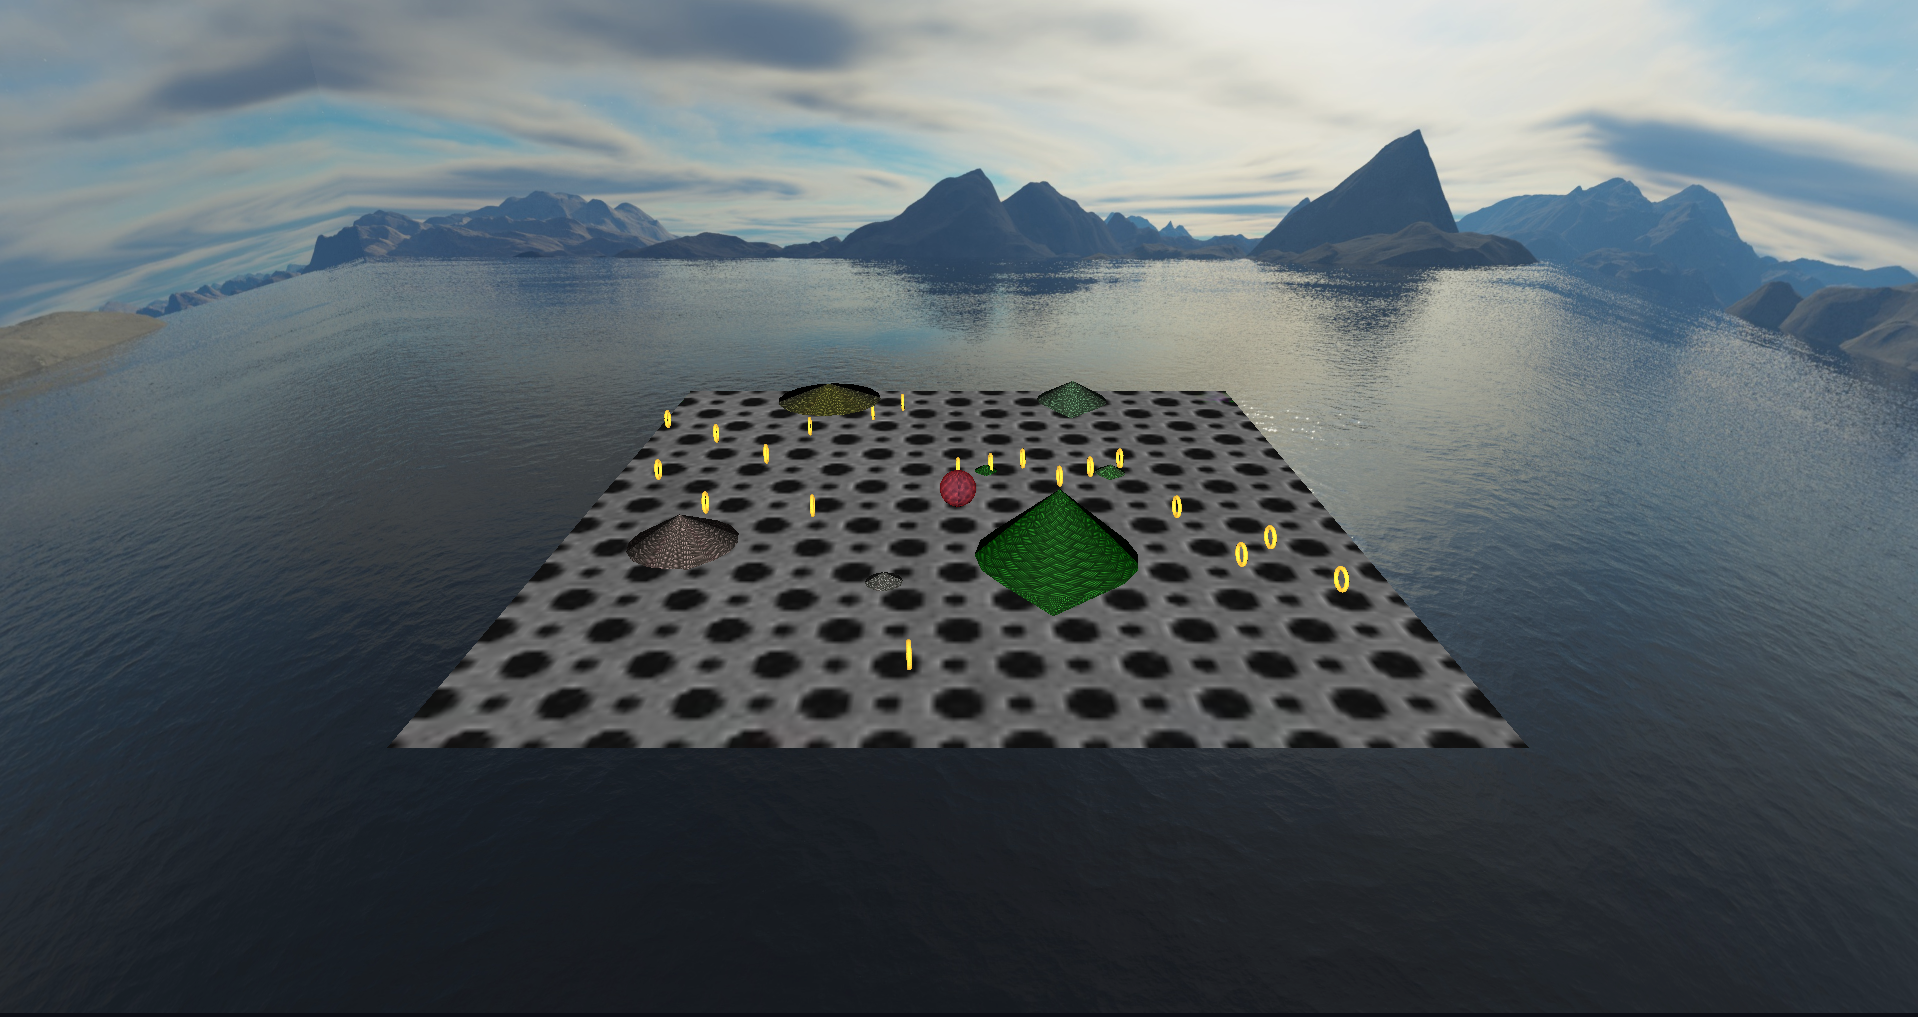
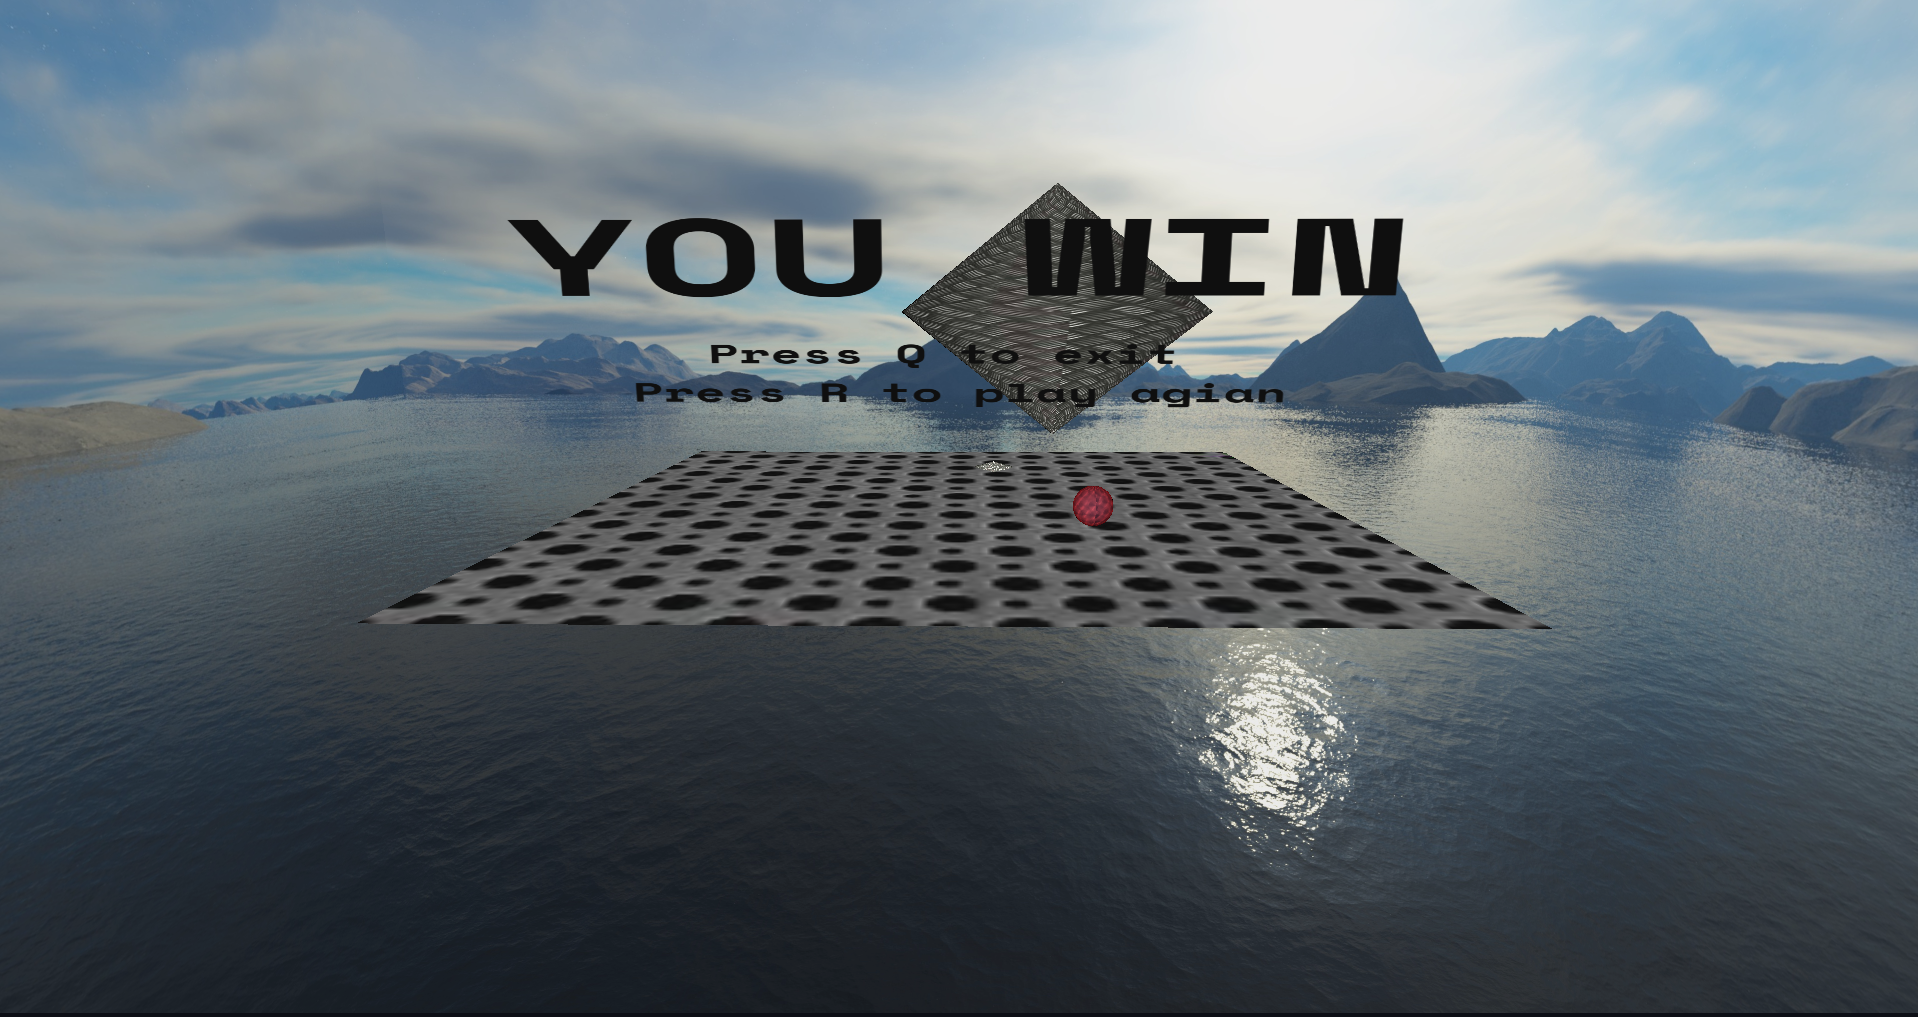
This program is a 3D game where you are a sphere trying to collect all the coins, while the evil Slinky Tops try to smoosh you to death. I am very excited to continue working on this project, I have so many ideas on what to add and improve. Project 7:

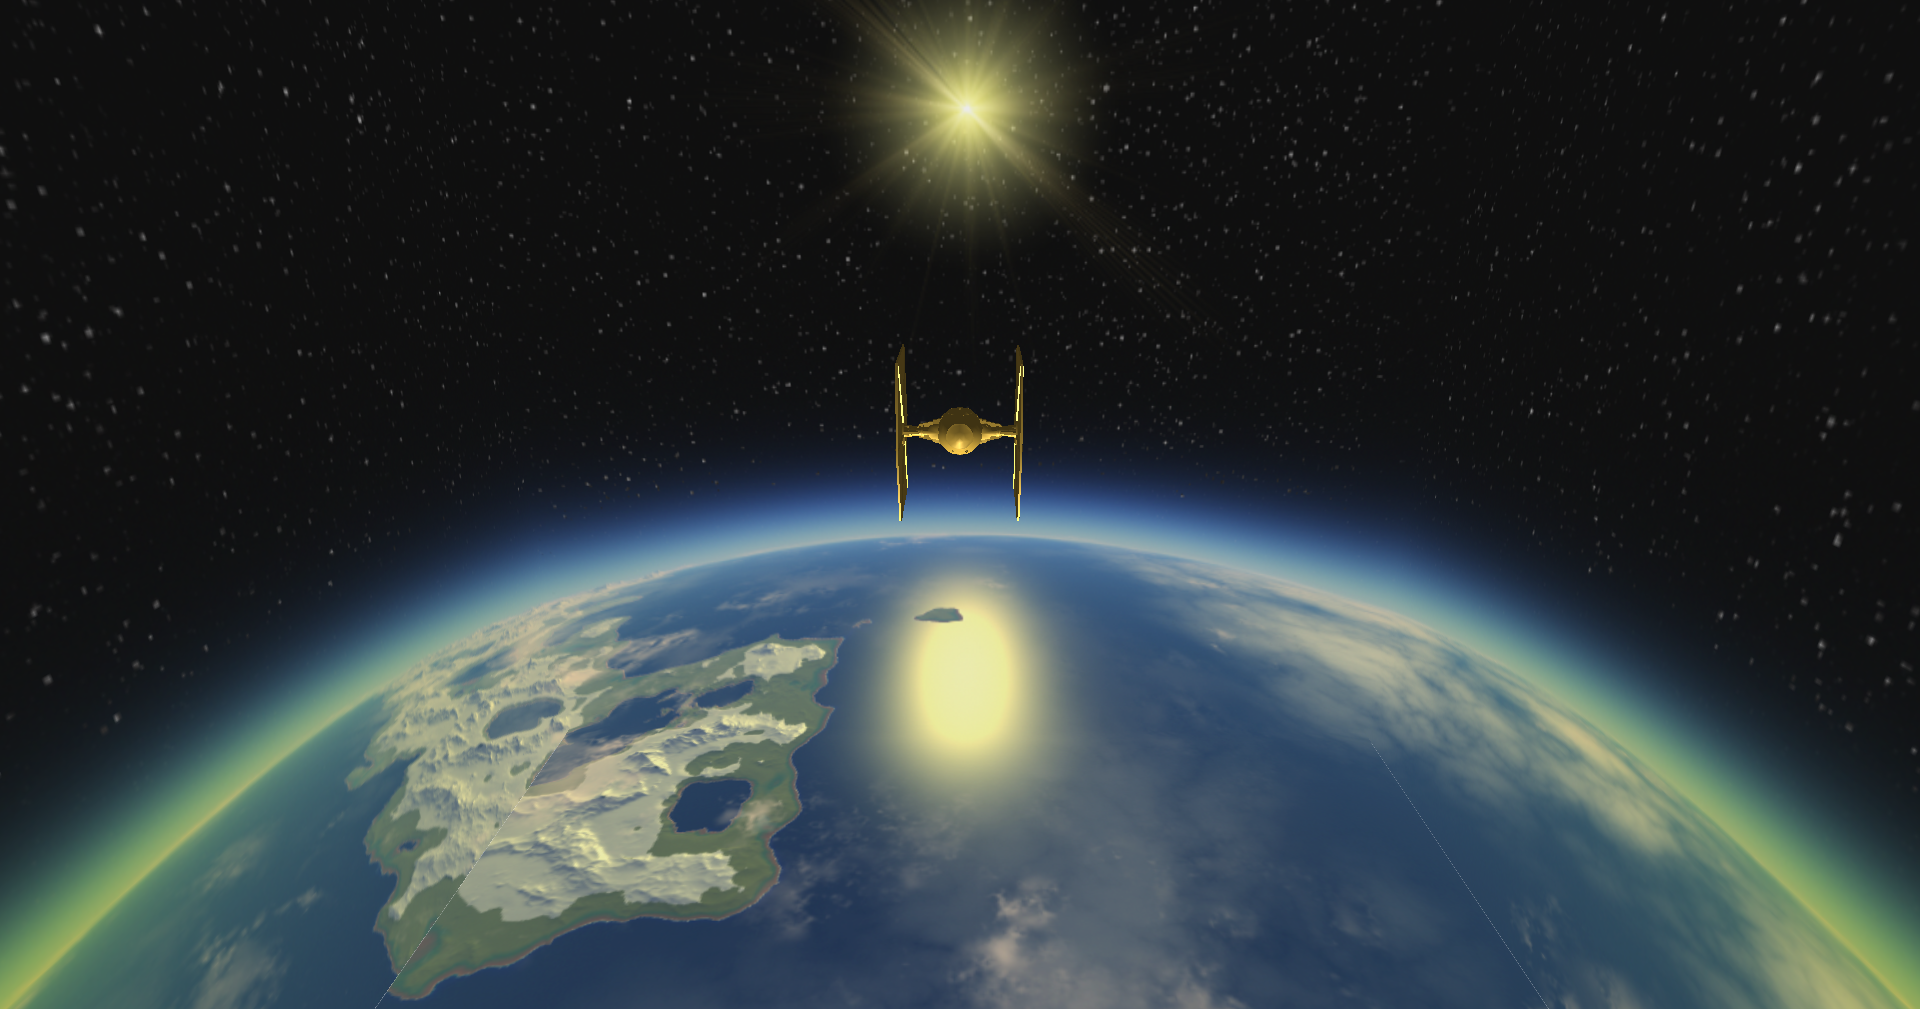
This is a OpenGl/GLSL program which displays a mostly accurate animation of what it would look like if every point on the earth was inverted across sea level. As in Everest becomes the deep point in the ocean and Mariana Trench becomes a mountain range. The earth models were created using down sampled data from the [ETOPO1 Global Relief Model](https://www.ngdc.noaa.gov/mgg/global/). The topography was amplified by 50 (Everest is now 1,451,450 feet above sea-level) so the Earth does not just look like a featureless colorful sphere. The sea level for the inverted version of the Earth was found by calculating the volume of the ocean using our downsampled data (our calculations were 93% accurate) and then we performed binary search for the new sea-level on the inverted model of the earth until the volume of the ocean was the same. We also added in the sun and moon as light sources. Currently only the moon rotates around the earth. We also added a particle system of stars which twinkle in and out of existence. | |