CSCI 441 - Computer GraphicsFall 2018 |
|
| | Home | Syllabus | Assignments | Leaderboard | Schedule | Resources | | |
XXX_DarkS14y3R_XXXLAB00A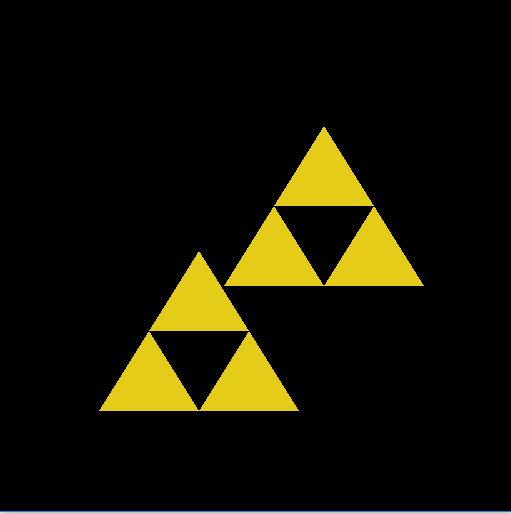
The purpose of this lab was to get a very basic introduction to OpenGL. The image generated was explicitly defined in the lab requirements, so it looks the same as everyone else's. That said, this was a good quick guided introduction to OpenGL. LAB00B 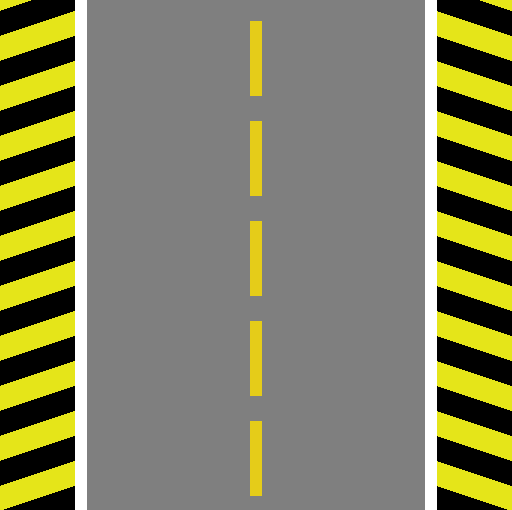
This lab was technically a continuation of the previous lab. The requirement as described was to "Create what your home track looks like" and was left very open ended. I therefore elected to make a very straightforward portion of track so it could be used together easily with others. ASSIGNMENT 1 
The first true assignment was to create a personal banner, which was to contain our 'hero name' made using OpenGL primitives and optionally a personal crest as well. I created mine using a color palette and letter shapes that I thought would work well with with the persona implied by the username I came up with. LAB01 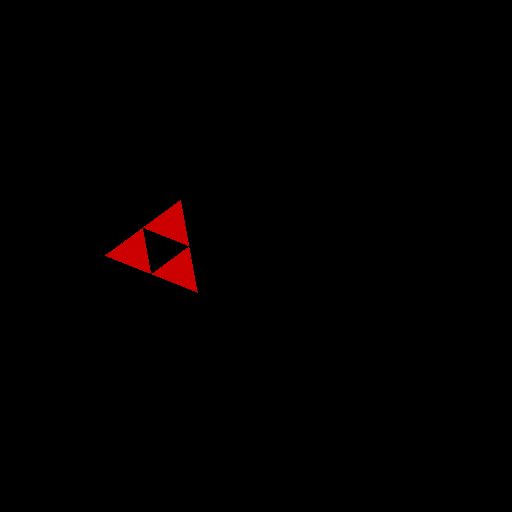
This lab was the introduction to animation and interaction. It's not visible in the image, but the triangle would rotate at a defined speed, and holding the mouse or pressing the 'c' key would cause it to change color. It would also move around the screen so as to keep its origin underneath the mouse. ASSIGNMENT 2 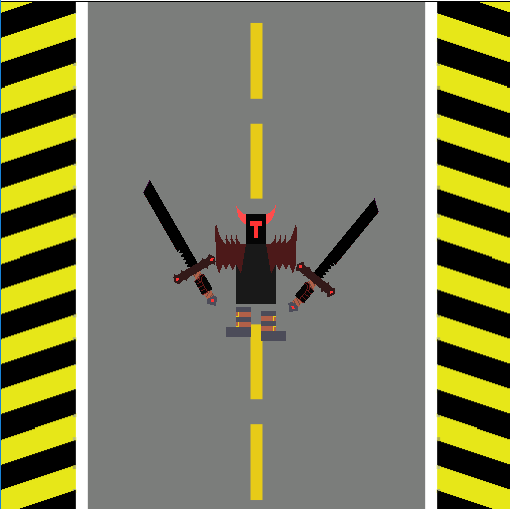
This assignment was used to define and draw my personal hero, shown above on the background I made previously. He is able to move using the WASD keys, and his feet are animated to move up and down passively. He also moves his hands and swords around to point towards the mouse, and swings at it if the left mouse button is clicked. LAB02 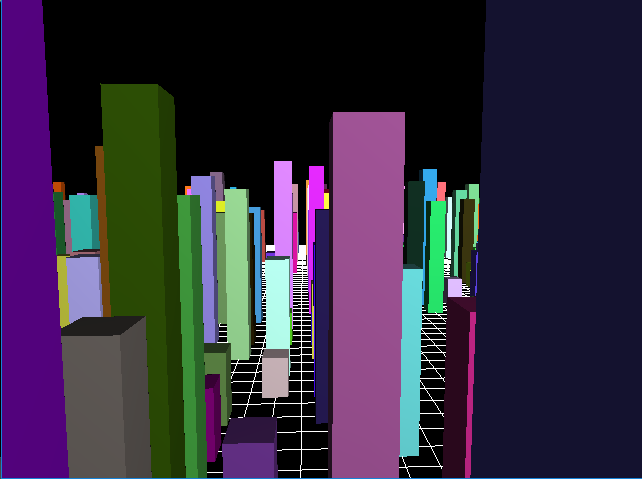
This lab was a basic introduction to camera models/interactions with the scene and 3d rendering. It rendered a fairly simple grid with pillars of random height placed throughout, and the free camera could be moved at will throughout the scene. ASSIGNMENT 3 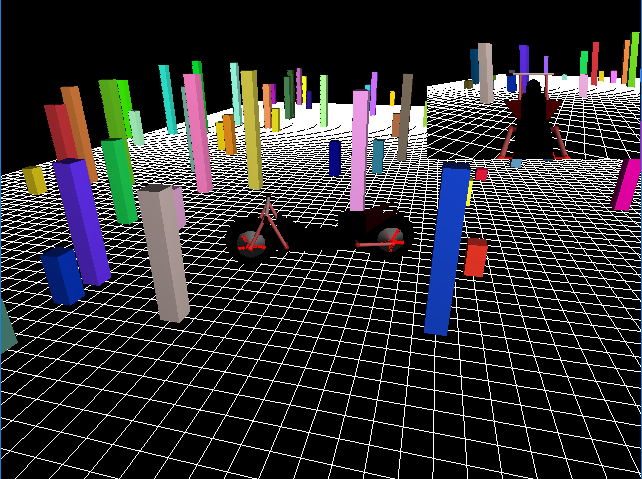
This assignment was used to create a vehicle for my hero. It reused the grid from Lab02, and the buildings in the background are much the same though with much lower frequency. The vehicle can be moved and has animated wheels to show when it is going forward or backwards. A viewport can also be used in the upper right which shows the same scene but with a different camera angle. LAB03 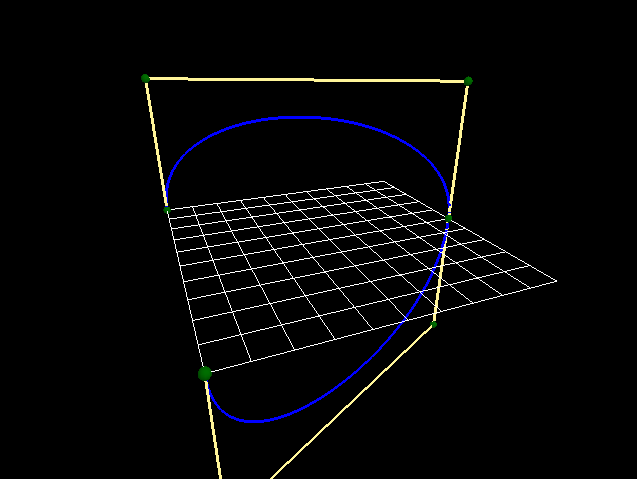
This lab was a simple render of a Bezier curve. An external file was given with control points for the curve, and the curve was then rendered. ASSIGNMENT 4 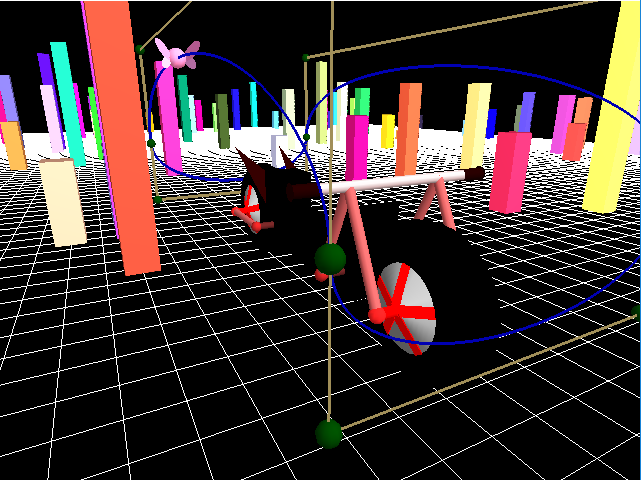
This assignment was very similar to assignment 3. It used the same base code, and added the functions from lab 4 to render a Bezier curve centered around the vehicle and oriented along its facing. Additionally, the small fairy seen in the picture flaps its wings while constantly moving along the Bezier curve in a parameter step. The control cage and curve can both be toggled within the program. LAB04 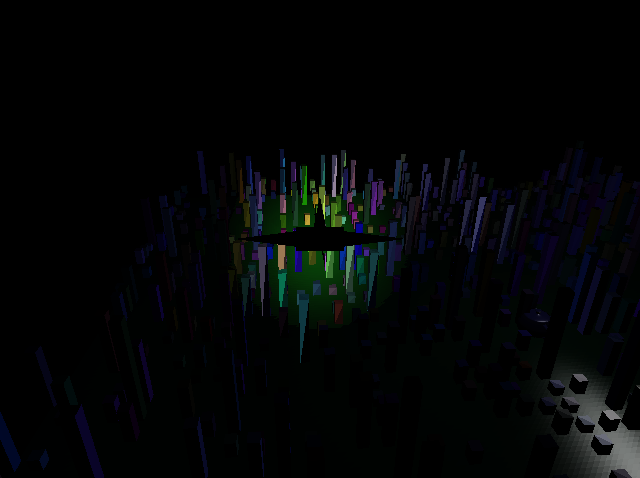
This lab was designed to introduce lighting and materials properties. It still only used the openGL 2 built in lighting modes, but was designed to illustrate how they worked by generating toggleable lights at given locations so the user could see how they look when shone into the world. LAB05 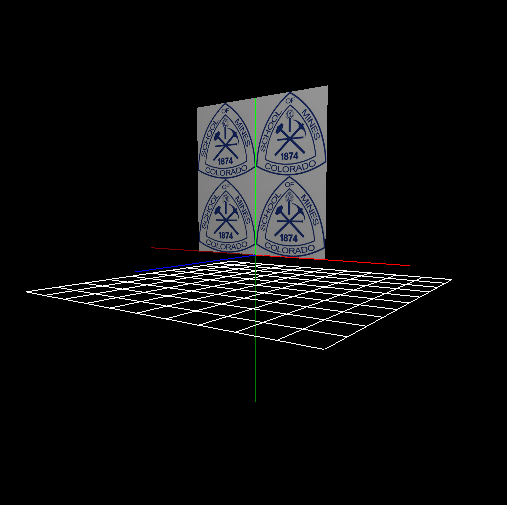
This lab was designed to introduce textures. It was fairly straightforward; the textures had to be generated using SOIL functions, and would then be applied to a number of pregenerated objects. LAB08 
This lab served as an introduction to OpenGL 3 (not sure why the lab number skipped ahead to 8). Using Vertex Array Objects, we had to generate a new object (the platform), passing it to the appropriate locations and defining texture coordinates. The backround was pregenerated, and the model was read in from an existing MD5 file using provided libraries. Most of this process was merely understanding how to bind and pass data through VAOs and VBOs. LAB09 
This lab was designed to introduce shaders. In the lab, custom shaders were generated, which could both perform the necessary pass-through functionality and could apply certain transformations to the object, in this instance by changing its color and causing certain parts of the model to deform. ASSIGNMENT 5 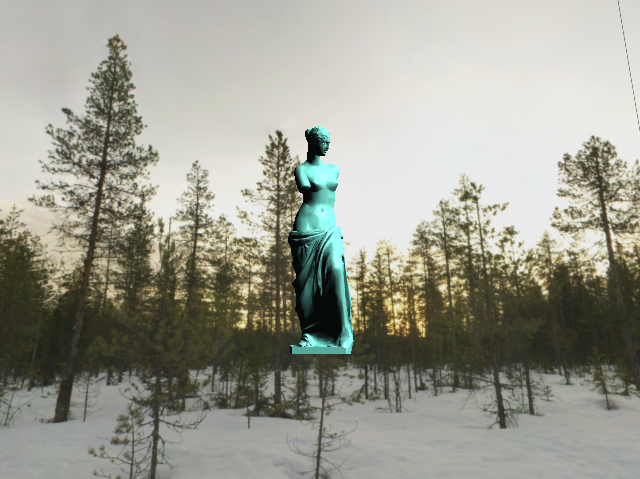
This assignment was built to read in an object file, specified at the command line, and generate the appropriate shaders to properly perform Gourad shading on the model. In addition, a separate set of shaders had to be created to manage the background skybox, which should not move relative to the camera and should always be rendered behind the model. LAB10 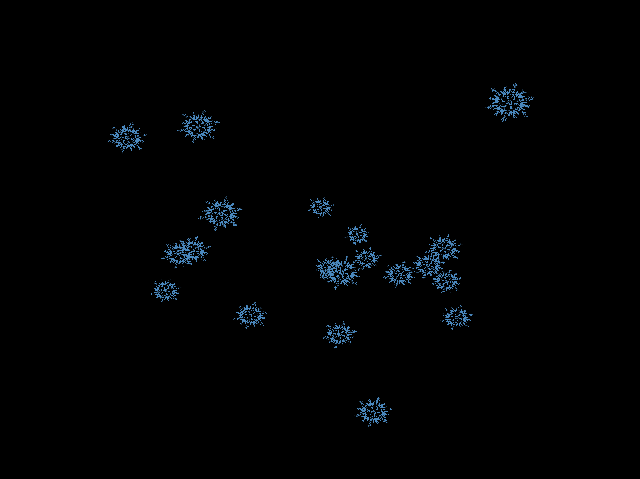
This lab was built around working with billboarding and ordering quads by distance from the camera to ensure they are drawn back to front so that transparent textures work properly and do not occlude items behind themselves. The scene can be rotated to view these items from different angles, and the rear quads will always be visible through the texture. LAB11 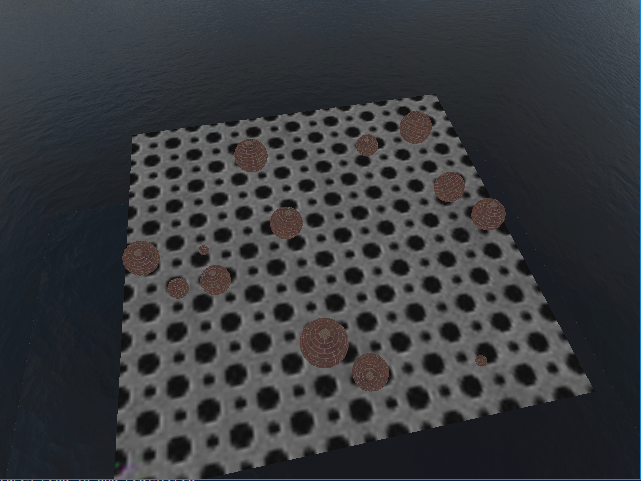
This lab generated a simple particle system to introduce collision checking. Each frame the position of each ball is updated, and each ball is tested against the others to see if any collide, at which point they separate and bounce off of each other. They are also bounded to the plane and bounce of the edges as though they were walls. ASSIGNMENT 6 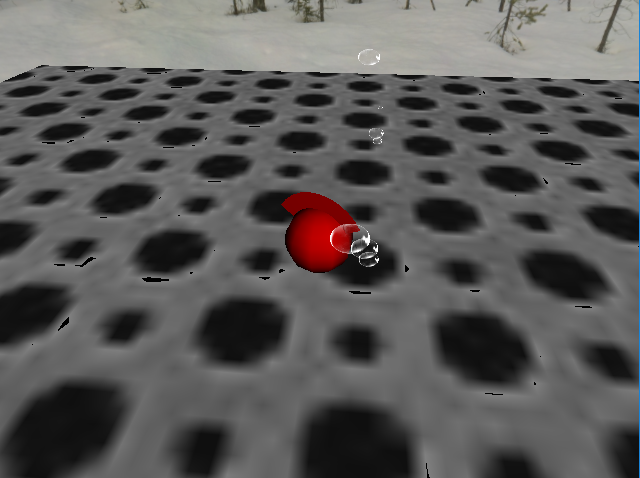
This assignment was built around generation of a particle system. The particle system was designed to create particles which would be shot into the air within some range of starting velocities, and each particle would then move based on its velocity and accelerate due to gravity. After the end of its lifetime, specified by a control file value range, each particle would be despawned. Each particle was passed through the shaders, and were changed into quads by the geometry shader (billboarded to always face the camers) which were then textured in the fragment shader. Despite being seemingly straightforward this system generation proved quite troublesome. ASSIGNMENT 7 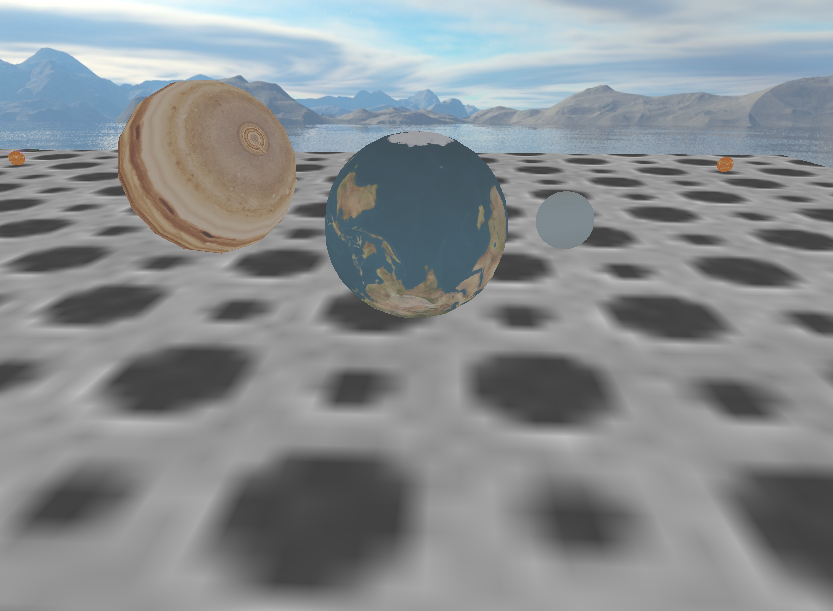
This assignment was a game which expanded on the lab 11 collsion detection/particle system. The game has the user playing as the earth, which can be rotated and moved forward or backwards as it moves around the screen. The goal is to be the last planet remaining, as whenever two planets collide the smaller one is consumed, adding to the size of the larger planet. LAB12 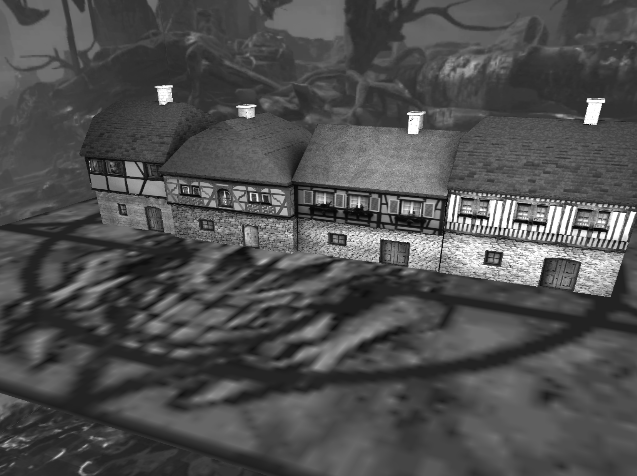
This lab was a basic introduction to framebuffer objects for multipass rendering. The scene was initially rendered in full color, and the render was saved as a texture which was placed on a quad directly in the front of the camera. From there, the the texture was processed as it was applied, in this case to make it black and white. Final Project 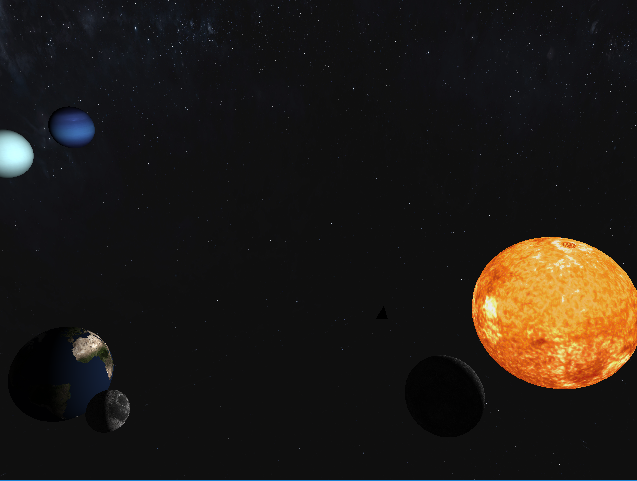
This was our group's final project, which was a basic model of the solar system. The user was able to move the free cam, or link to an arcball attached to any of the planets. The planets rotated around the sun, and the moon was modeled hierarchically to orbit the earth (note more moons could have been used, but only the earth's moon had good available textures). Texturing was used both to generate the skybox and to apply a texture to each of the celestial bodies. The light came from the sun, and the user could also toggle a light coming from the camera eyepoint. The shader programs were utilized primarily to (a) generate the skybox, which had its depth buffer set to always be behind the planets, and (b) to generate the lighting and handle the effects of applied lights on the scene. A separate shader was also used for the sun, but this was trivial as it merely rendered the sun and showed the texture as is, but had to be done separately as the light point was inside the body. | |