CSCI 441 - Computer GraphicsFall 2018 |
|
| | Home | Syllabus | Assignments | Leaderboard | Schedule | Resources | | |
SifASSIGNMENTSA1: Print Your SwagFor this assignment, I designed a banner and shield for my hero, Sif. I used a mixture of quads, triangles, and triangle fans to create my design. I also worked with rotation (the letter I), translation (the letter F), and scale (the letter S). In order to keep things interesting, I chose to work with the colors Gold, Dark Red, and Black. A screenshot of my banner can be found below. 
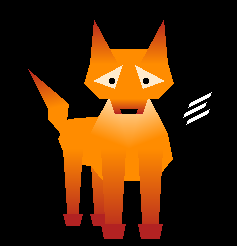
A2: Go for a SpinFor this assignment, I designed and animated my hero, Sif. I used a mixture of triangles, triangle strips, and triangle fans to create my design. I also worked with translation in order to give her four identical legs. Sif can move around the screen with the ASDW keys and attacks wherever the user left clicks within the window. In addition to this, her tail is animated to constantly wag. Screenshots of Sif can be found below. 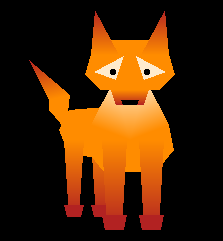

A3: Travel to Findias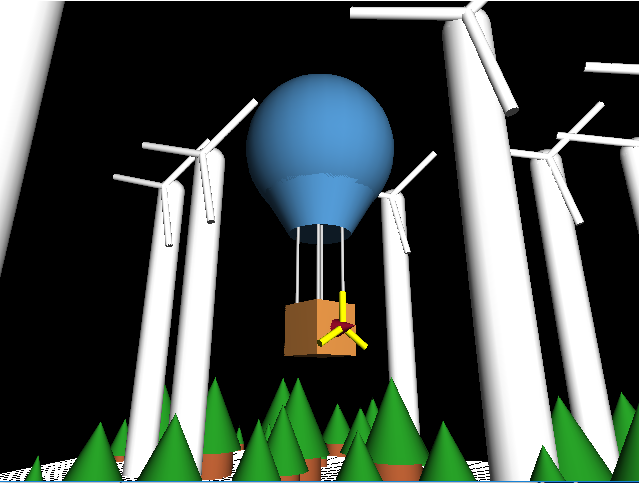
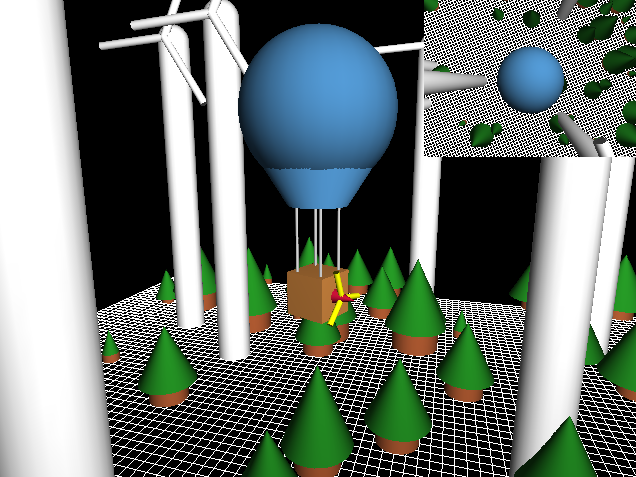
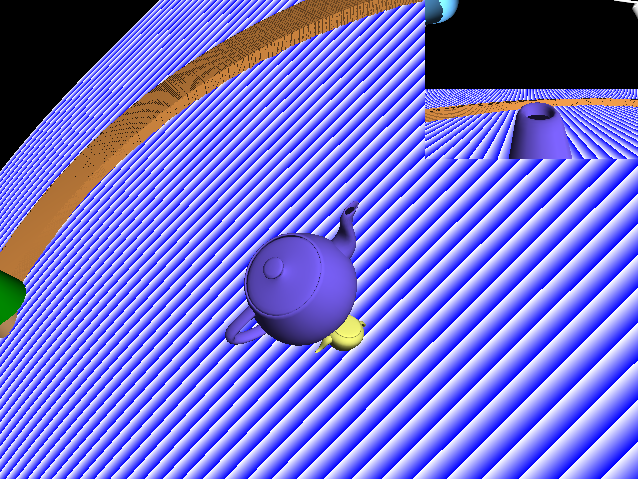
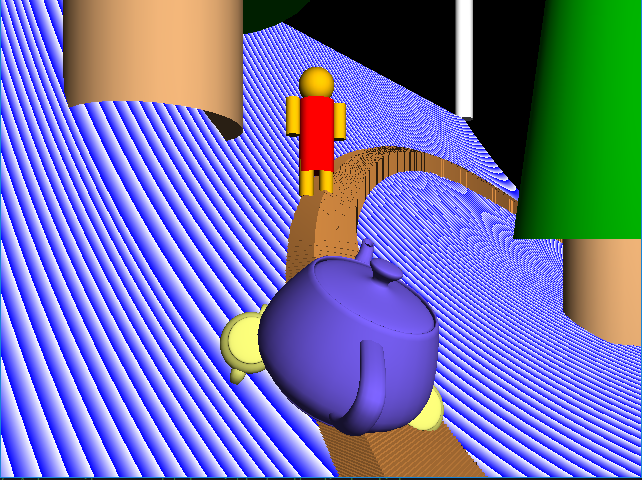
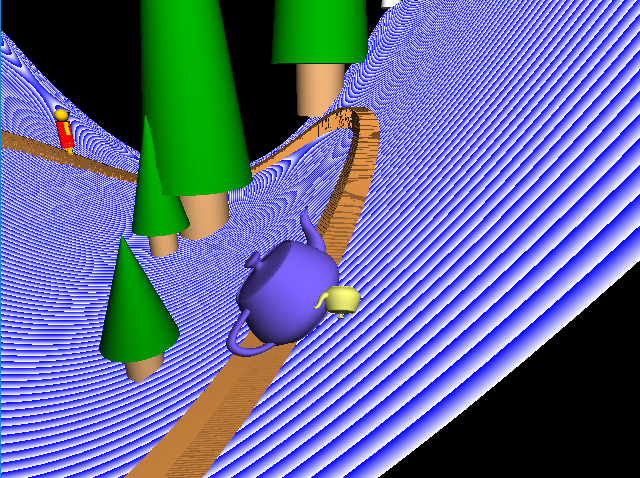
For this assignment, I created my character's vehicle, a hot air balloon. The environment includes trees and wind turbines, which the hot air balloon can not collide with. The balloon always floats up and down, but it's propeller spins when it is moving. The W and S keys move the balloon along it's heading, while the A and D keys rotate the balloon's heading. Zoom and camera angle is changed by the mouse and control buttons. If the user would like to see an overhead view, they just need to press the space key. Screenshots can be found to the left. A4: Outrun the Faeries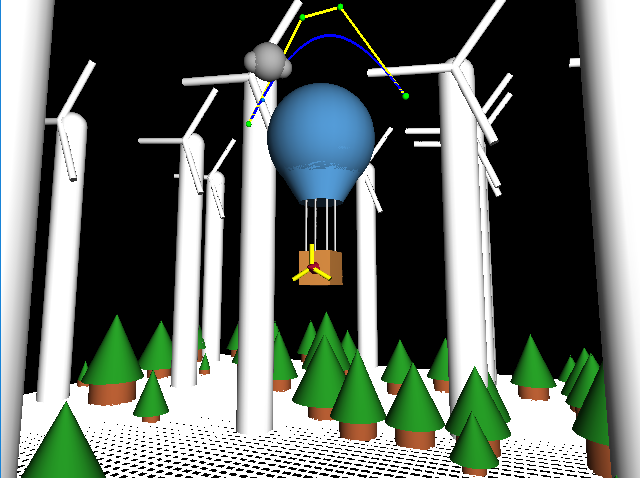
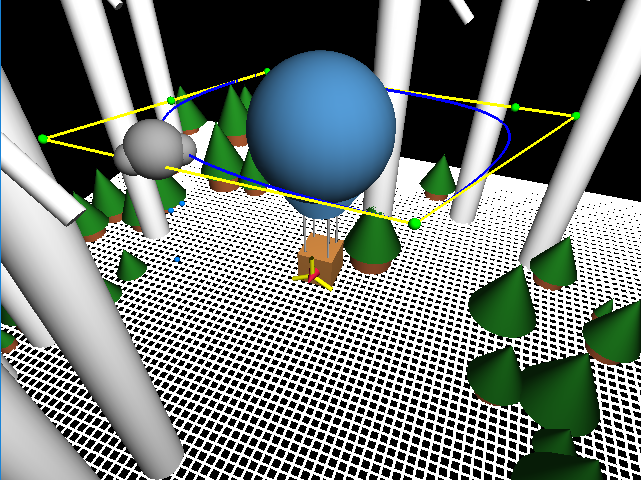
For this assignment, I created my character's faery, a rain cloud which is always raining. The rain cloud always follows along the Bezier curve(s) which always surround my character's balloon. The control points are read in from an input file. If it reaches the end of the curve, it jumps back to the beginning. If the user does not want to see the control cage or control points they can press C to toggle the cage's visibility, and P to toggle the points' visibility. Q and ESC now close the window. Screenshots can be found to the left. A5: Show off the TrophyFor this assignment, we focused on creating a skybox and placing a gourad-shaded object within it. I used a lake image map as my skybox images and successfully textured my skybox with it. While I successfully loaded in an object and applied a shader to it, I did not manage to figure out gourad shading. A screenshot can be found to the right. 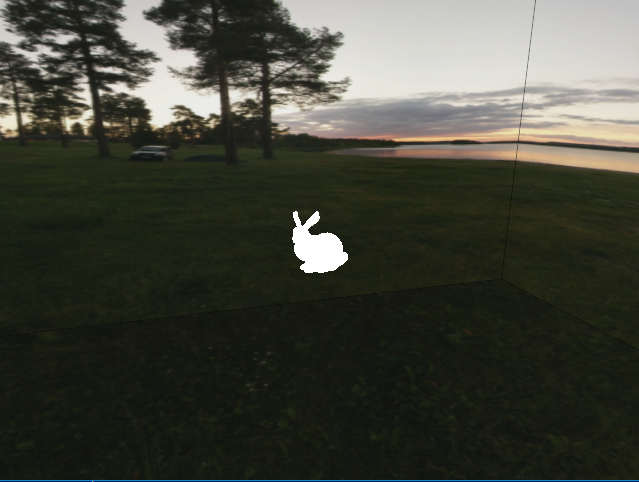
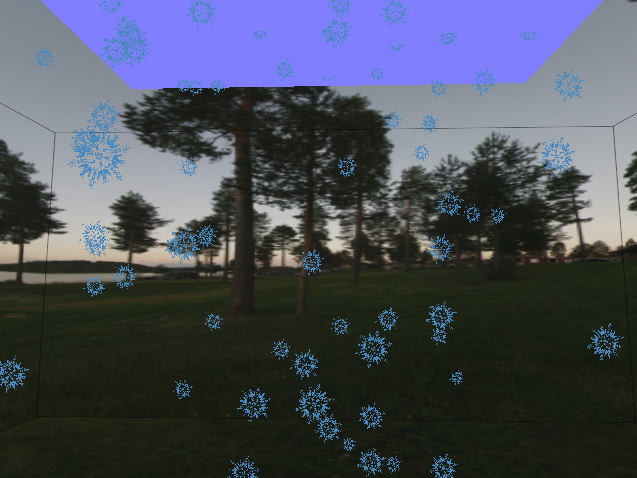
A6: The Fireworks showFor this assignment, we focused on placing a particle system within a skybox. I chose to imitate snow flurries. Snowflakes fall from the sky and the older they get, the more they "flurry" (AKA spiraling more with each second passed) I chose to just have a simple cube as the emitter of the snowflakes. Screenshots can be found to the right. 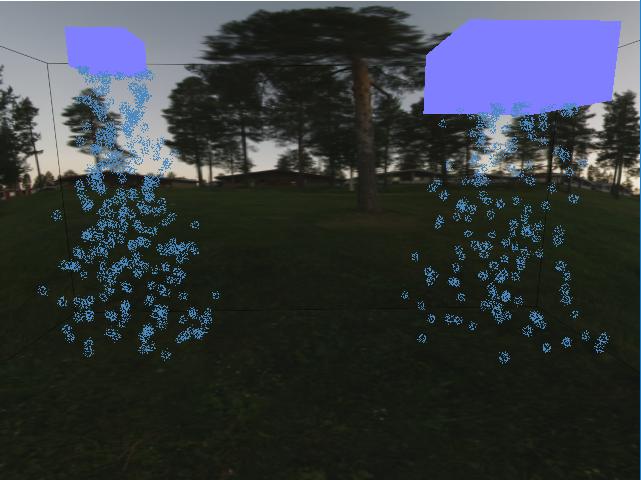
A7: Smokey and the BanditsFor this assignment, we created a basic 3D game. My hero moves with the WASD keys to collect the gold "coins" When the enemies collide with the hero, the hero decreases in size and they rebound like billiard balls when they collide with each other. All characters fall off the platform if they get too close to the edge. Screenshot can be found to the right. 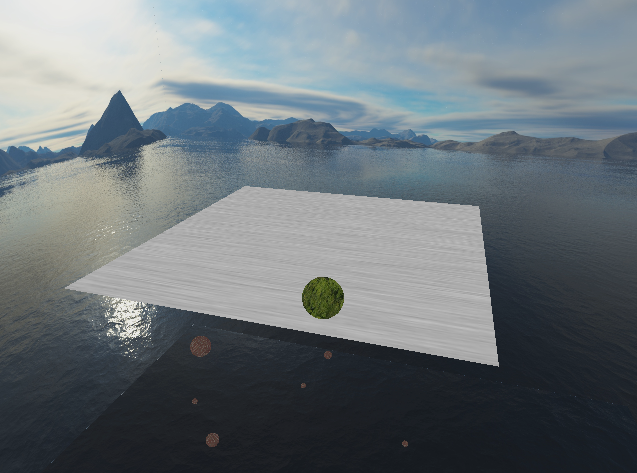
SIDE QUESTSSide Quest: 2D GameFor this assignment, I created a version of the old game Snake. where the goal is to create the longest snake possible before GAME OVER. The snake's body is green and increases in length with each white egg that it collects. However, be careful not to run in to the randomly appearing red bombs! That means GAME OVER! The A,S,D,W keys move the snake around the screen. The user can also point and click the mouse at any of the red bombs to remove them from the field. A screenshot of the game can be found to the right. 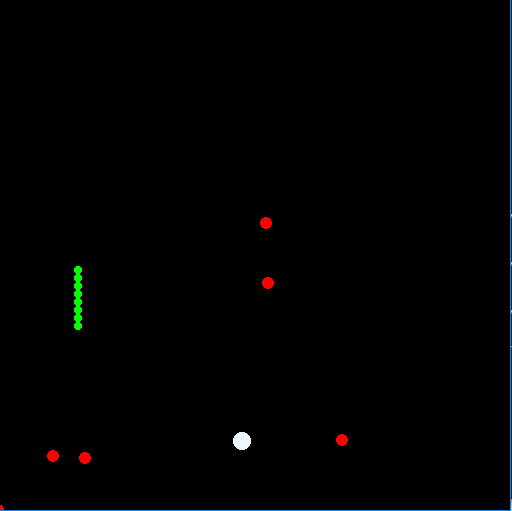
PROJECTSSMK: Super Mario KartGroup's Characters: Sif, Lebron, HreggkveðaClan Name: FomhoraighAs our midterm project, this allowed us to put together all the techniques we have learned so far this semester. The main topics that we reviewed for this project were: Bezier curves and surfaces, 3D drawing and animation, Cameras and Viewports, and File I/O. I mainly worked on the all the camera implementation as well as file input. I finished a toggleable splitscreen, toggleable first person camera, acrball camera, freecam, skyview cam, and third person camera. The user can also switch which hero they are following using the right arrow key. 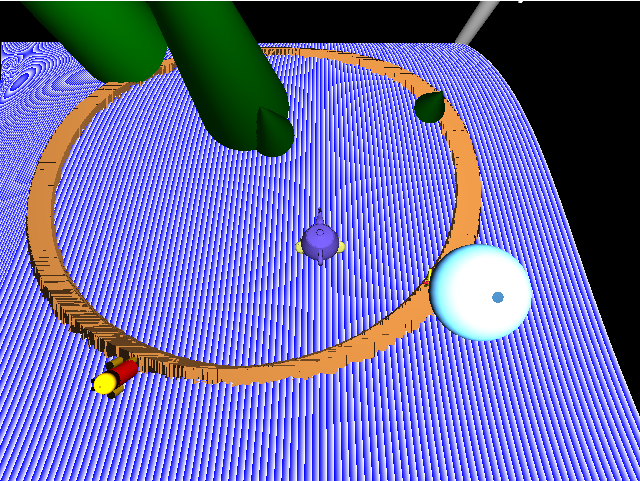
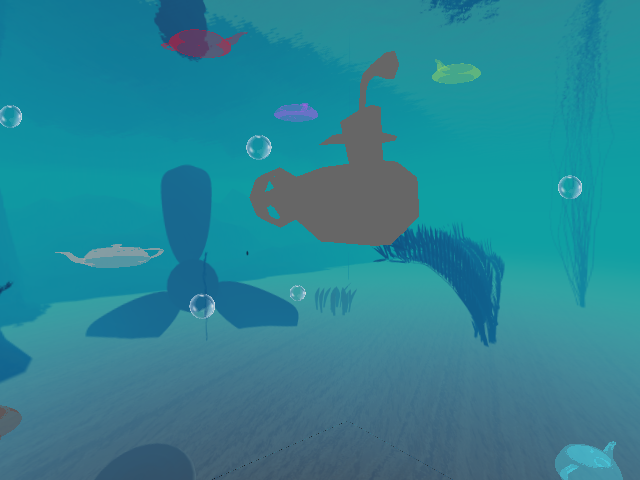
Final ProjectGroup's Characters: Sif, Lebron, HreggkveðaClan Name: Team DisneyAs our final project, we created an OpenGL3 project that used all the techniques we learned. This project heavily focused on shaders. We used multiple types, including billboarding, texture, and a couple custom shaders. I mainly worked on the bubbles and and submarine while I also pair programmed with another team member on the skyboxes. 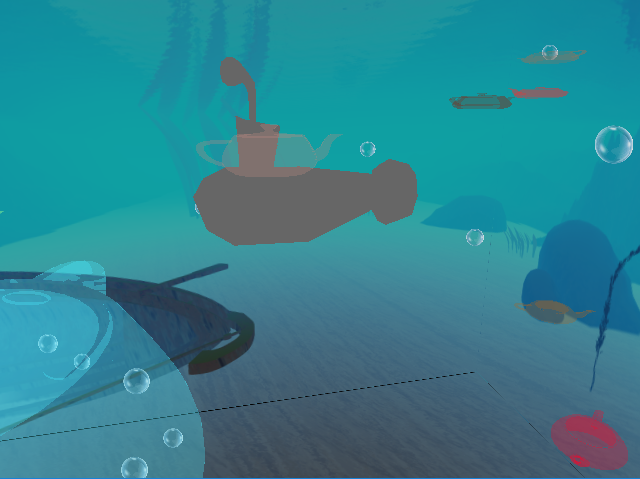

LABSL00This lab's primary focus was on working with 2D primitices using OpenGl and GLFW, as well as getting everything set up on our Z-drive. The first half of this lab involved drawing triangles in a hierarchal fashion, then translating those triangles to various locations across the window. This resulted in the top picture to the left with the yellow triangles. The second half involved creating a track for our character using 2D primitives. I chose to draw with lines using nested for loops to get a very geometric looking track. My final product was the bottom picture to the left. 
Lab 01The lab practiced animating. Holding the left mouse button or pressing C made the triforce evil (red). The triforce also spins and follows the mouse around the window. 
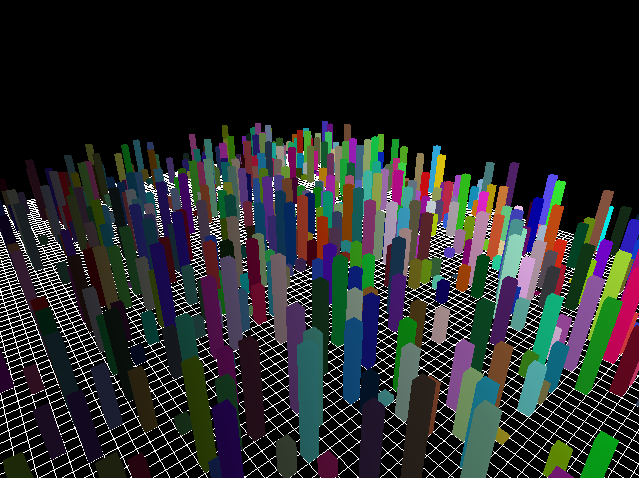
Lab 02This lab practiced camera movement and allows the user to "fly" through a city. 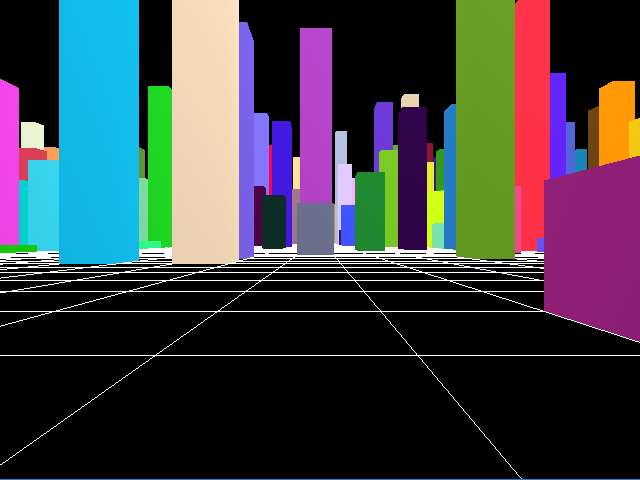
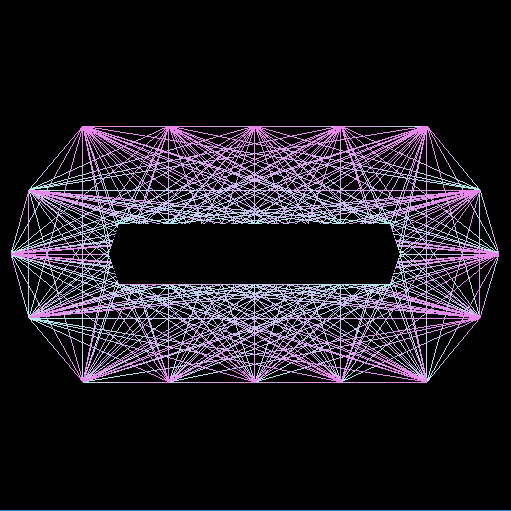
Lab 03The lab practiced the plotting of Bezier curves and their control points and cages. 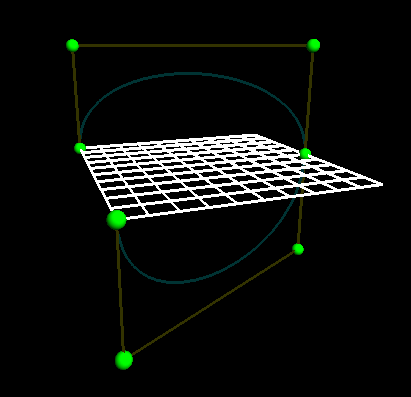
Lab 04The lab facilitated the practice and use of lighting in OpenGL. Mor specifically, I added a spotlight to the front of the plane and changed the overall scene lighting. The scene lighting can be toggled using the '1' key and the spotlight can be toggled using the '2' key. A screenshot displaying the lab with both lights enabled is below. 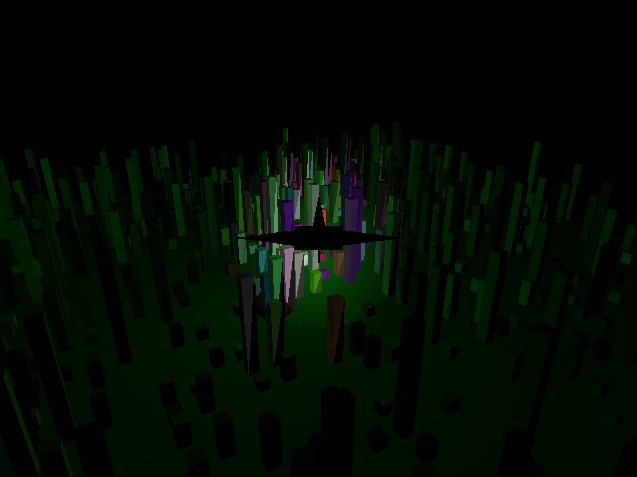
Lab 05The lab allowed for the practice of loading, applying, and repeating textures across 2D and 3D surfaces. A screenshot displaying the lab's final product is below. 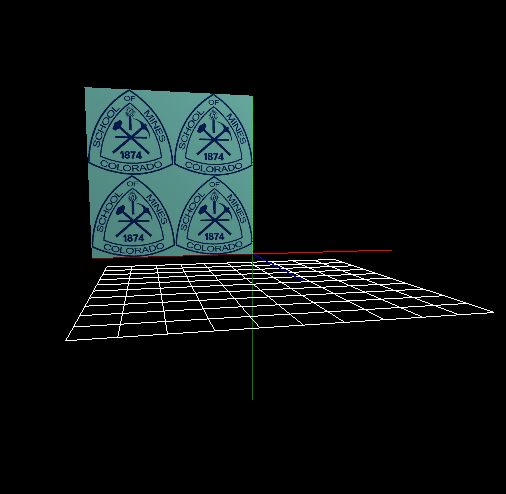
Lab 08In this lab I worked to display more complex MD5 models which implement a skeleton. A screenshot displaying the lab's final product is below. 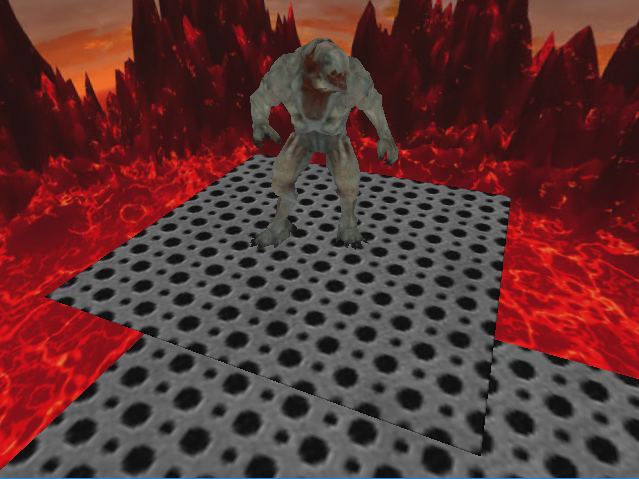
Lab 09The lab focused on learning how to properly create, use, and apply shaders. A screenshot displaying the lab's final product is below. 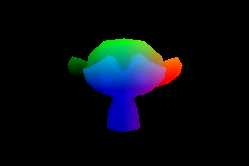
Lab 10This lab allowed for billboarding practice and applying ordering to objects with transparency. A screenshot displaying the lab's final product is below. 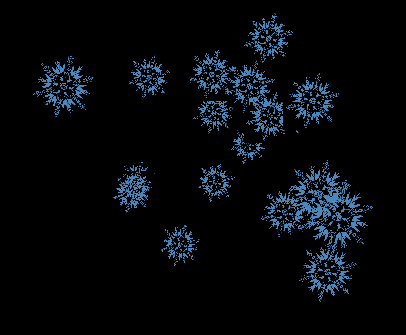
Lab 11The lab focused on proper collision detection and response to collisions. A screenshot displaying the lab's final product is below. 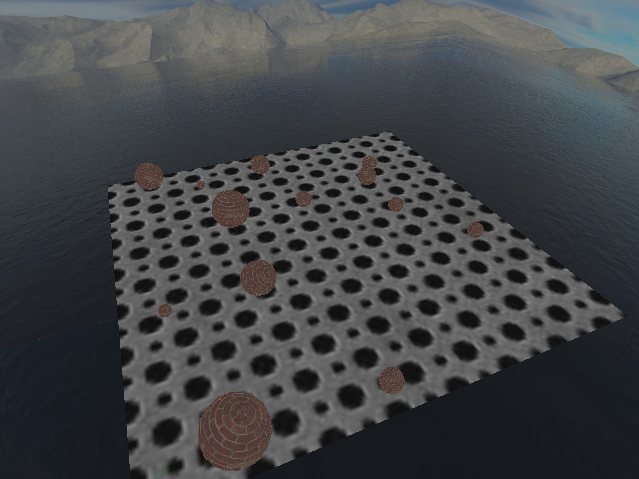
| |