CSCI 441 - Computer GraphicsFall 2020 - Assignment 1 - Hoist Your SignCanvas | CS @ Mines | Mines | Piazza |
|||||||||||||||||||||||
| | Home | Assignments | Leaderboard | Schedule | Resources | | |||||||||||||||||||||||
|
|
|||||||||||||||||||||||
|
This assignment is due
by September 03, 2020 11:59pm.
"Right this way, please follow me. We mustn't delay. Amaterasu wants the park
up and running as soon as we can. Time is money as they say. Do watch
your step and pardon our dust. You really came just in time, we feared
we would not be able to wait much longer. Before all this happened..."
You hurry behind the man as he continues speaking, unable to hear what he's currently saying. As you proceed through the park, you realize the majority of the track is under construction. Many areas are in some state of repair or building. What happened here? You remember coming to Onogoro Island as a child and everything was running. After a few more minutes of running through the park, the man stops at an apparent pile of rubble. He continues talking without pausing or missing a breath. How can he keep going? I didn't think I was that out of shape but I can barely say my name let alone carry on a conversation. I don't think he stopped talking the entire way here. Part I - Create Your Sign "This is where you will build your track."
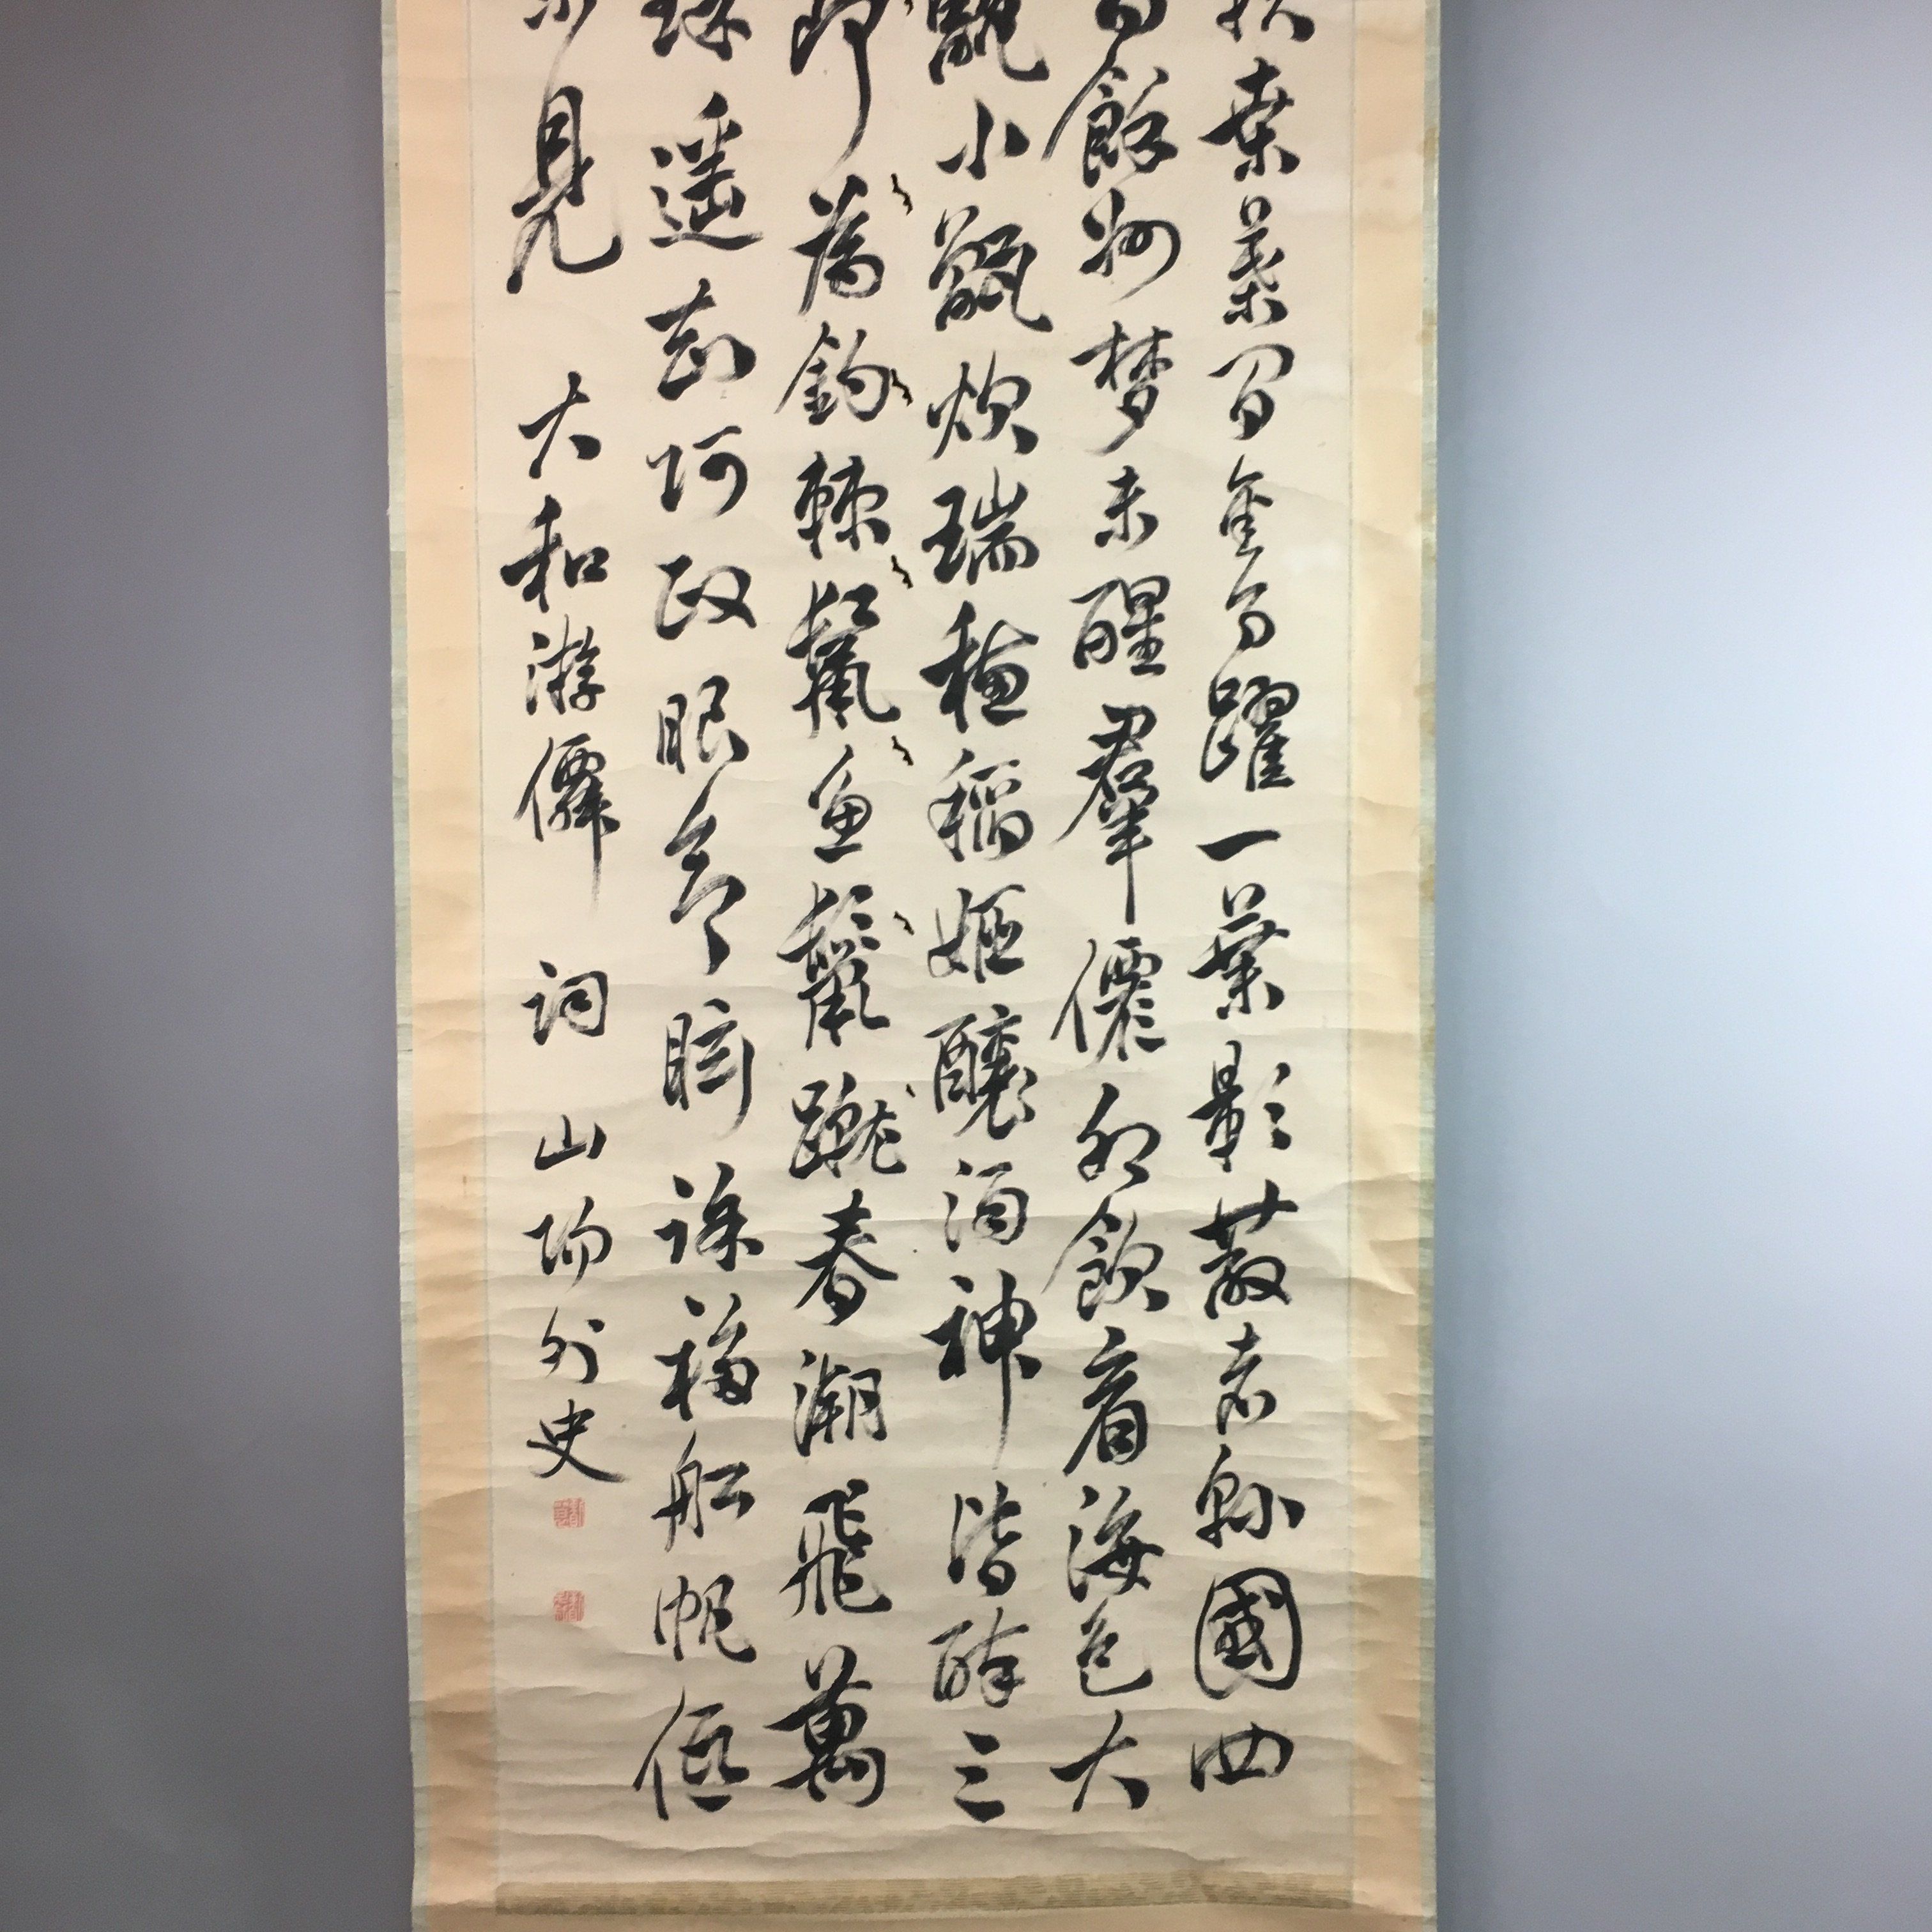
My what? "We were able to take the scraps from the other parts for you to use as a starting point. Sorry about the odd sizes, but this 700 inch by 150 inch piece was the largest we could find. Use it to place over the entry to your track. Amaterasu is very picky about our track having a consistent look across all the areas. Please follow her instructions and don't risk facing her wrath." The man then hands you a kakejiku. Wait, is this for real? The man senses your puzzlement. "You must begin at once. I will translate for you." For this assignment, create an OpenGL / GLFW program that displays your hero's name and a crest of your choosing to represent your home town. Create a window that matches the size of the materials you have - that is, make the window 700 pixels wide by 150 pixels tall. Do not use any predefined fonts, instead draw each letter using a filled OpenGL polygon. Each letter should be constructed using OpenGL primitives (With very little to go on, you step back and admire your work. Not too bad. Hopefully Amaterasu, whomever that is, will be pleased. Despite the mystery of what is coming, you are excited to be able to build the track of your dreams. Part II - Create Your Website
In addition to making a sign, create a webpage that showcases your
work. There is a template available for your website. If you wish to
use it, download this .zip
file and extract it. It will create a www/ directory with the
stylesheet from the course webpage, which you can use if you like.
You'll be adding to it for each homework assignment, with a screenshot
or screenshots of your work, a short description of the assignment, and
the opportunity to talk about any neat implementation details if you so
choose. The websites are a way for you to keep track of the projects
you've made over the course of the semester, but you should also aim to
make the descriptions accessible to people outside of the course as a
way to share and showcase your coursework. Hopefully you can use this
as a portfolio along with your resumé.
Inside the www/ directory, there is an images/ folder. Place any screenshots and other images into this folder. If you're not familiar with HTML, don't worry; the template shouldn't do anything crazy - a <br> signifies a newline, the <img> tag places an image. There are plenty of tutorials available for HTML if you want to add tables, change font styles, or play with the formatting. There are some comments in the template file to help you out as well. If you choose to use the template or your own template, be sure to name the webpage <HeroName>.html
where <HeroName> is the name of your hero without spaces in
UpperCamelCase. (For example, my submission would look like
ElvishScout.html
.) If you have a question about what you should name your file, please
ask the instructor and he will confirm how your name should look.
Documentation
With this and all future assignments, you are expeced to appropriately
document your code. This includes writing comments in your source code
- remember that your comments should explain what a piece of code is
supposed to do and why; don't just re-write what the code says in plain
English. Comments serve the dual purpose of explaining your code to
someone unfamiliar with it and assisting in debugging. If you know what
a piece of code is supposed to be doing, you can figure out where it's
going awry more easily. (Interestingly enough, this code review of Doom 3's source code says the
exact opposite - well written code should require no comments. Well, we
don't work at id so we're going to comment.)
Proper documentation also means including a README.txt
file with your submission. In your submission folder, always include a
file called
README.txt
that lists:
Grading Rubric
Your submission will be graded according to the following rubric.
Experience Gained & Available Achievements
Submission
Please update your compilation so it produces an executable with
the name a1. When you are completed with the assignment, zip
together your source code, CMakeLists.txt/Makefile, and
README.txt
into a folder named src/ plus include your www/ folder. Name the zip
file,
HeroName_A1.zip
. Upload this file to Canvas under A1. The structure of your submission
should look as follows:
This assignment is due
by September 03, 2020 11:59pm.
| |||||||||||||||||||||||
|
Last Updated: 08/26/20 06:14
|
|||||||||||||||||||||||

Any questions, comments, corrections, or request for use please contact jpaone {at} mines {dot} edu. Copyright © 2015-2020 Jeffrey R. Paone |
|||||||||||||||||||||||


