The lab this week is focused on the topic of recursion - we'll use it, together with a simple random number generator, to create pictures - first in the style of the artist Mondrian, then extended based on your own creative ideas. As usual, we ask that you work with a partner or a team. If you end up solo, please raise your hand and we'll pair you with someone else (or make a three-person team if necessary). You are welcome to change partners throughout the semester!
The Dutch artist Piet Mondrian (March 7, 1872 – February 1, 1944) was a Dutch painter who created numerous famous paintings in the early half of the previous century that consisted of a white background, prominent black horizontal and vertical lines, and regions colored with red, yellow and blue. You can find many examples of his work on the internet - here's just one: Composition C (No.III) with Red, Yellow and Blue.
For this lab, we are going to generate art inspired by Mondrian's works using recursion and a pseudo-random number generator. We will be using a library provided as part of additional resources for your textbook which lets us easily create images in the PNG format. Note that, for this library (and indeed most graphics libraries), the coordinate system is inverted in the vertical direction from the usual Cartesian system; that is, the origin (0, 0) is at the upper left of the picture.
The basic algorithm we will be using looks something like this: we start with a rectangular empty white canvas (framed with black, if you like). Divide the canvas at random into two smaller rectangles (either horizontally or vertically) with a solid black line. Recursively "paint" the two smaller rectangles. Stop the recursion when you feel that the starting rectangle is small enough, then randomly choose a color (red, yellow, blue, or white) to fill the rectangle with.
We'll make this algorithm a bit more specific below.
Download lab05.zip, which contains a CLion project, ready to go, with the starter code for this lab. As written, it should compile and run, but it will produce very boring paintings! We've already written a great deal of code for you, as we want you to be able to focus on the recursive portion of the task as well as experimenting with your own ideas. You are welcome to rewrite any of this as you please!
Take a moment to look at the code in mondrian.h and mondrian.cpp: these implement the Mondrian class, which does all the interesting work. The other files include main.cpp, which handles the user interaction, and four files which handle creating, editing, and saving the PNG image.
The Mondrian class has one public method, paint(), and four private methods: _paint_recursive(), _color_fill, _draw_horizontal_line, and _draw_vertical_line. Because we are trying to keep things simple for the limited time we have in lab, the only methods you _paint_recursive() and _color_fill. For Part 1, you should probably
Here's a brief description of what each of these methods is for:
paint()_paint_recursive(). Once the painting is done, it saves it to the provided file._paint_recursive()_color_fill()_draw_horizontal_line()_draw_vertical_line()As mentioned above, you need to implement all of _paint_recursive(), and part of _color_fill(). You can do these in whichever order you please.
For _paint_recursive(), there are comments in the starter code to guide you. The inputs to the method include the Picture object (which you do not need to interact with, just pass it to the helper methods as needed), and the left, top, right, and bottom coordinates of the rectangle you are currently working with. That is, the top left pixel in your rectangle is at the coordinates (left, top), and the bottom right pixel is at (bottom, right). You can thus easily determine the width and height of the rectangle in pixels, and choose an appropriate horizontal or vertical splitting point.
You will be implementing the Mondrian-inspired art generation algorithm described above, following these guidelines:
_color_fill to fill the rectangle with a randomly chosen color (this is your other base case).
rand() for this - if you haven't used rand() previously (or in a while), rand() returns a random non-negative integer, which you can then get into the required range (0 to width of rectangle) using the % operator. (This is slightly biased from uniform, but good enough for our purposes.) Once you've selected the x coordinate, draw a vertical line to split the current rectangle, and call _paint_recursive() twice on each new sub-rectangle.For _color_fill(), you need to choose between red, yellow, blue, or white to fill the rectangle whose coordinates are provided as arguments. (Appropriate RGB values are suggested in the comments.) To get the general feel of a Mondrian work, I recommend using white 50-65% of the time, otherwise choose red, yellow, or blue with equal likelihood. There are several ways to go about this task; a simple way is to simply create a vector, array, or string of values representing the desired frequency of colors (e.g., "rybwwwww"), then choose one of the values at random (again using rand()). Translate the value into the appropriate RGB values.
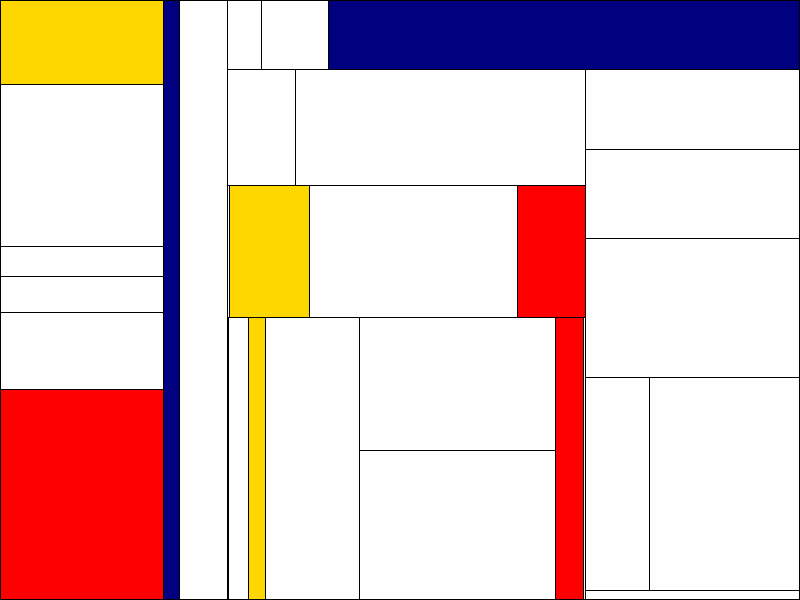
Test your code using image sizes of around 800x600 - you should be able to generate images something like the one below (from my solution):
Note that your solutions will end up in the cmake-build-debug subdirectory of your project folder. At this point, you should create a .zip file containing your source code (all .h and .cpp files, including the ones you didn't edit!) and one image generated by your program. You will need to submit this for credit on Canvas. (It is fine if you and your lab partner submit the same code and image.) If you do part 2, below, you will be asked to create a second .zip file, and submit both on Canvas.
Now that you have the basic algorithm working, you could think about any number of ways of generating images using the same basic principles, but with your own creative twist. For this extra credit portion of the project, extend the code in directions of your choosing, and provide us with a zip file of no more than 4 of your favorite images. You don't need to provide us with your code, but please include a README file with a general description of the approach you took in generating the images. In your README, please let us know if you are comfortable sharing your name and generated images with the rest of the class - the TAs and instructors will put together a page of our favorite images!
Some things you might consider in your work:
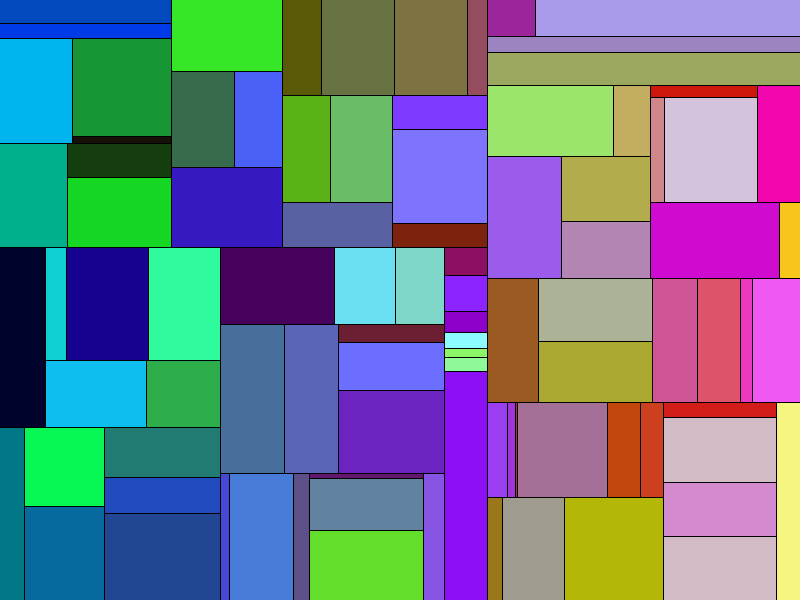
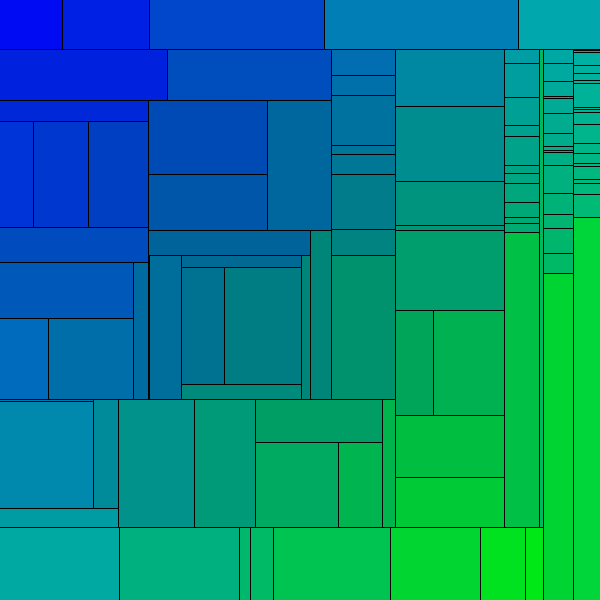
width() and height() methods of the Picture object).For inspiration, here are a couple of images I created using variations on the basic code:
Submit your part 1 code and image as a zip file, and any part 2 images and README as a second zip file, to the lab 5 assignment in Canvas. Part 1 is worth 10 points, part 2 is worth up to 2 points of extra credit.
Credit: This lab was inspired by and borrows heavily from the Random Mondrian Art assignment created by Ben Stephenson (ben.stephenson@ucalgary.ca).